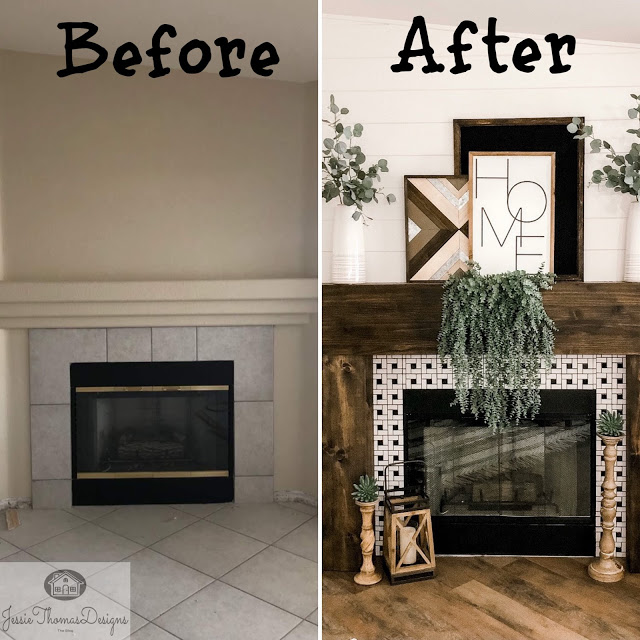
Step 1-Demo
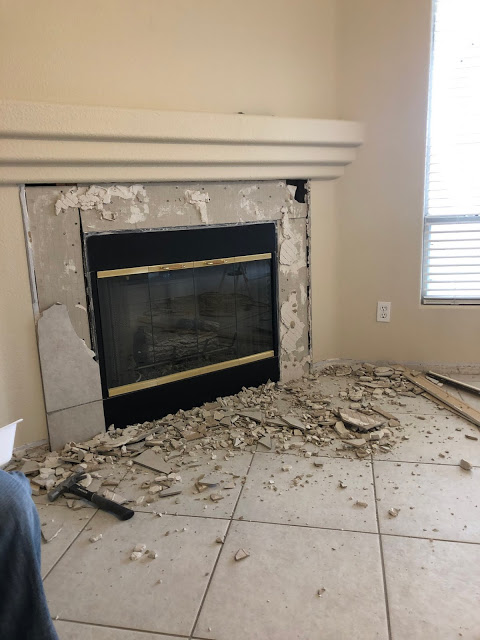
- In our case the only thing we needed to demo was the tile around the fireplace. To make things easier we decided to build the wood mantel around the existing one, so no demo there. Below is a fun video I made hammering the tile. It came off real easy.
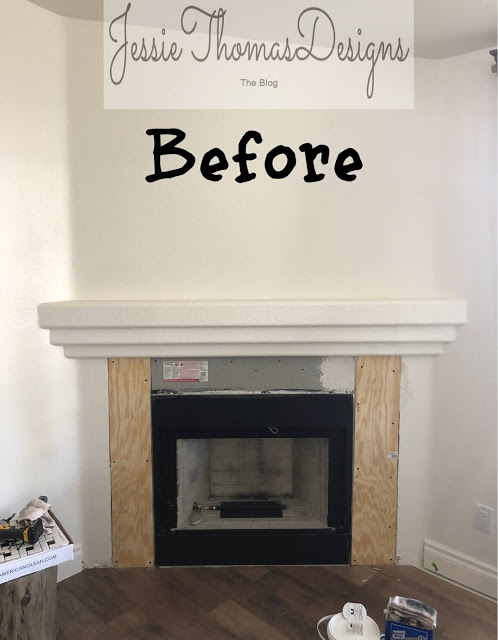
- Depending on what’s under your tile you might need to add or replace the cement board. It helps prevent a fire. You can buy it at any home improvement store for cheap. You can use a razor blade to score it. Measure to fit your space and use cement board screws.
- We then added plywood to create a flat surface that the tile had a solid foundation to adhere.
- In the photo below we still need to add the top plywood piece.
Step 2 – Tile
- We chose to use tile because of the heat from the fireplace. They make neat stick on products nowadays but when dealing with heat I wouldn’t recommend it even though it would be so much easier.
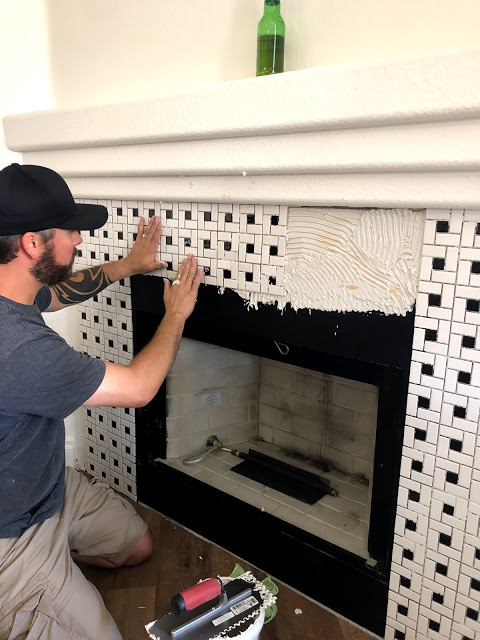
- Next it’s time to add the tile. I found these 6×6″ backsplash tiles at Home Depot. I couldn’t find the exact ones, so similar ones are linked here. These have a mesh backing and make it easy to apply to your space.
Supplies list1.Flooring trowel2.LevelQuik RS3.Large sponge4.Compound grout (color – charcoal)5.Rubber Grout Float
- The tile squares have a mesh backing so you can use a razor blade or scissors to cut off access tile. The floor trowel has these grooves in it so as you apply the Level Quick to your plywood at an angle to make those lines (shown in picture) which are necessary to not have too much. Once you have your tile where you need it just add light pressure.
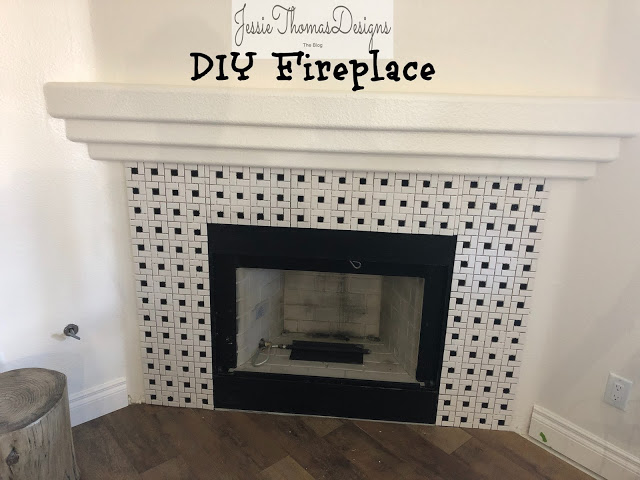
- It says you only need 4 hours before you can begin grouting. You will find specific directions for the grout you buy on the container. You will need a rubber grout float to apply it.
- You want to apply the grout in patches. You want to stuff as much grout in those holes and pack it in real good. Maybe in 12’x12′ section at a time. Get a bucket of clean water and get your sponge wet. Ring out all the access water and clean all the grout off your tile, cleaning your sponge in the water ass necessary.
Step 3 – Wood Mantel
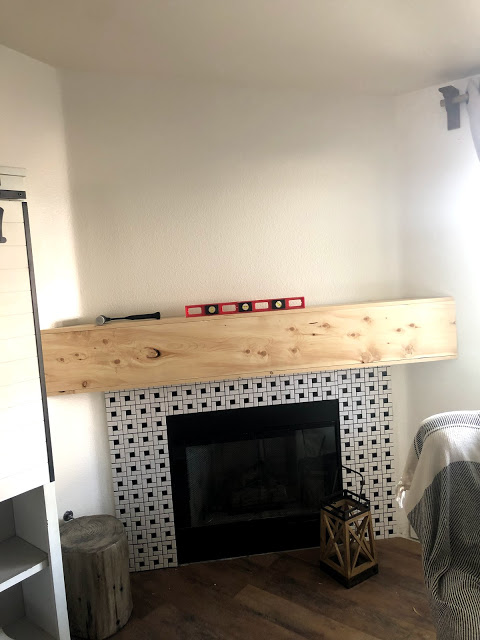
- Our mantel is kinda unique because it butts up to the two adjoining walls at an angle. I thought it would be best to cut the wood into the walls and have a big focal point that way.
- In the photo below we actually took down the front facing wood and made the piece level with both the top and bottom piece. Make sense? Wanted it to look lake a beam. Hubby and I weren’t on the same page so we had to redue it. This would was pretty inexpensive. I looked for one with a lot of pretty knotts.
- I used my favorite stain Dark Walnut
Step 4 – Faux Shiplap
- We have a few walls with real shiplap and I love it. For this wall I didn’t think it was worth the extra expense but it is more labor. This is just MDF sold in a big sheet. Our Lowes did cut it in 6″ strips for us (not all Lowes will do so). My husband then routered the edges with 1/4 inch bit to make the edges round. This is to give it the shiplap look.
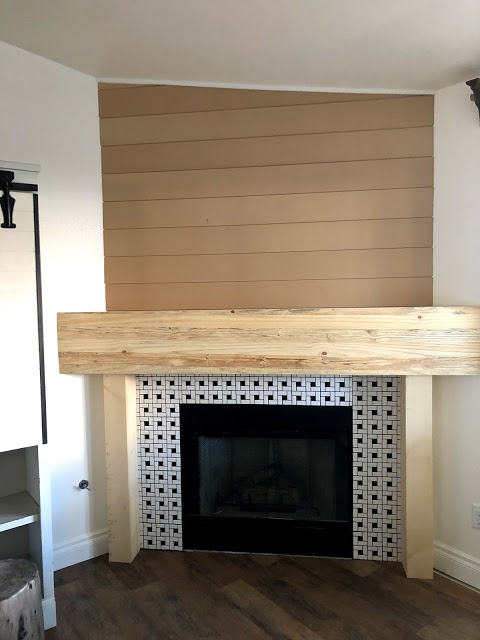
Make sure you prime this MDF before you paint. It will soak it all in. It’s very porous. If painting white you will only need one coat. I used a roller to make it smooth and made sure to fill in all the cracks real good.
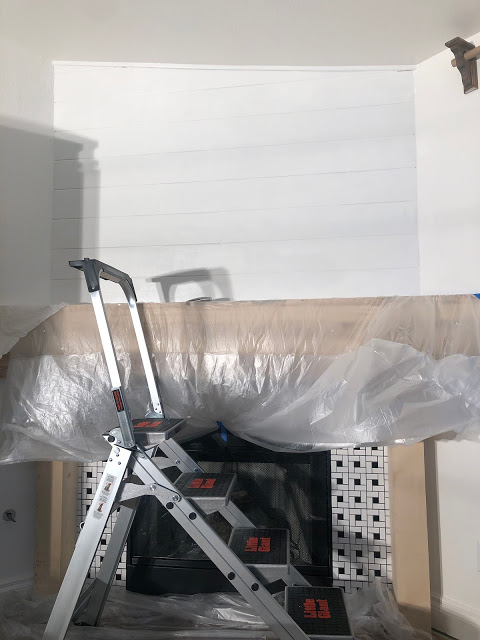
- We did take the doors off the fire place and I spray painted all the gold accents with a heat resistant spray paint, normally meant for BBQ’s
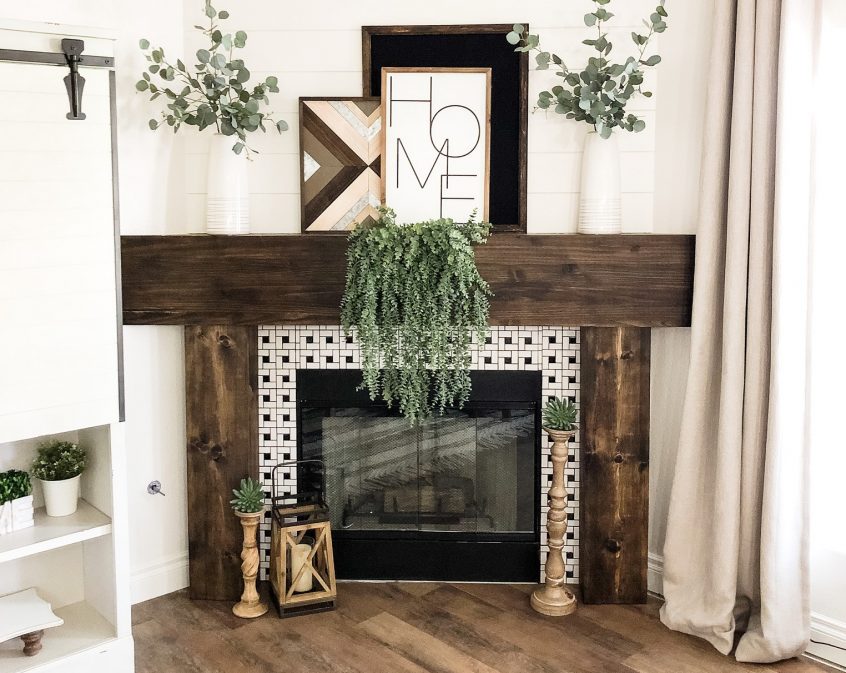
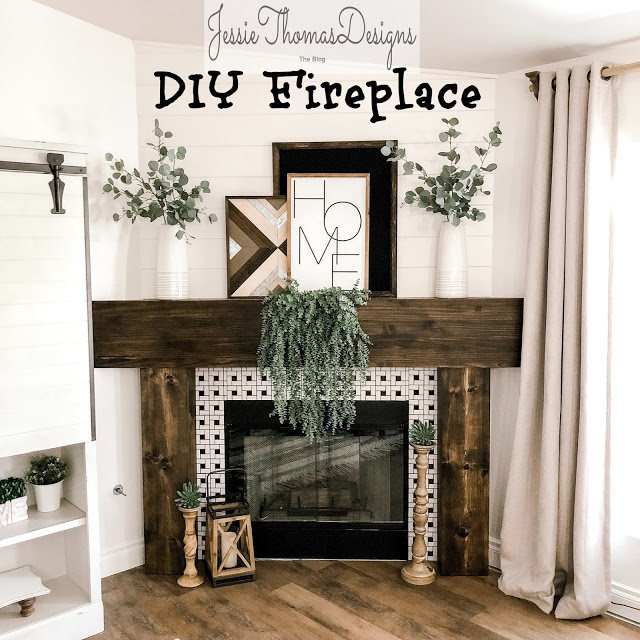
- Add some decor and your all set! I have more inspiration on how I styled my mantel throughout the year on my Instagram feed, especially for holidays!
Jessie Thomas
