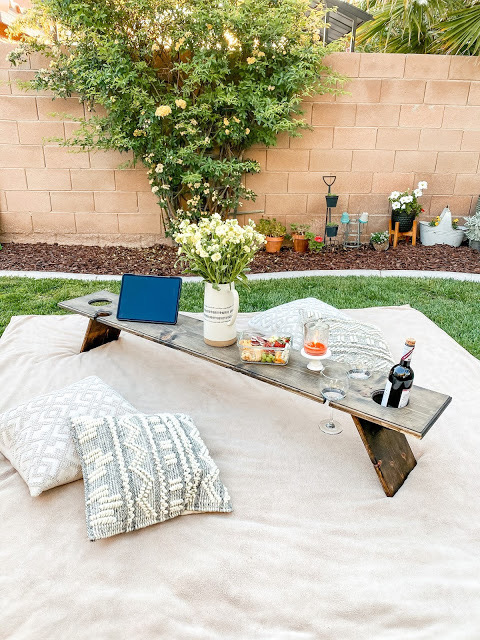
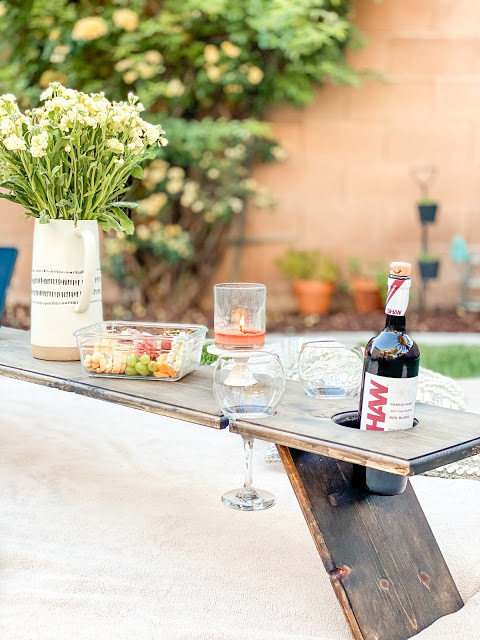
This was such a fun project! If you have the tools already you only need four supplies.
Supplies:
- 1 6′ pine board
- 1 4′ pine board
- 2 hinges
- stain (this is my favorite)
Tools:
- Chop Saw
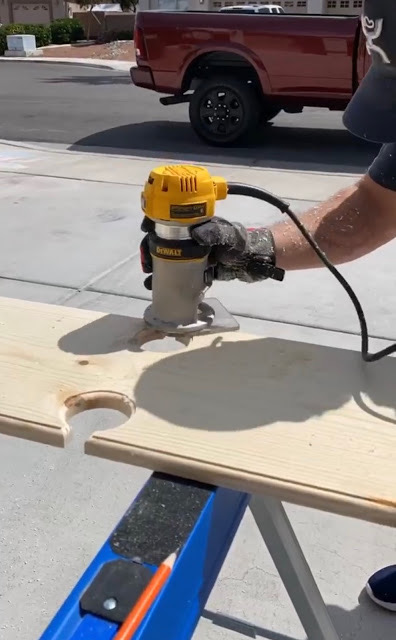
- Router with 1/2 round over bit (optional)
- Sander
- Hole saw attachment. 2 1/2″ (wine glasses) & 4 1/4″ (Wine bottle)
Directions:
1. Cut the holes with your 2 1/2″ round over bit where you want your wine glasses on your 6′ board. We made 4 holes for two couples.
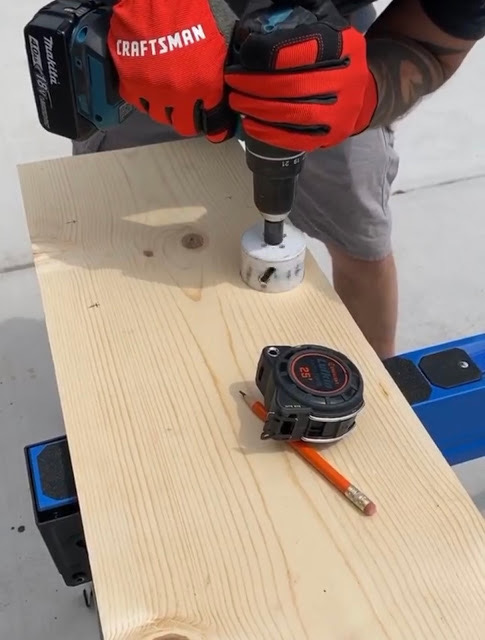
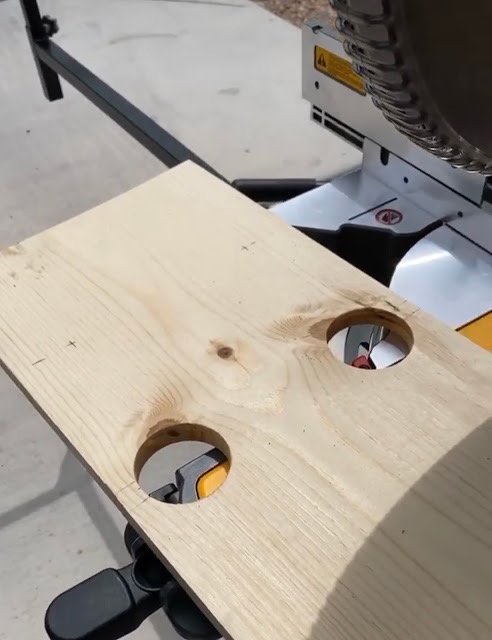
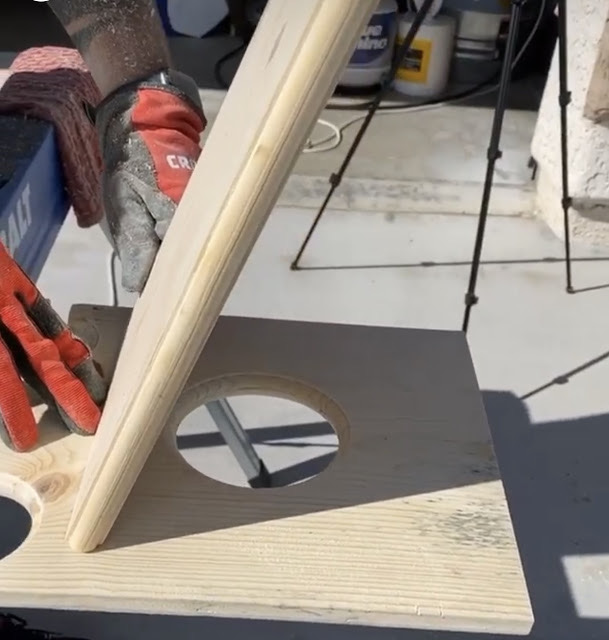
2. Cut the side of each whole with your chop saw to allow the glasses to slide right in. He marked where he wanted to cut using a ruler and a pencil.you can see how he did it in the picture.
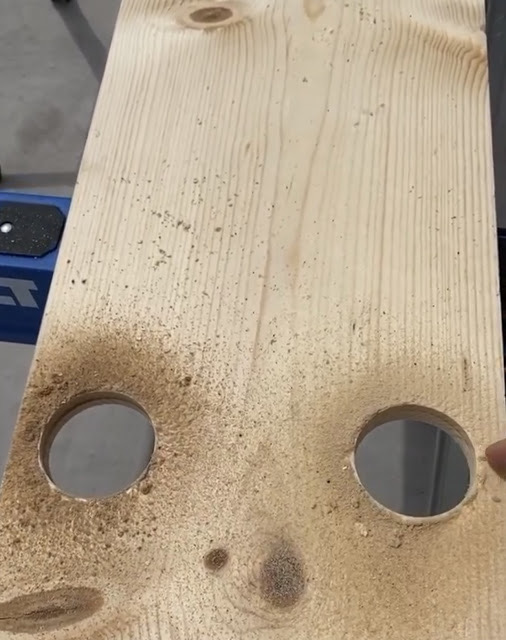
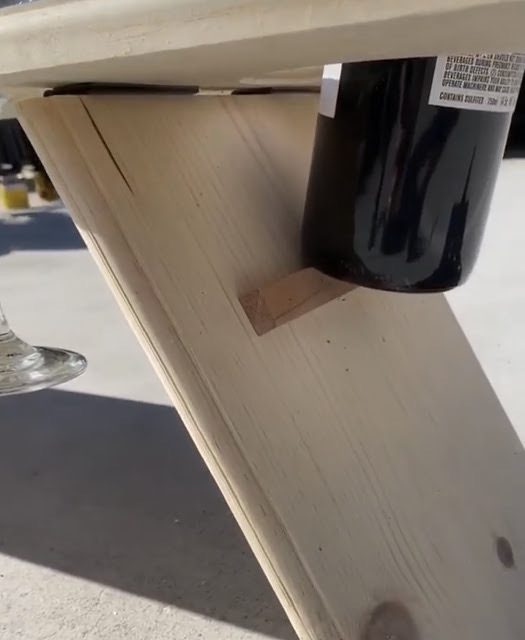
2. Then cut the holes for your wine bottles with your 4 1/4″ hole saw. (see picture) this does not have to be exact measurements.

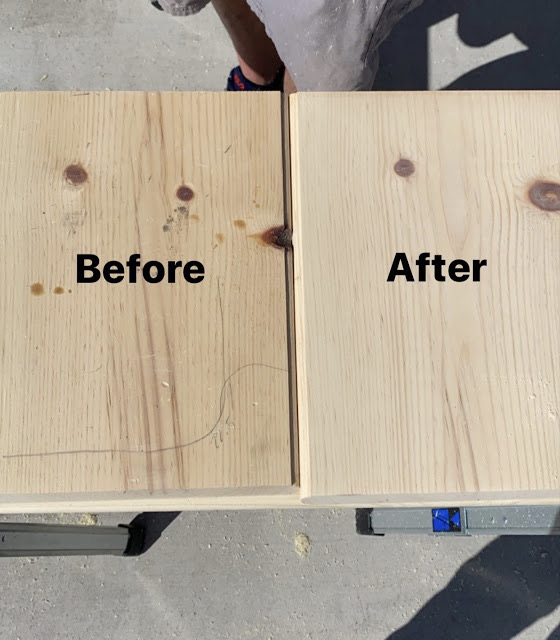
3. Router the edges- this step is not necessary but it just makes it look nicer. You can buy these for a small fortune online and they are not routered.
4. Using your 4′ board cut 2-12″ pieces. One side needs a 22 degree angle to go on the board.
5.Sand everything
6. Attach the hinges. Each pack comes with two. You won’t see them so it doesn’t matter what color they are. (I just stained around them.)
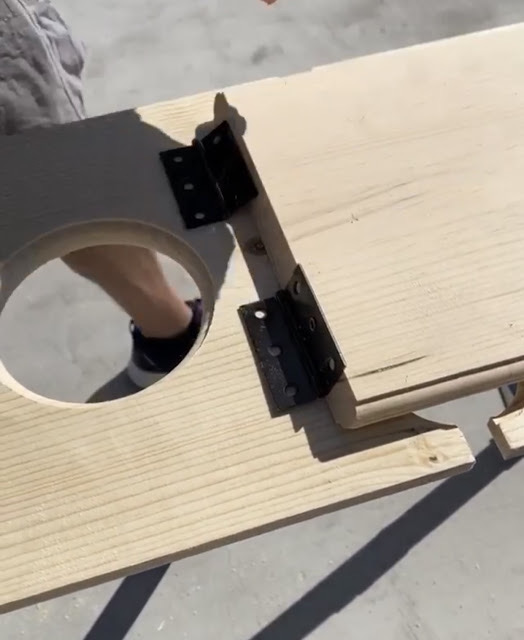
7. Using your scrap wood, cut a small piece for both sides so your wine bottle so it will sit on it and not fall.
8. Stain your wood.
I have a video on my nightlight reel on instagram you can watch for more details here.
Enjoy!
Jessie Thomas