
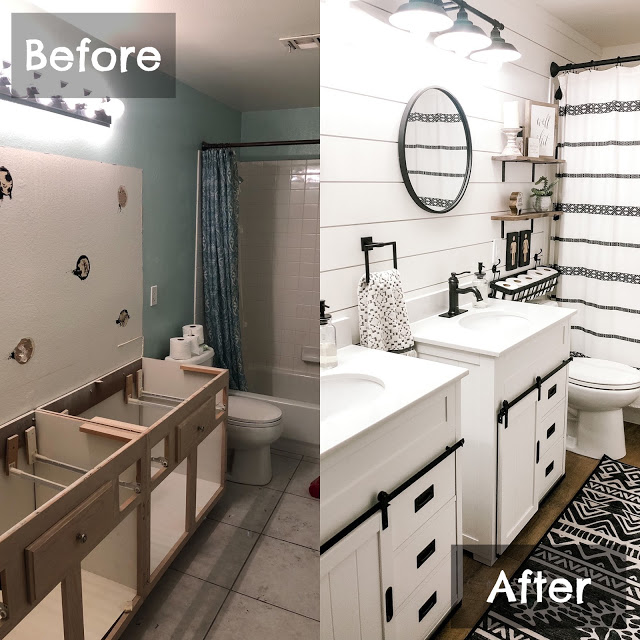
Who doesn’t love a great before an after picture? I know I do, they are my favorite. It really brings out the perspective of all the hard work that went into fixing up a space. We renovated this space back in early 2019 and It’s probably my favorite DIY to date. I just love the beautiful ship lap walls and the shower curtain ties it all together.
Below I go into the step by step process on how we transformed this space ourselves. This was both my husband and I’s first full bathroom project like this. 2 years later I still love it just as much.
Your first course of action is to demo everything you don’t plan on keeping. In this case it was everything but the tub and the tile behind the tub. We plan on replacing the tile at a later date.
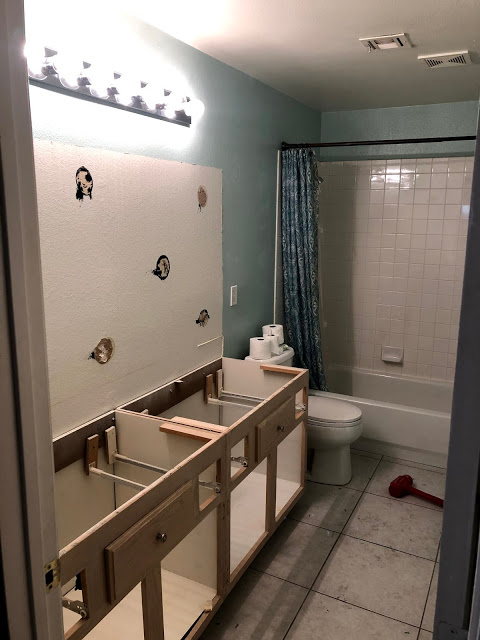
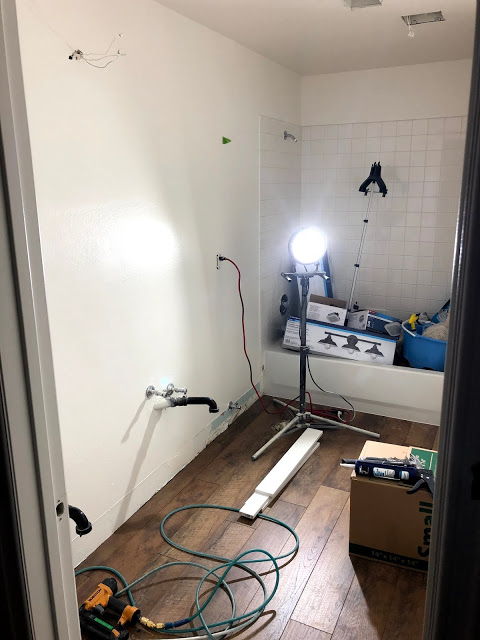
After Everything was out (we demoed the whole house at the same time) My husband painted the whole inside of the house with the same Swiss Coffee White paint by Behr. Then he laid the laminate flooring down which we used throughout the whole house. Once those two major things were done we worked on this bathroom so we had a full functional bathroom.
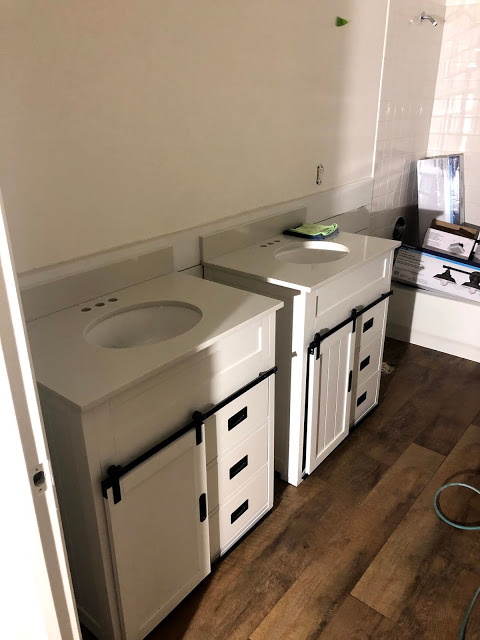
I found these adorable farmhouse vanities at Lowe’s. They came like this so you had to buy the faucets and a few other pieces not shown (I list below)separate.
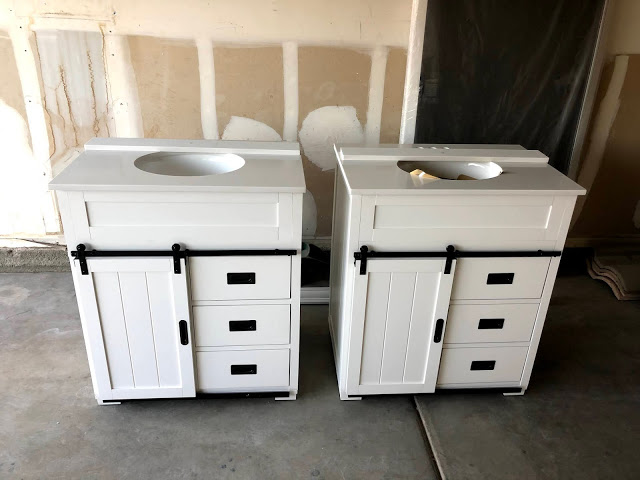
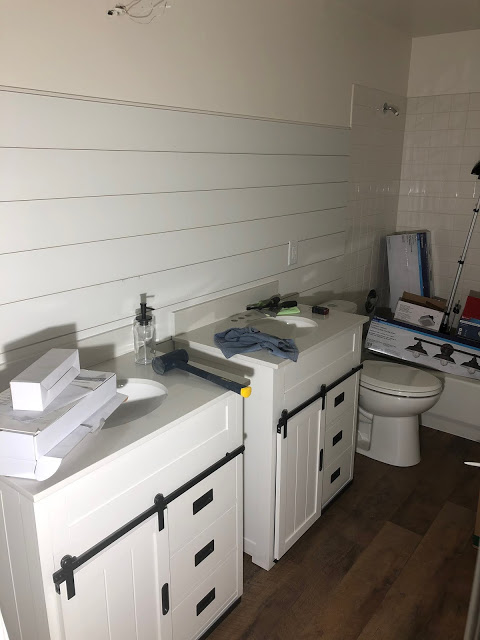
What’s nice about these vanities is you are able to lay them right on your flooring with no issues. They are small enough that if you already have plumbing for double sinks you shouldn’t have to move the pluming. Once the flooring was in we were able to start with the shiplap. This was was very simple because you have straight cuts. Home Depot carries my favorite shiplap. It’s already primed and ready to go and is inexpensive. No need to groove it or space it. Each piece connects together. It comes in 8 foot or 12 foot. I painted the shiplap the same color as the walls. Easy peezy! If you plan on painting them a different color you need to paint the edges first. Once the shiplap is together it would be too difficult to get in those grooves. Whats nice about this shiplap is you would NOT have to paint the wall before hand if you planned on a different color. Some people use plywood to save $$, its not worth the extra work in my opinion.
Once you have the sinks in place you need to attach the backsplash (included with the vanities) to your wall or shiplap. This is a lot easier than you think. You just need silicone and your finger. For a more in-depth way to do this is to find a YouTube video.
The main thing you want to focus on first in getting the sinks installed and the toilet. The rest you can go at your own pace because its all cosmetic. We found the toilet at Sams Club for $90!! Its a nice one!
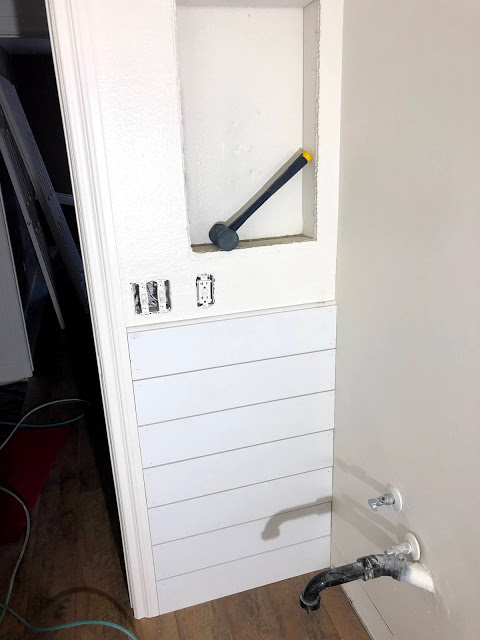
We shiplapped the door wall too. Two out of the four walls. We kept the old medicine cabinet and my husband built a cool wood cover for it that I stained. You can see a finish picture on my Instagram here.
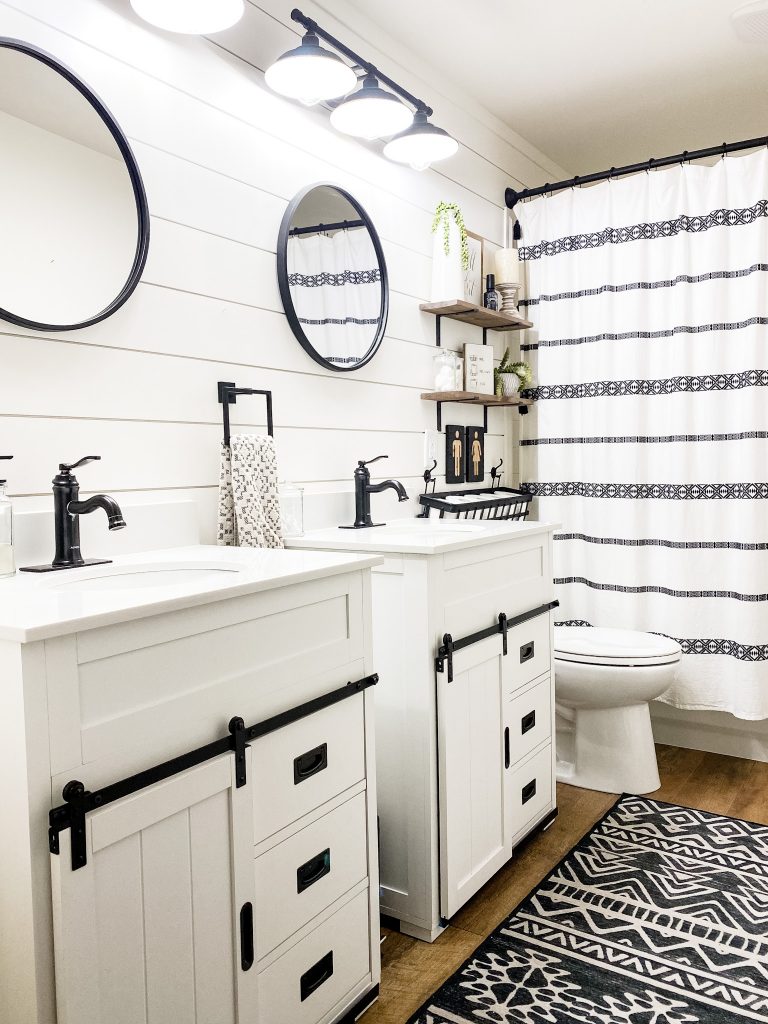
Ta Da!!! What do you think? Please feel free to leave me any questions or comments below.
Price breakdown & clickable sources
Vanities: $299.00 each (Lowe’s)
Mirrors: x2 $30.00 ( I took the rope off and spray painted them matte black
Lights $68.93
Shower curtain $19.00
Towels $20.00 and under
Ruggable $140
Faucet (similar)
Faucet plate $10.99 x2 (you need this for these sinks)
Drain Stopper $18.99 x2
Hand towel holder $16.99
Shiplap $8.76 for 1-12′ piece (we used 16 pieces = $140.16)Toilet $90 (Sams Club)
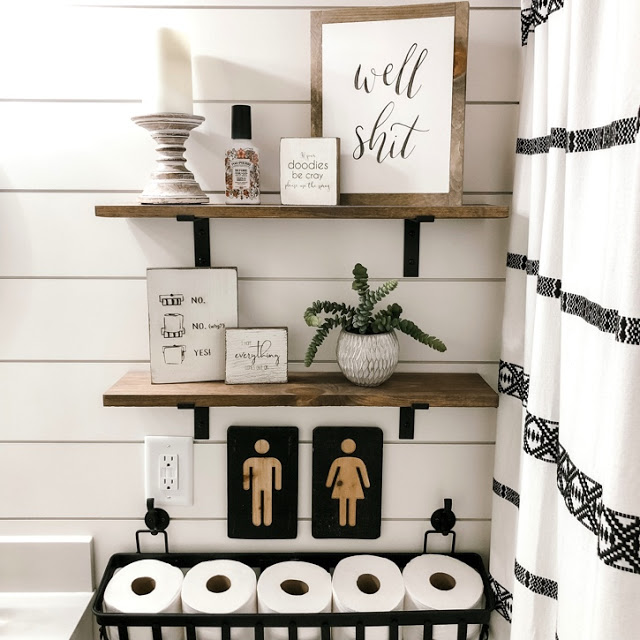
Shelves $49.97
Toilet paper holder: Sold out from Hobby Lobby
Soap dispensers $12.00 for 2
Funny Signs ( I have 10+ so here is a link so several)
Total renovation not including paint and flooring:$1449.49 (Not including tax)
Labor = Free (Thank you Hubby)
This total is the price if you were to purchase everything as of writing this blog post(2019). Not sure if prices may change a tad.
Jessie Thomas
2 Comments on “Farmhouse Guest Bathroom Renovation- The Before and After”
Love it!
Thank you so much!