
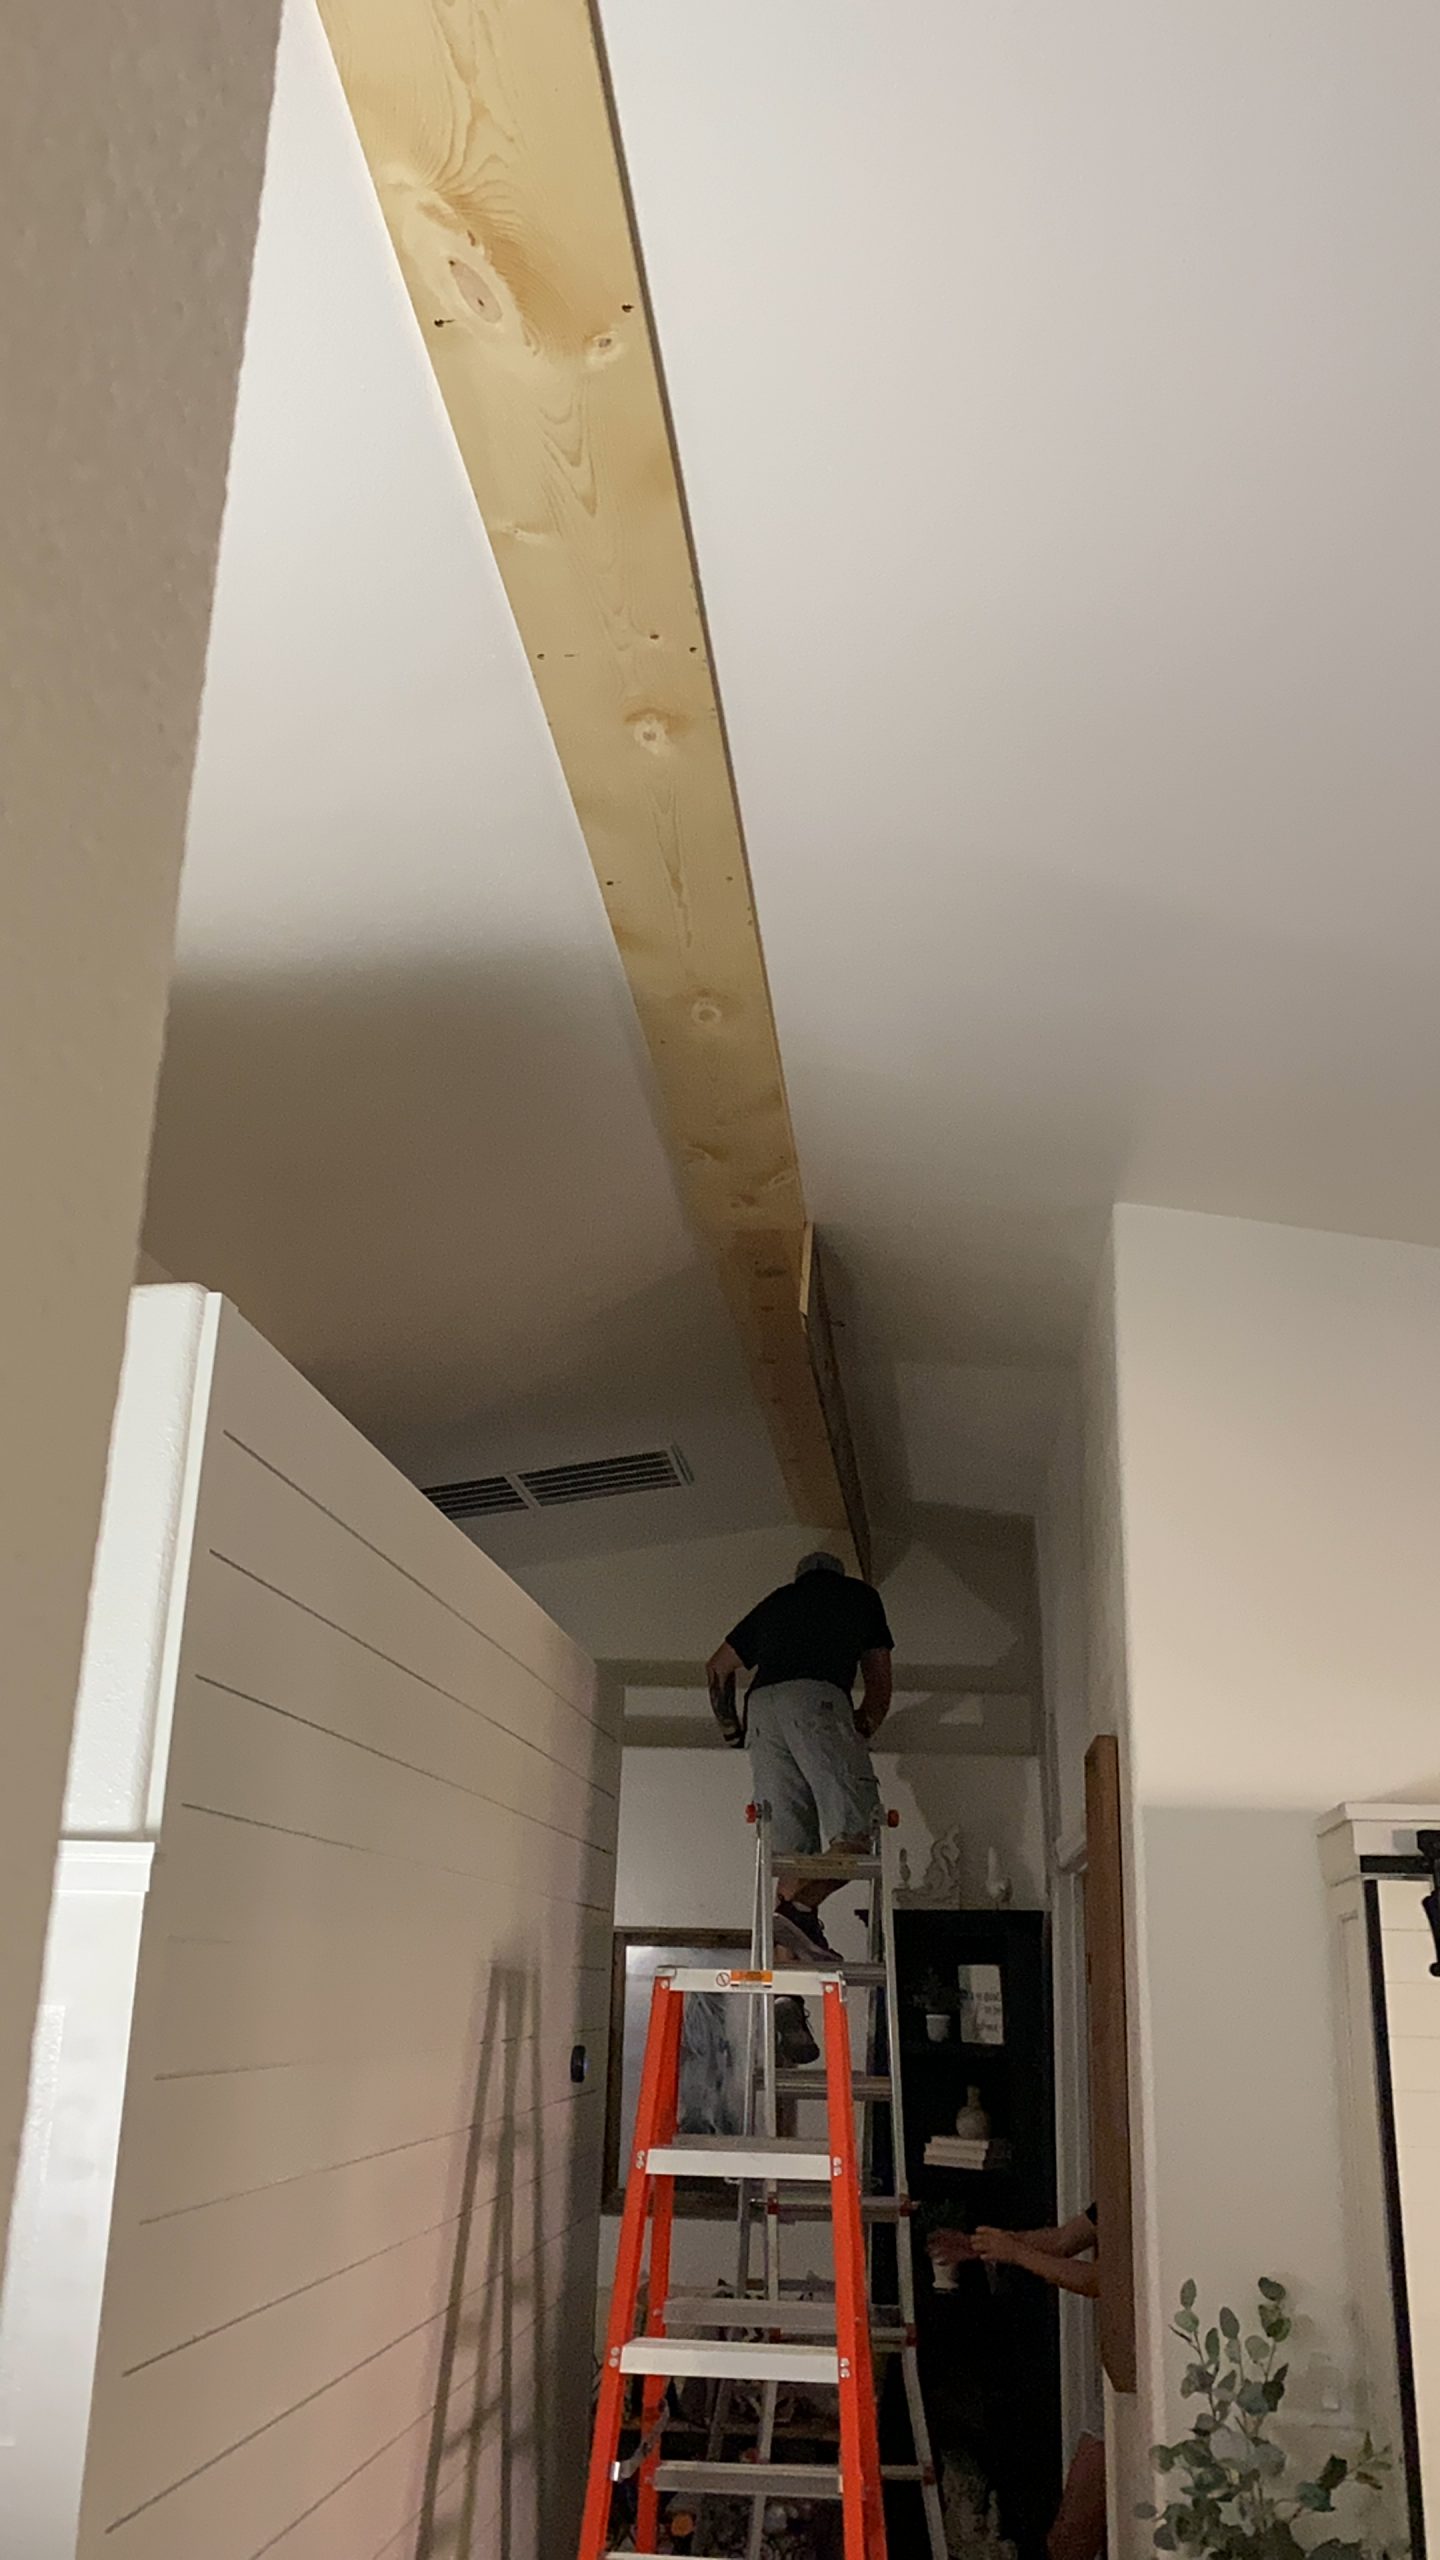
I have been dreaming of adding a beam down the center of the middle of our house since we moved in back at the end of 2018. If you look closely you will see how our house comes to a peak. The plan is to add a board down the middle of the peak and form a beam around that board.
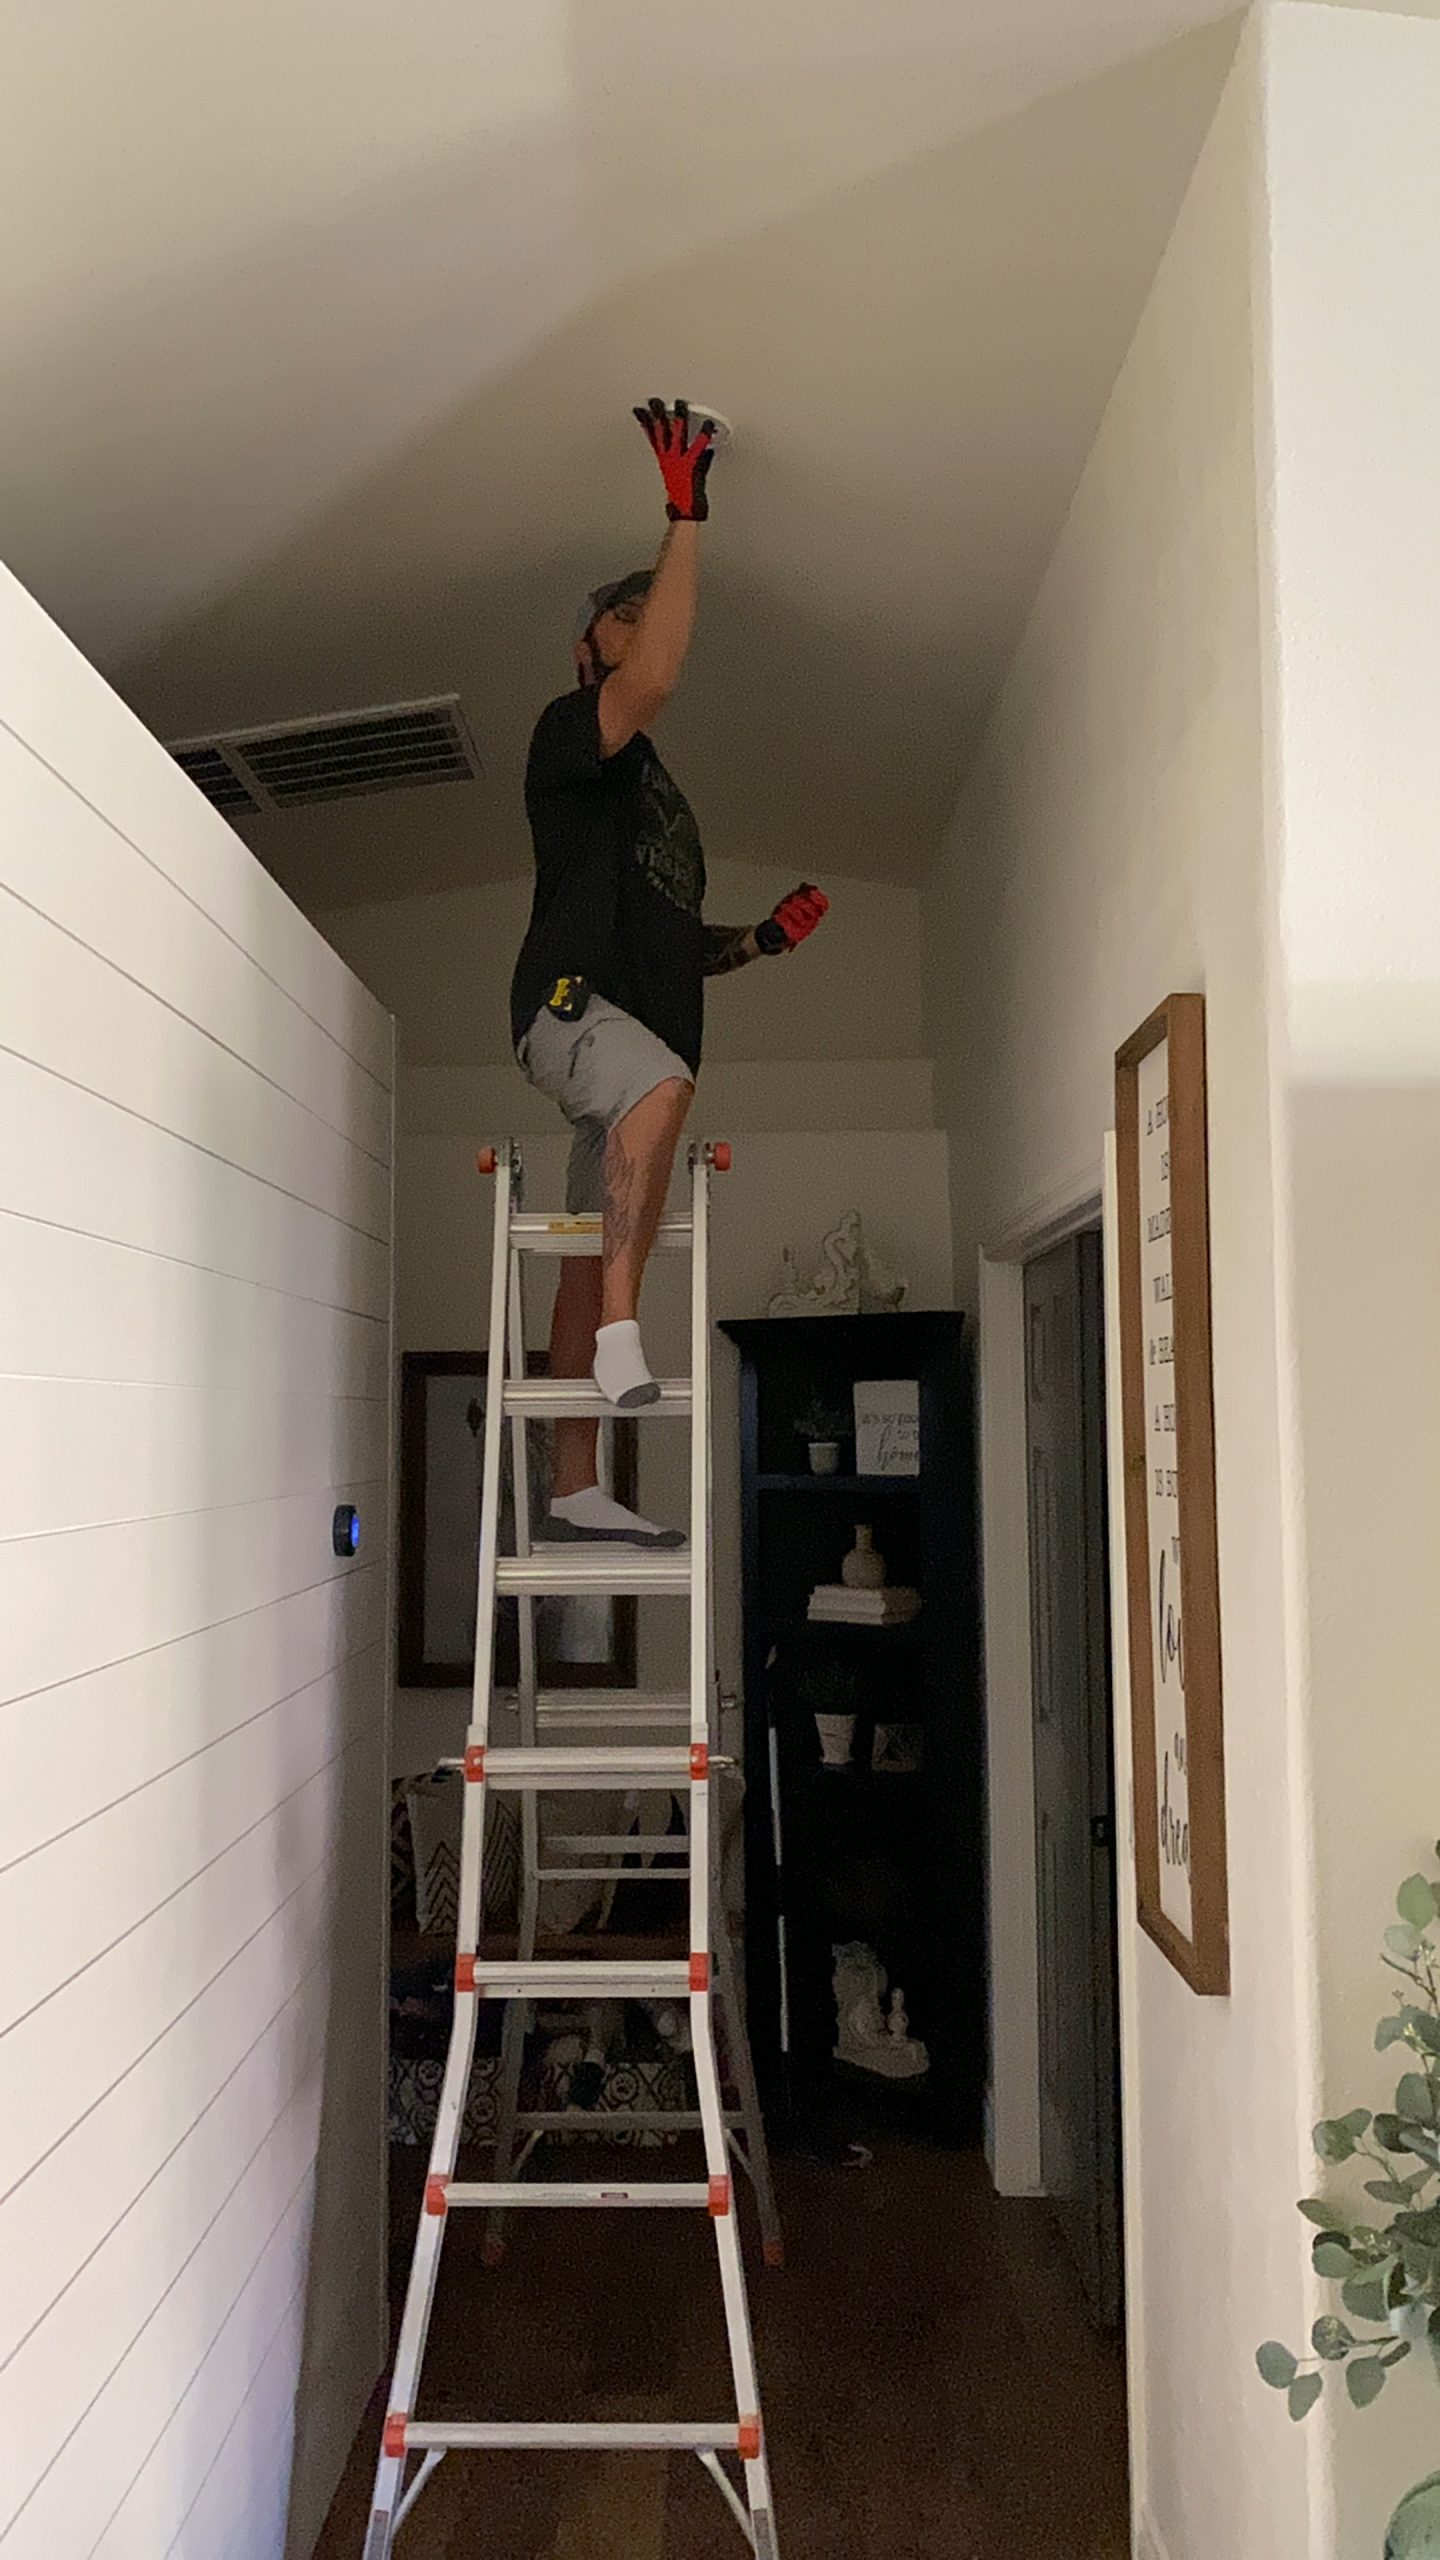
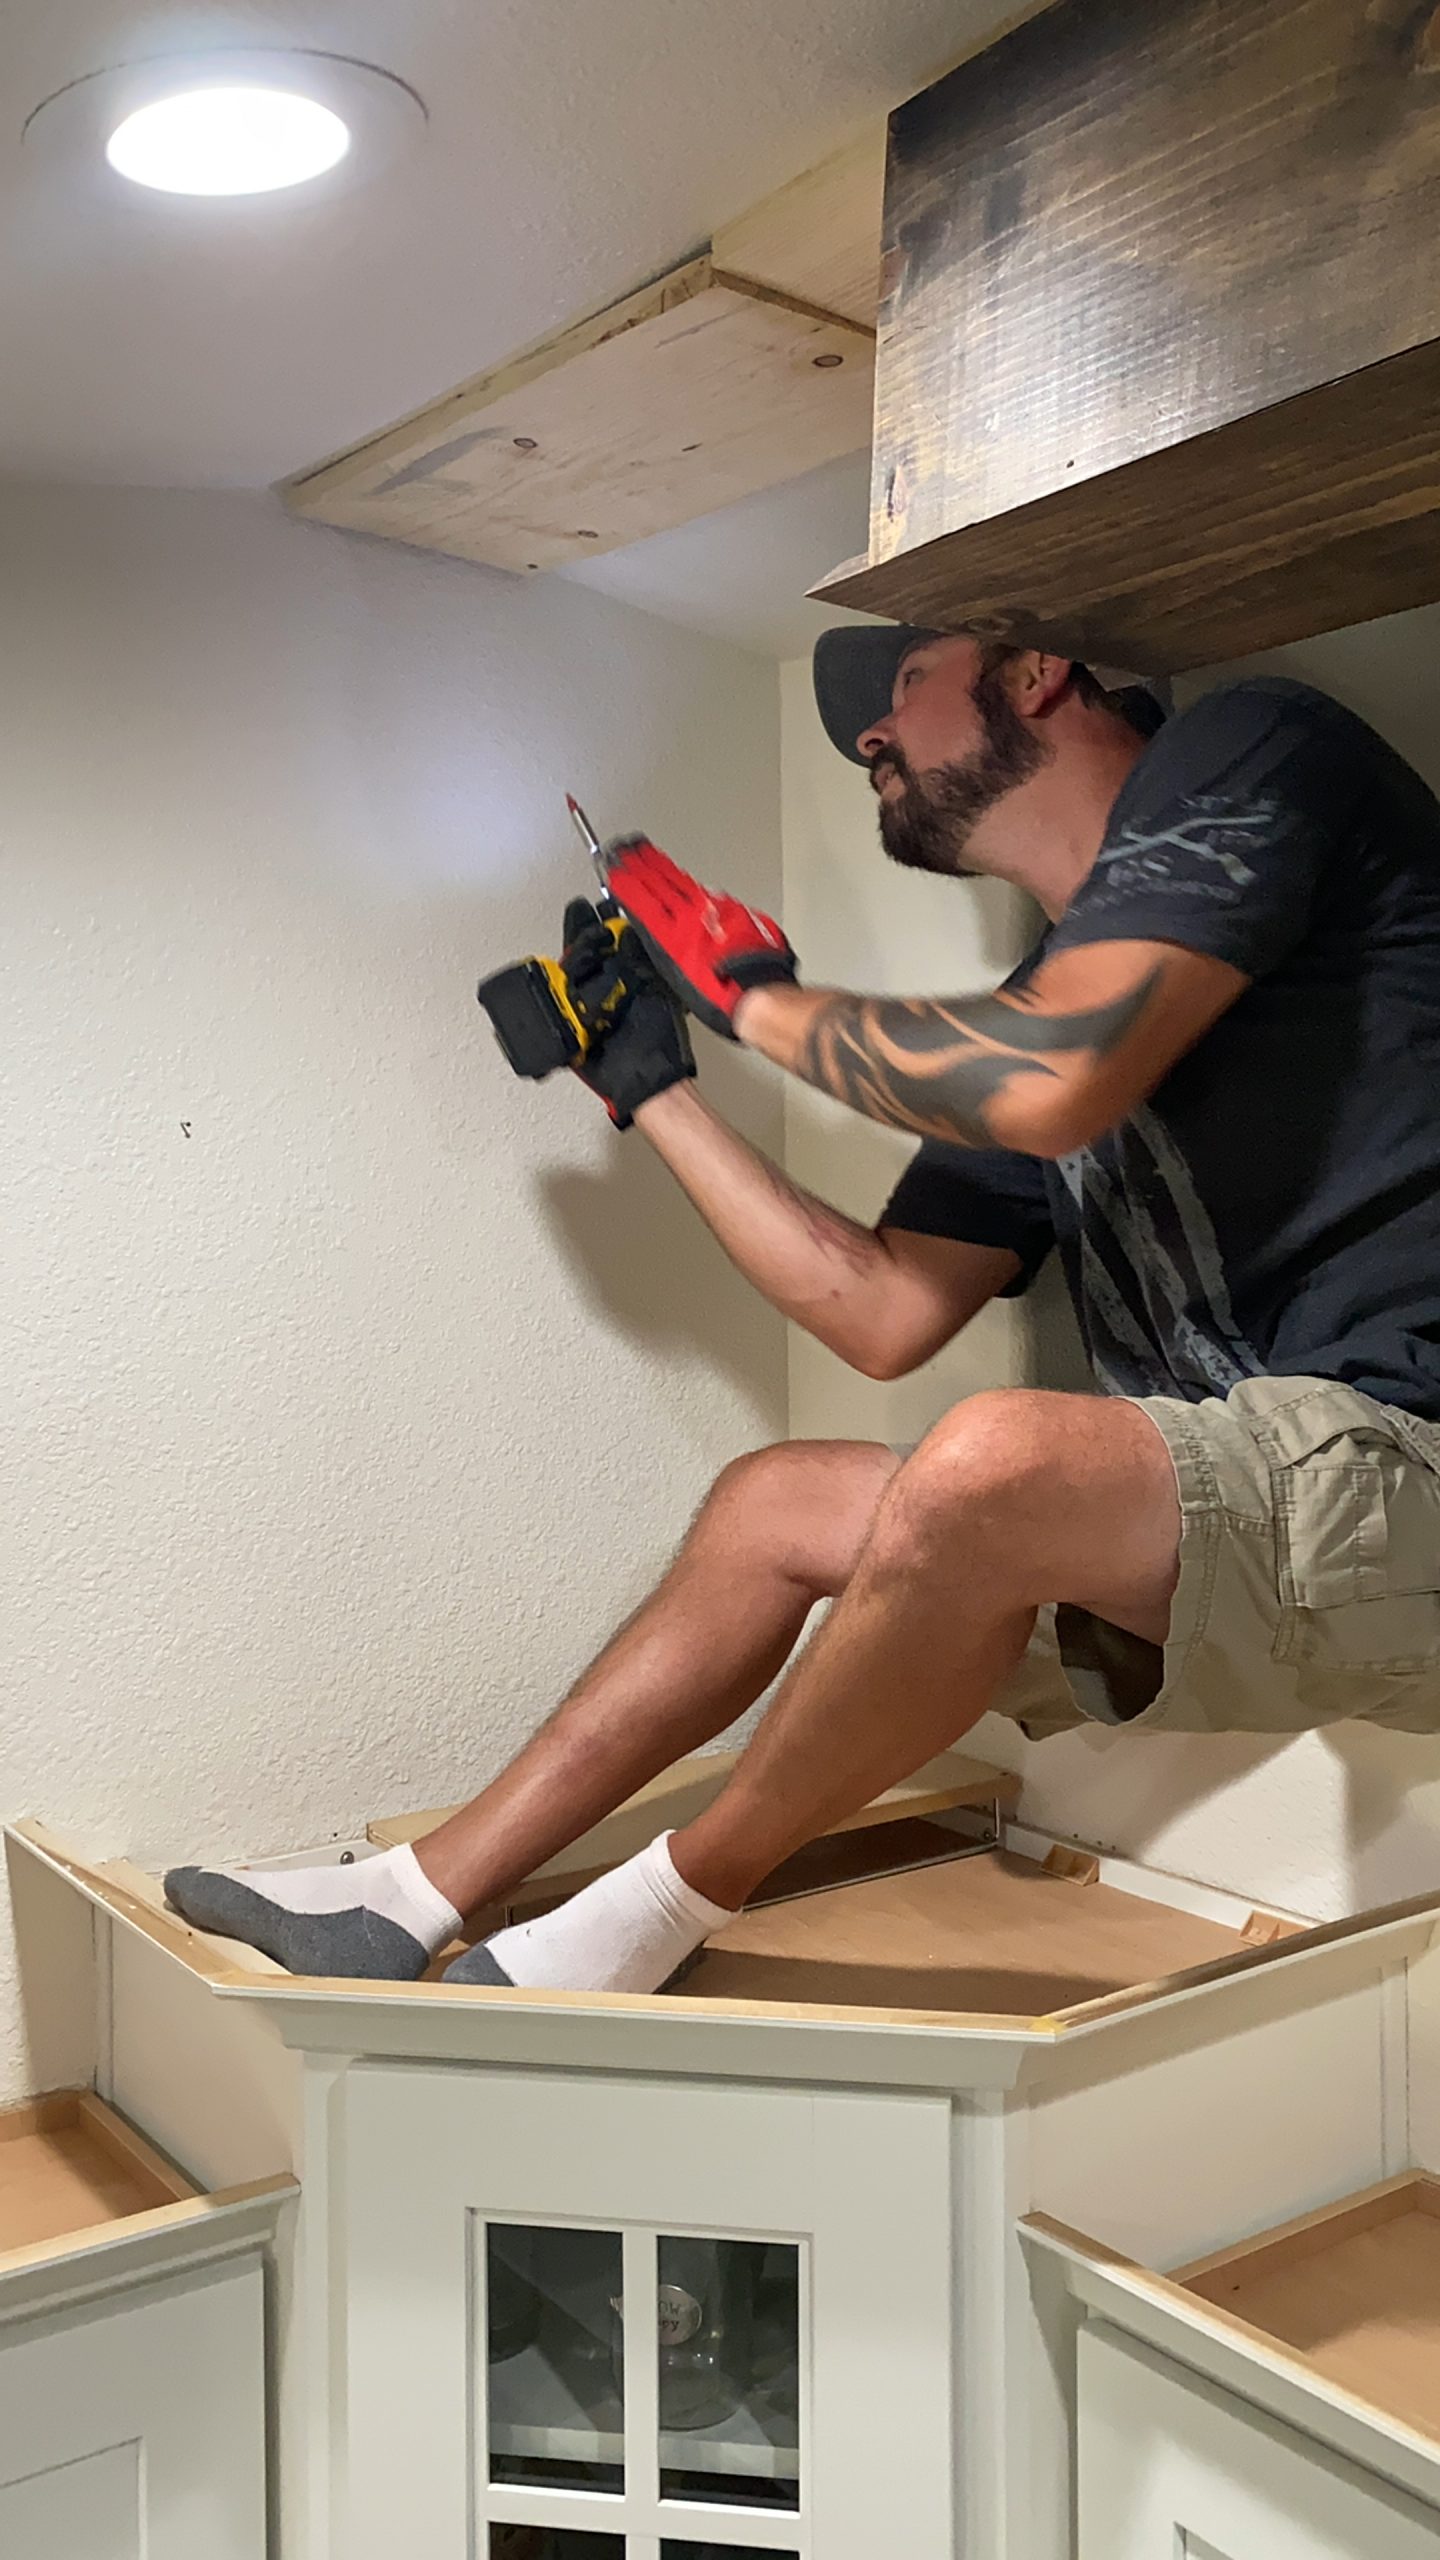
We had to move the smoke detector over slightly, so that’s what the hubs is doing here in the picture below.
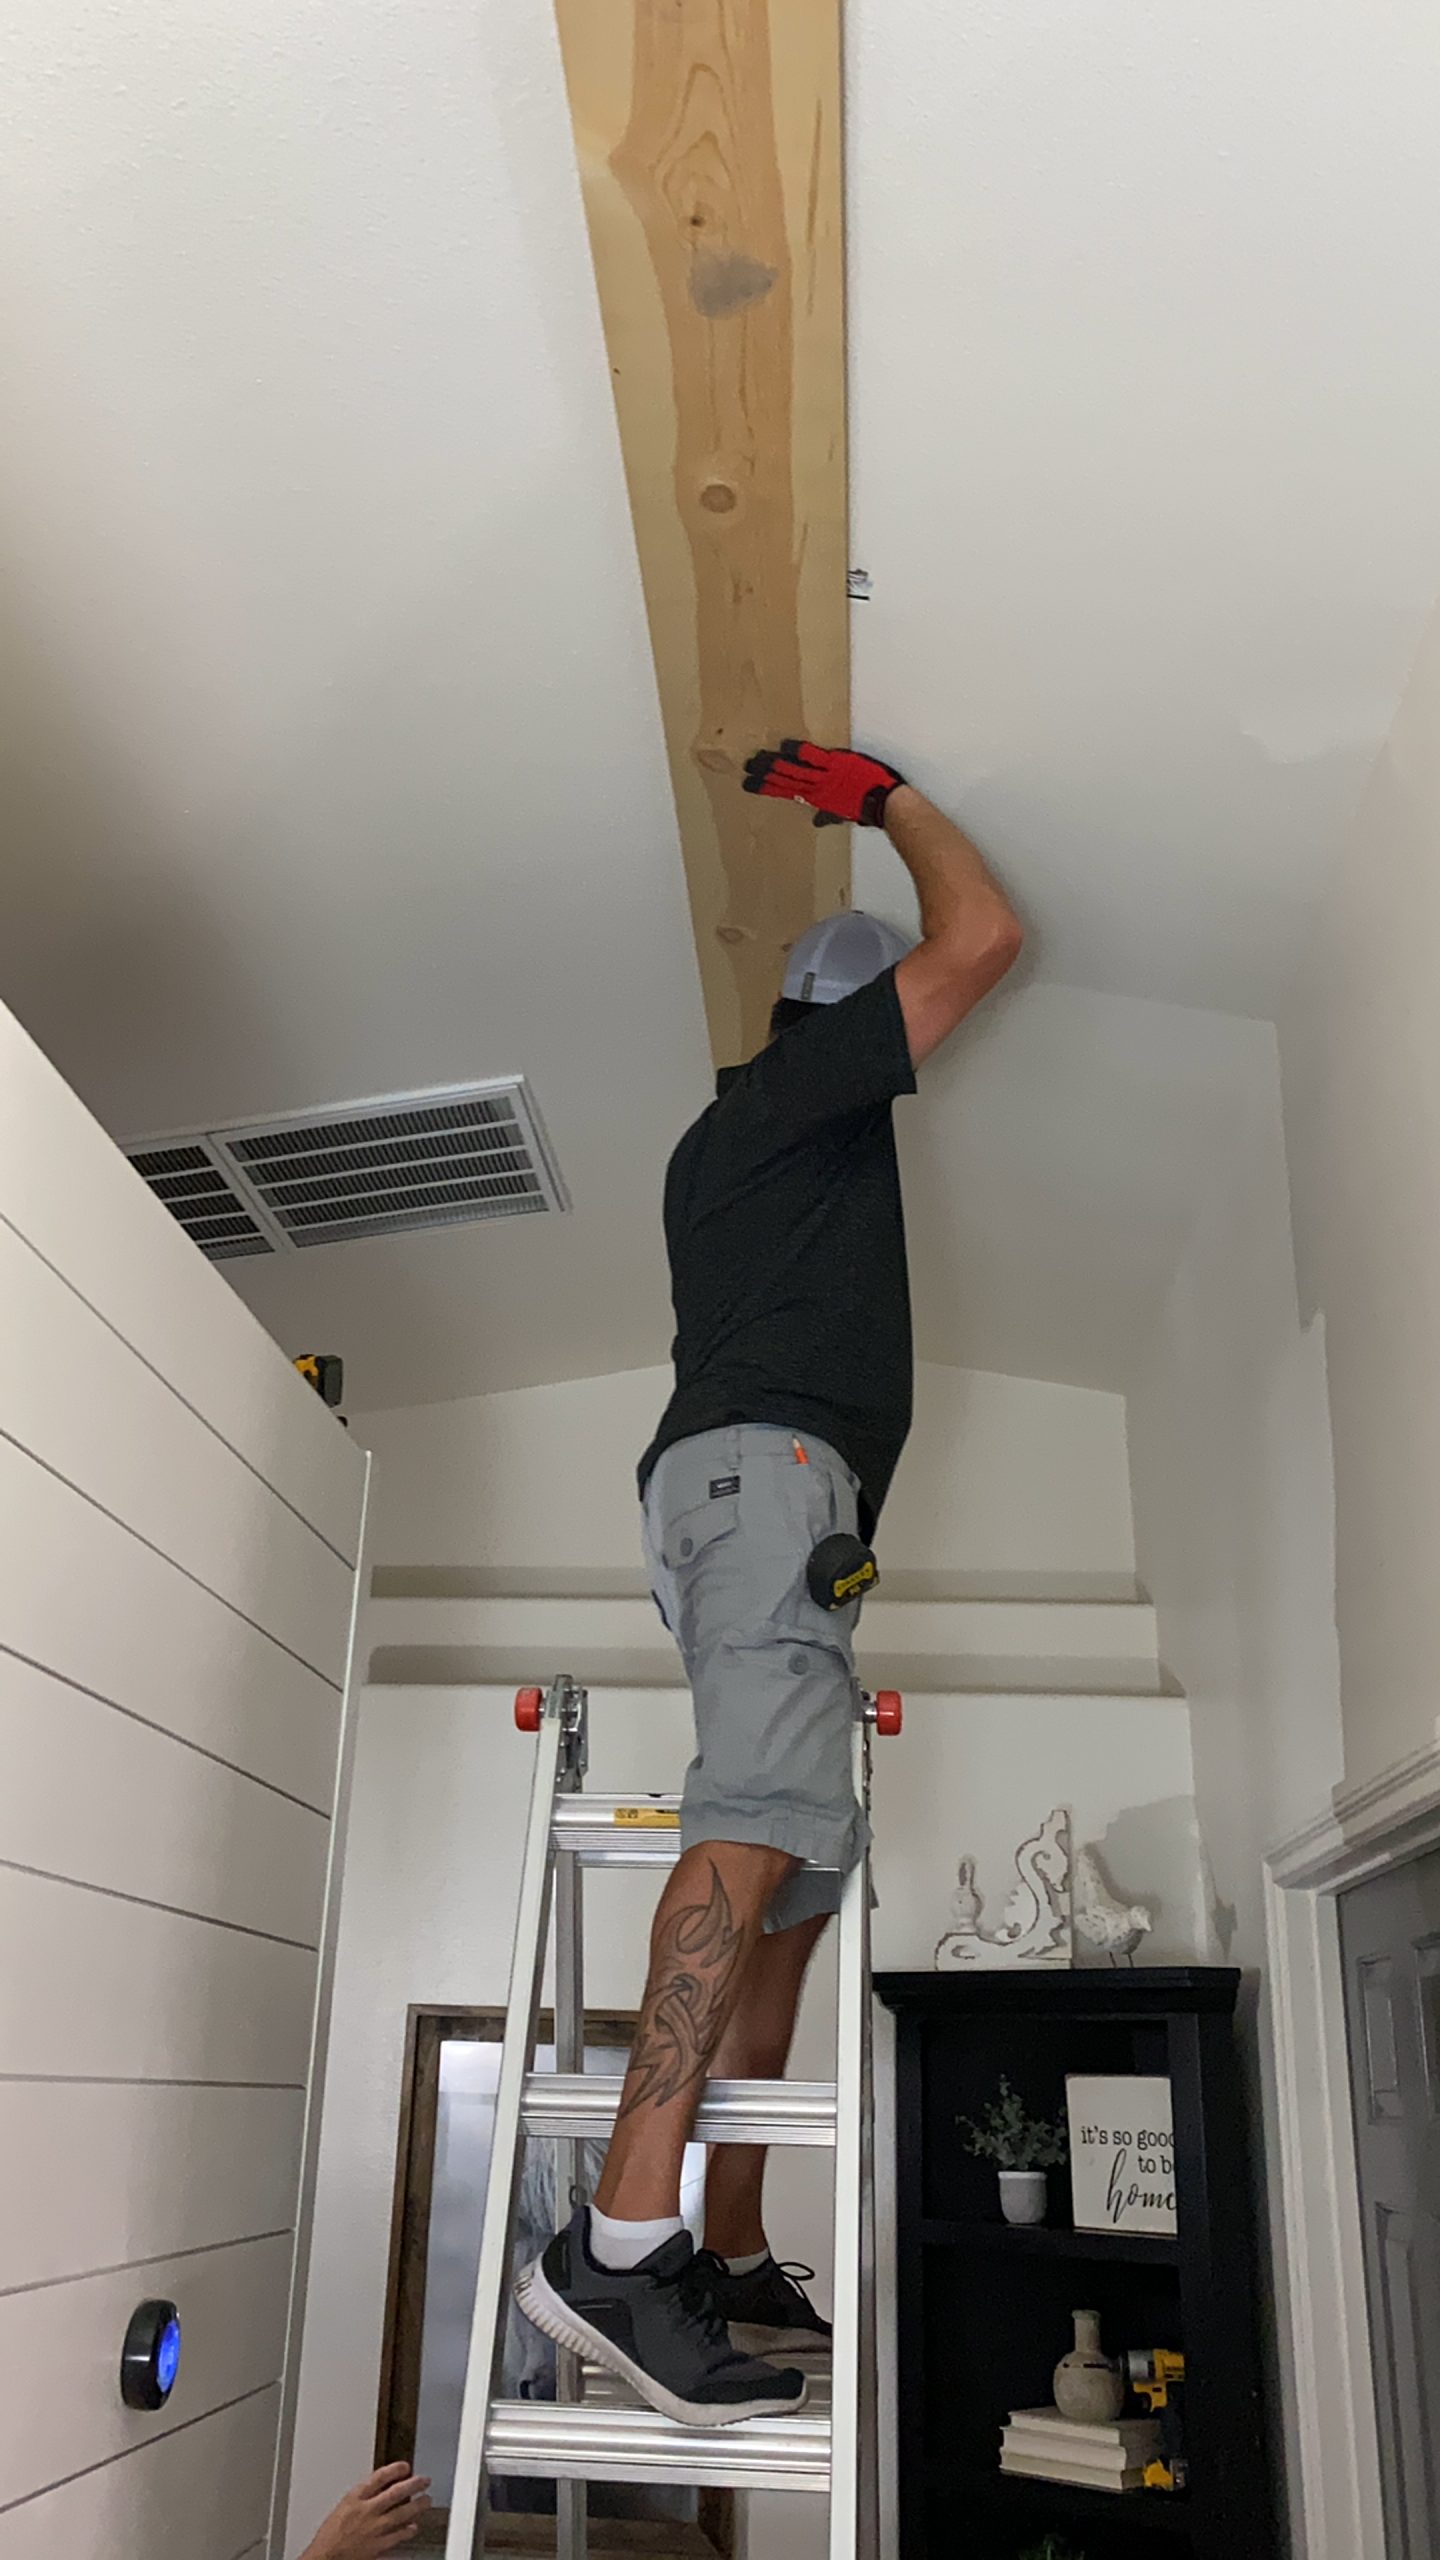
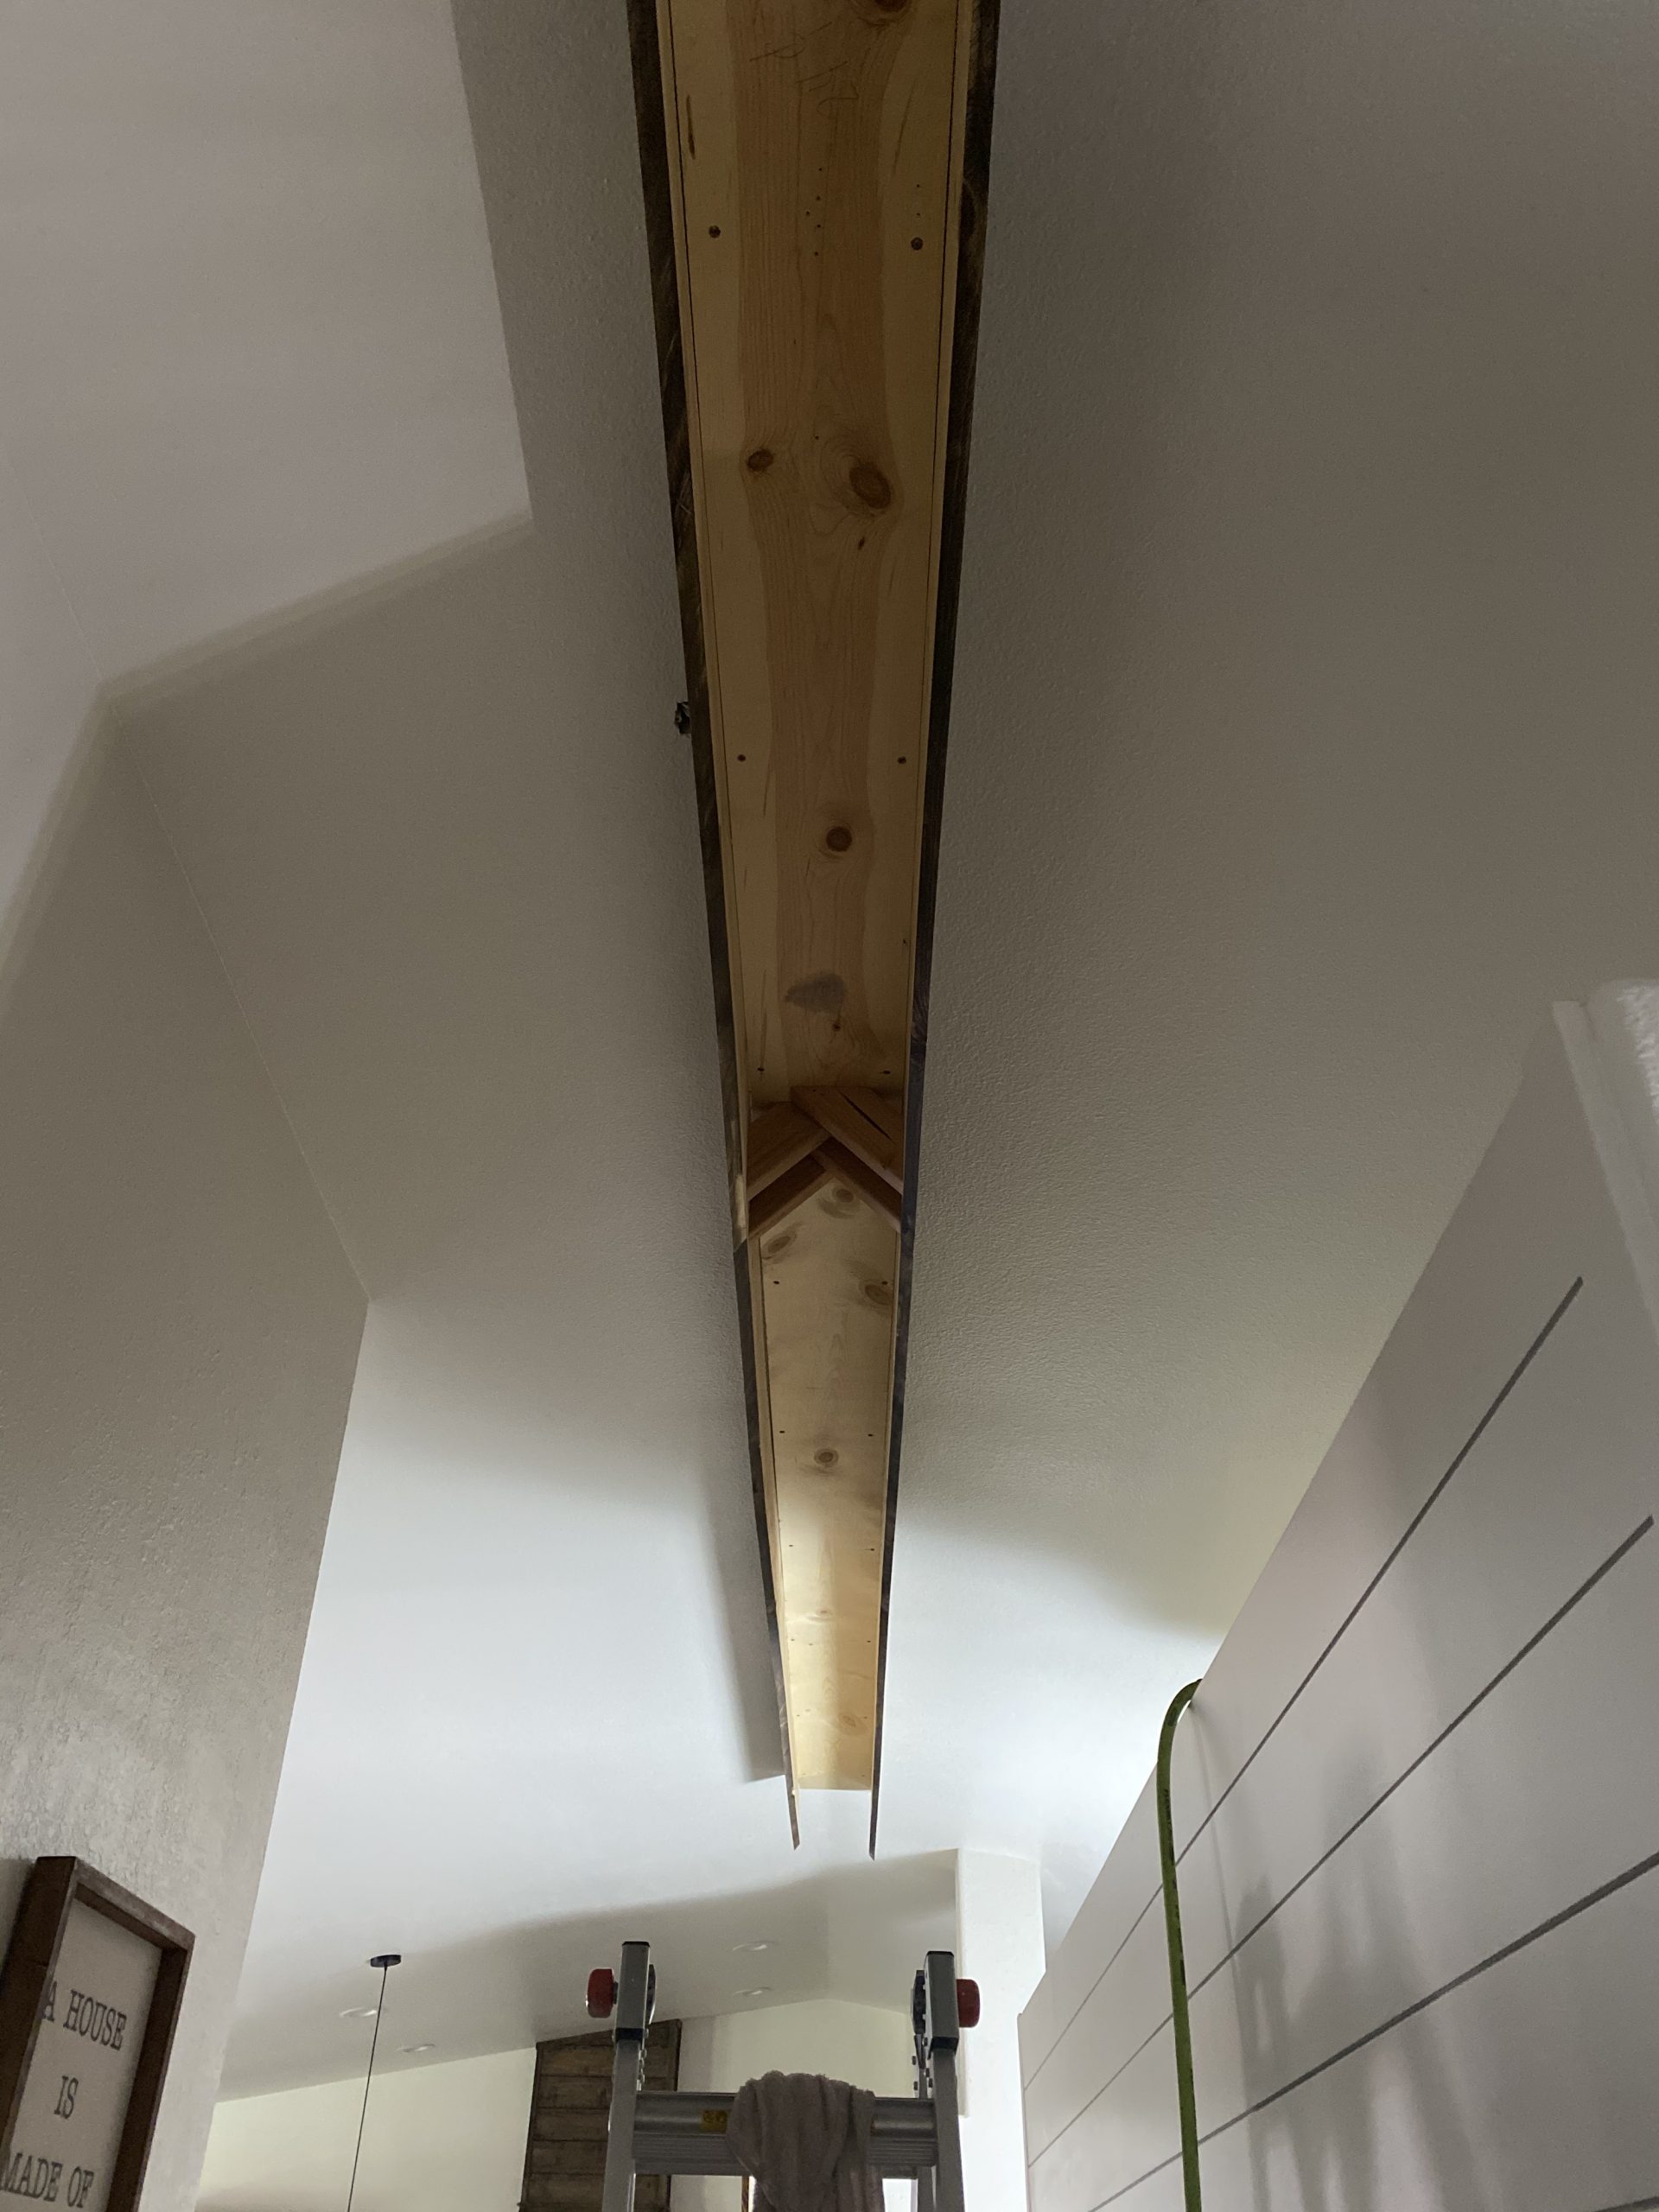
The first step is to add a board down the middle of the roof line. We bought these 12″ by 12′ boards and we did no prep to them. Looking back now I wish we would have stained the sides of these boards because the ceiling is not level and once we had the beam assembled and on you could see this board at certain angles. Now I either have to go back with stain on a q-tip or fill in the gaps with caulk. I’m dreading this, haha.
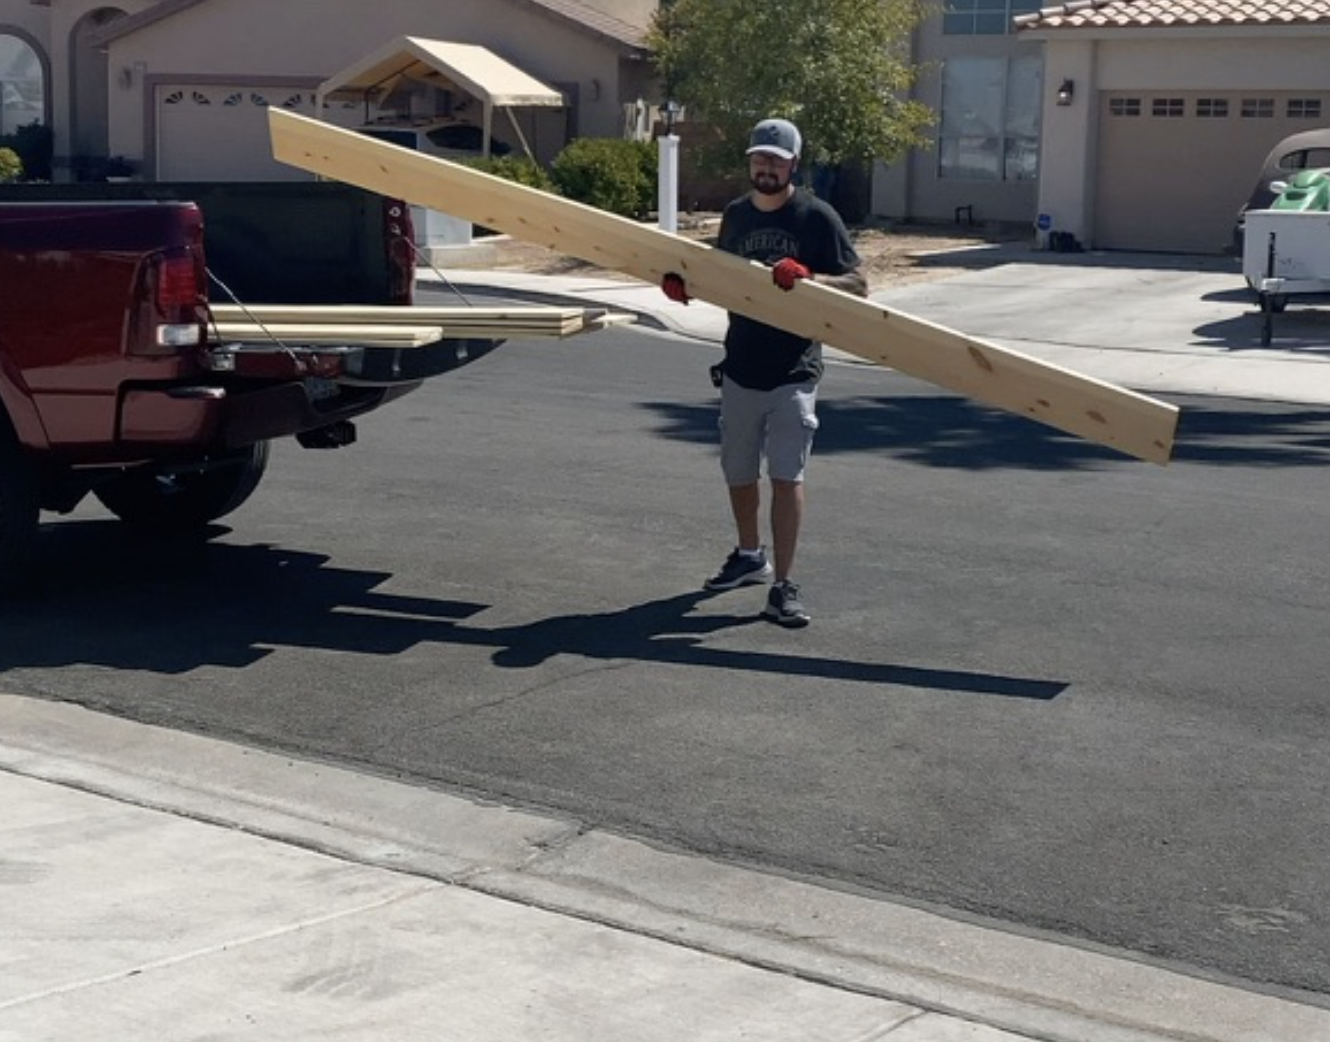
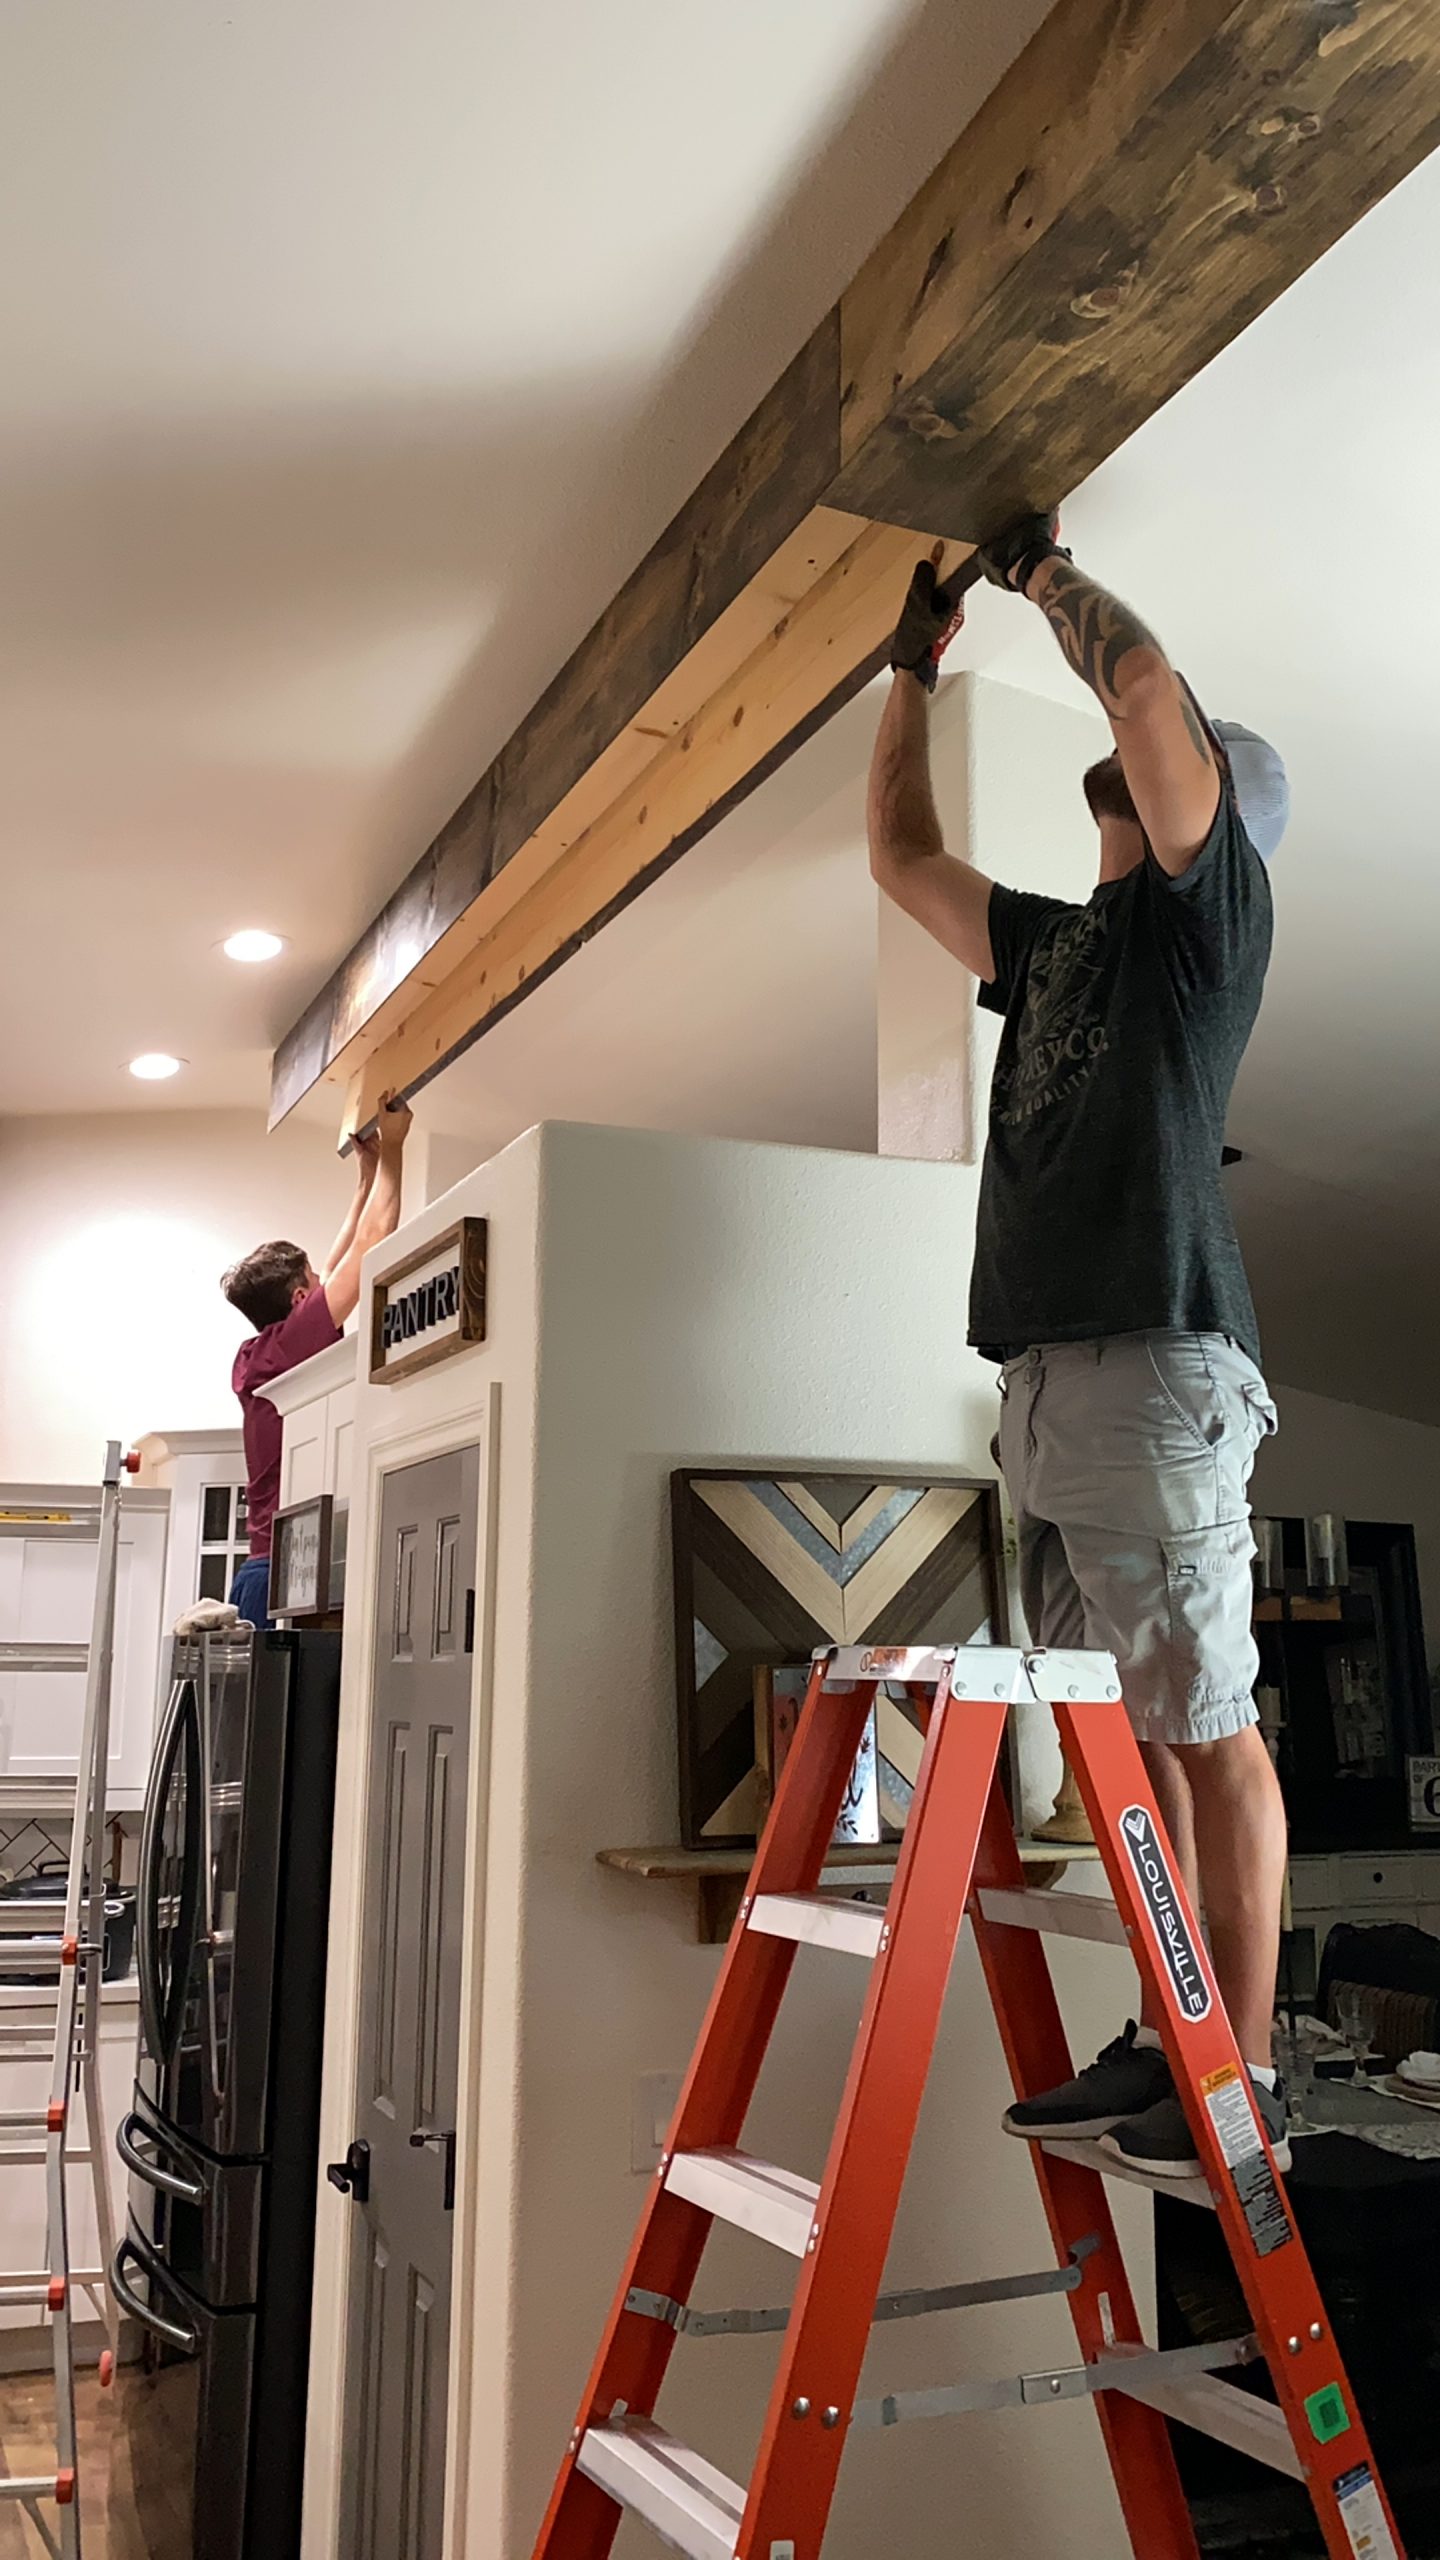
So we bought good quality pine boards to create the other three sides to form the beam. Of course everyones beams would be different sizes based on your space so I would be sharing measurements. Just the process on how we did it.
Now, this is the most important part of the whole process. If you want your beam to look authentic then you need to miter the edges so you do not have a seam. If you look closely you will see that the blade is at a 45 degree angle. You only need to do this to one side for the boards that will be each side of the beam. You will need to do this for both sides for the bottom piece. This is so that it makes an actual box and they butt up really close to each other.

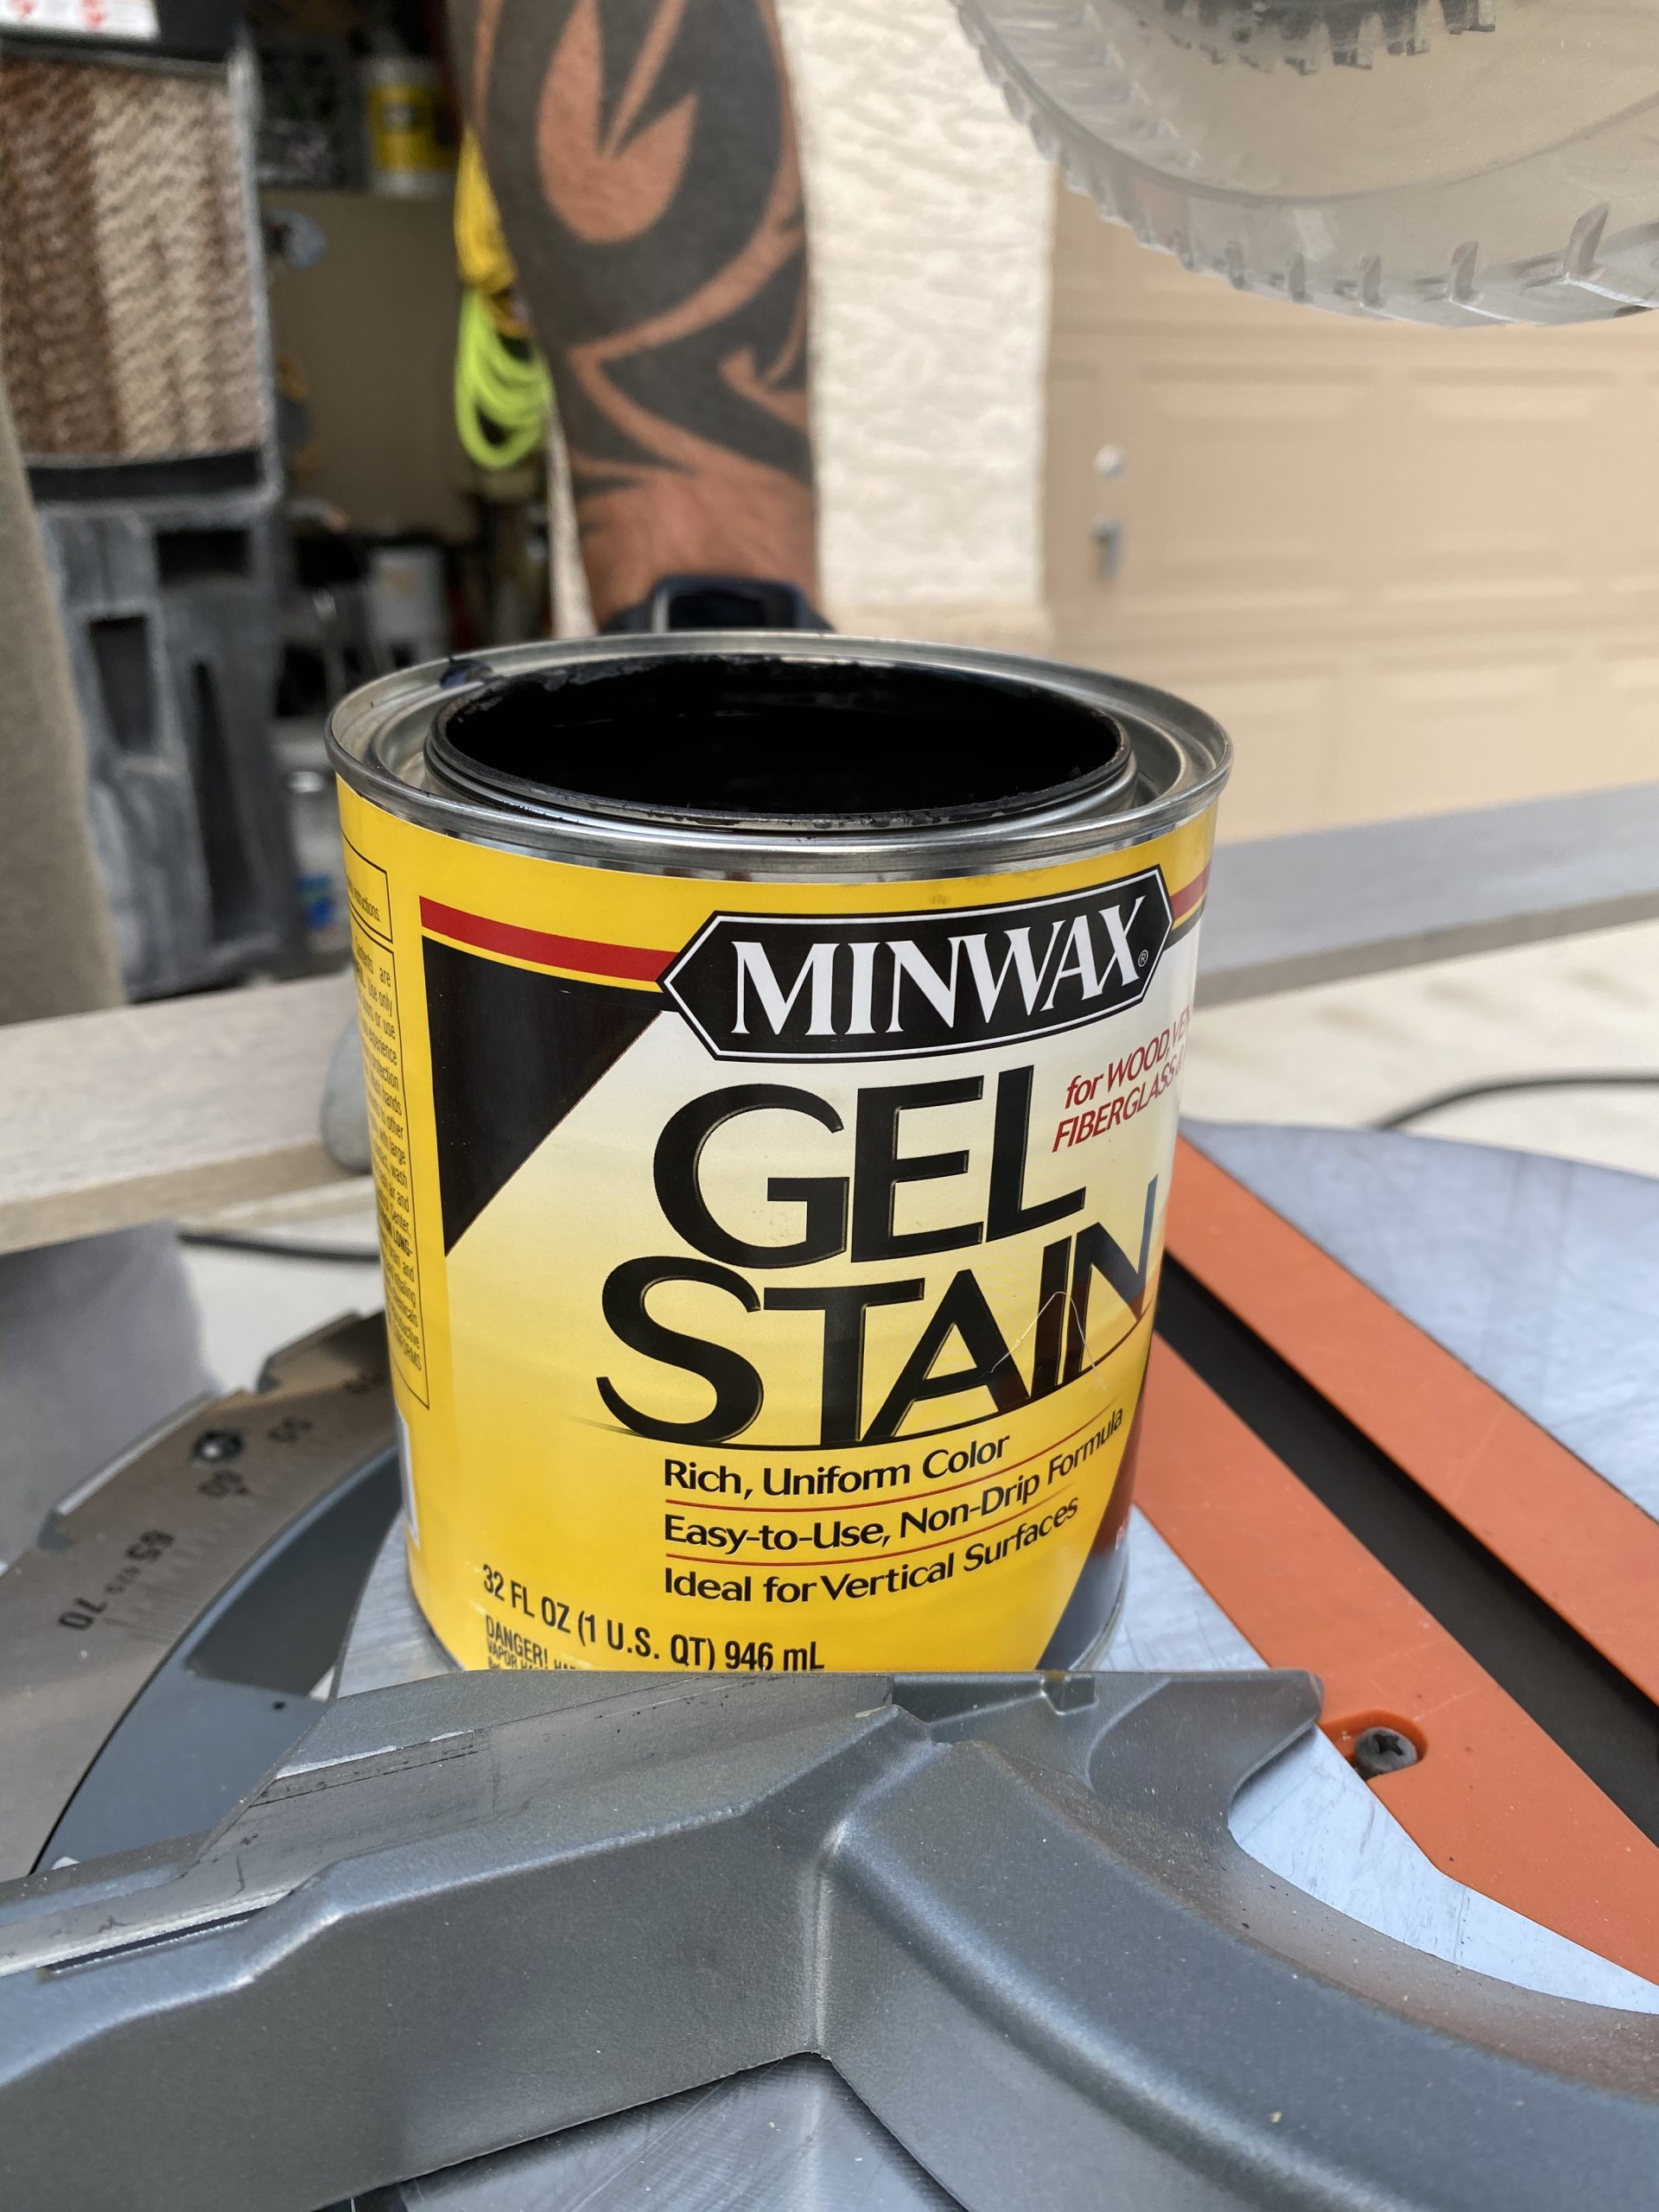
I stain the boards with dark walnut by minwax.

Because the beam was so long and so big he decided to add some support pieces inside the beam with scrape 2×4’s we had.
As you see in the photo below the seems do not match on the sides and the bottom. I will show you how we fix this. We learned in this process there was no filler or stain to hide the seams.

He is using a nail gun with 2″ nails to secure it to the sides of the board on the ceiling.
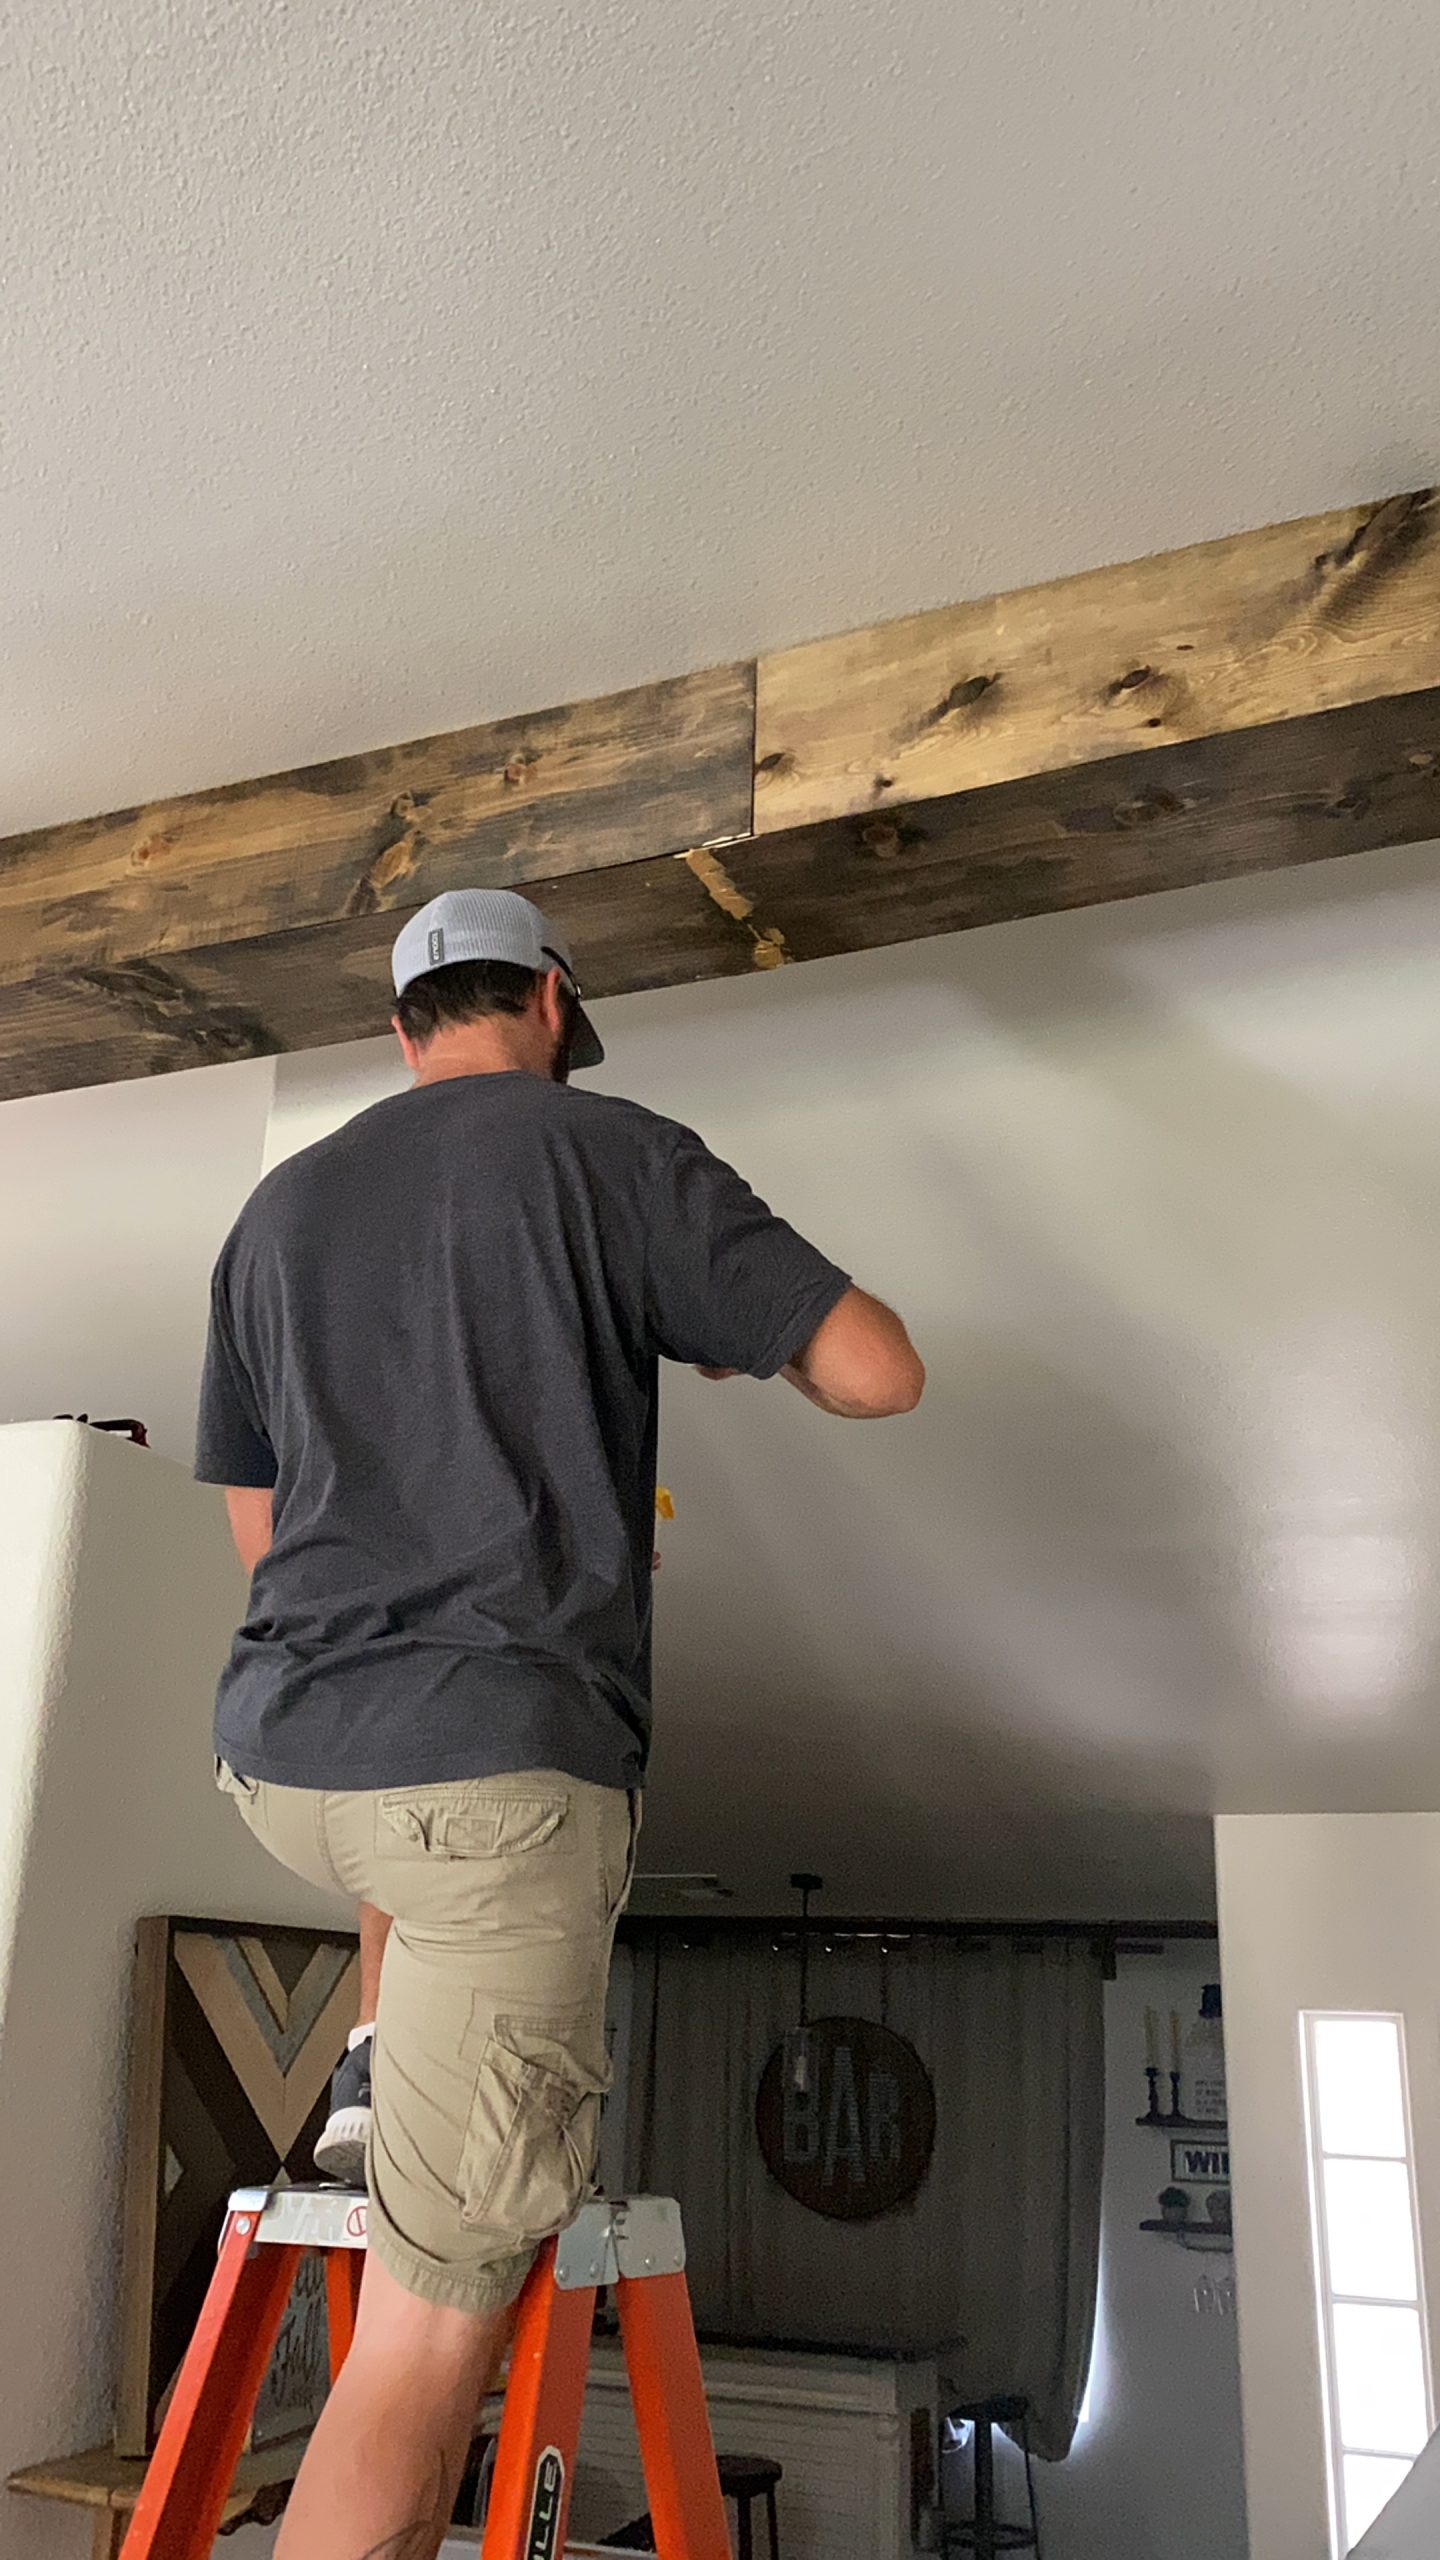
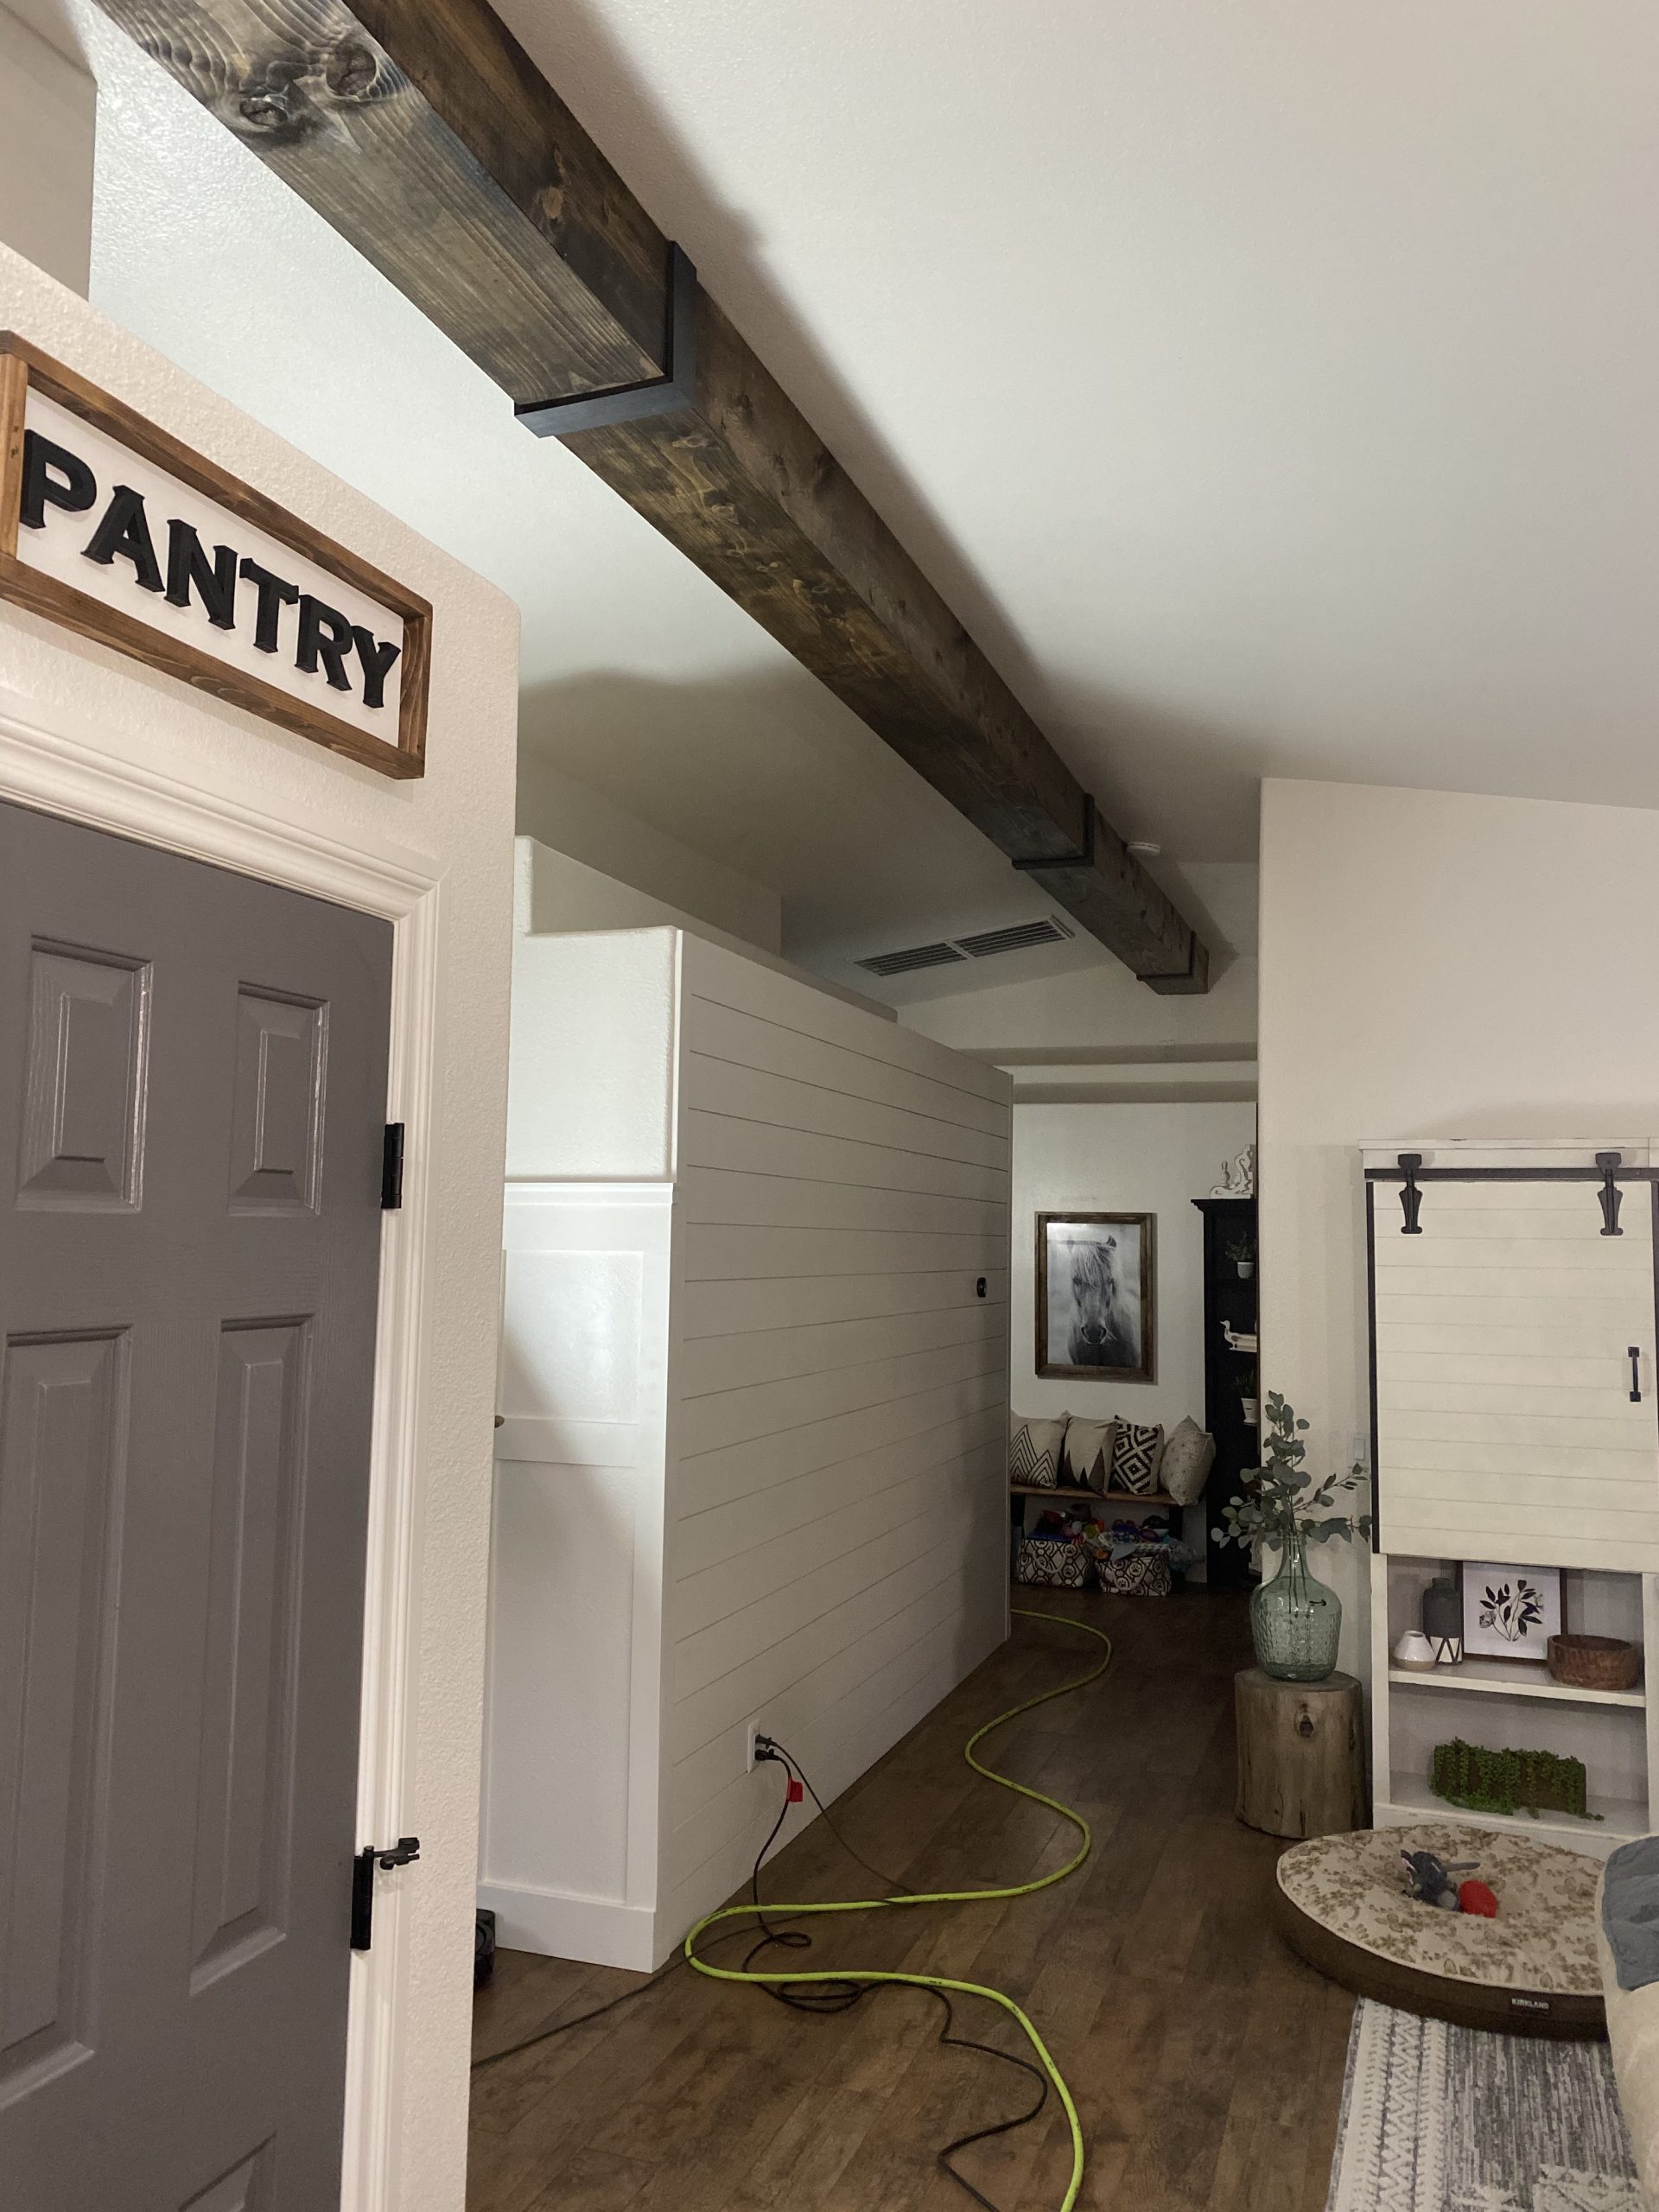
In order to hide the seams we used wood and stained it with a black gel stain so they look like metal wraps.

If you look at the wrap at the far end there was never a seem there but we added a wrap so that it matched the other end over the kitchen.
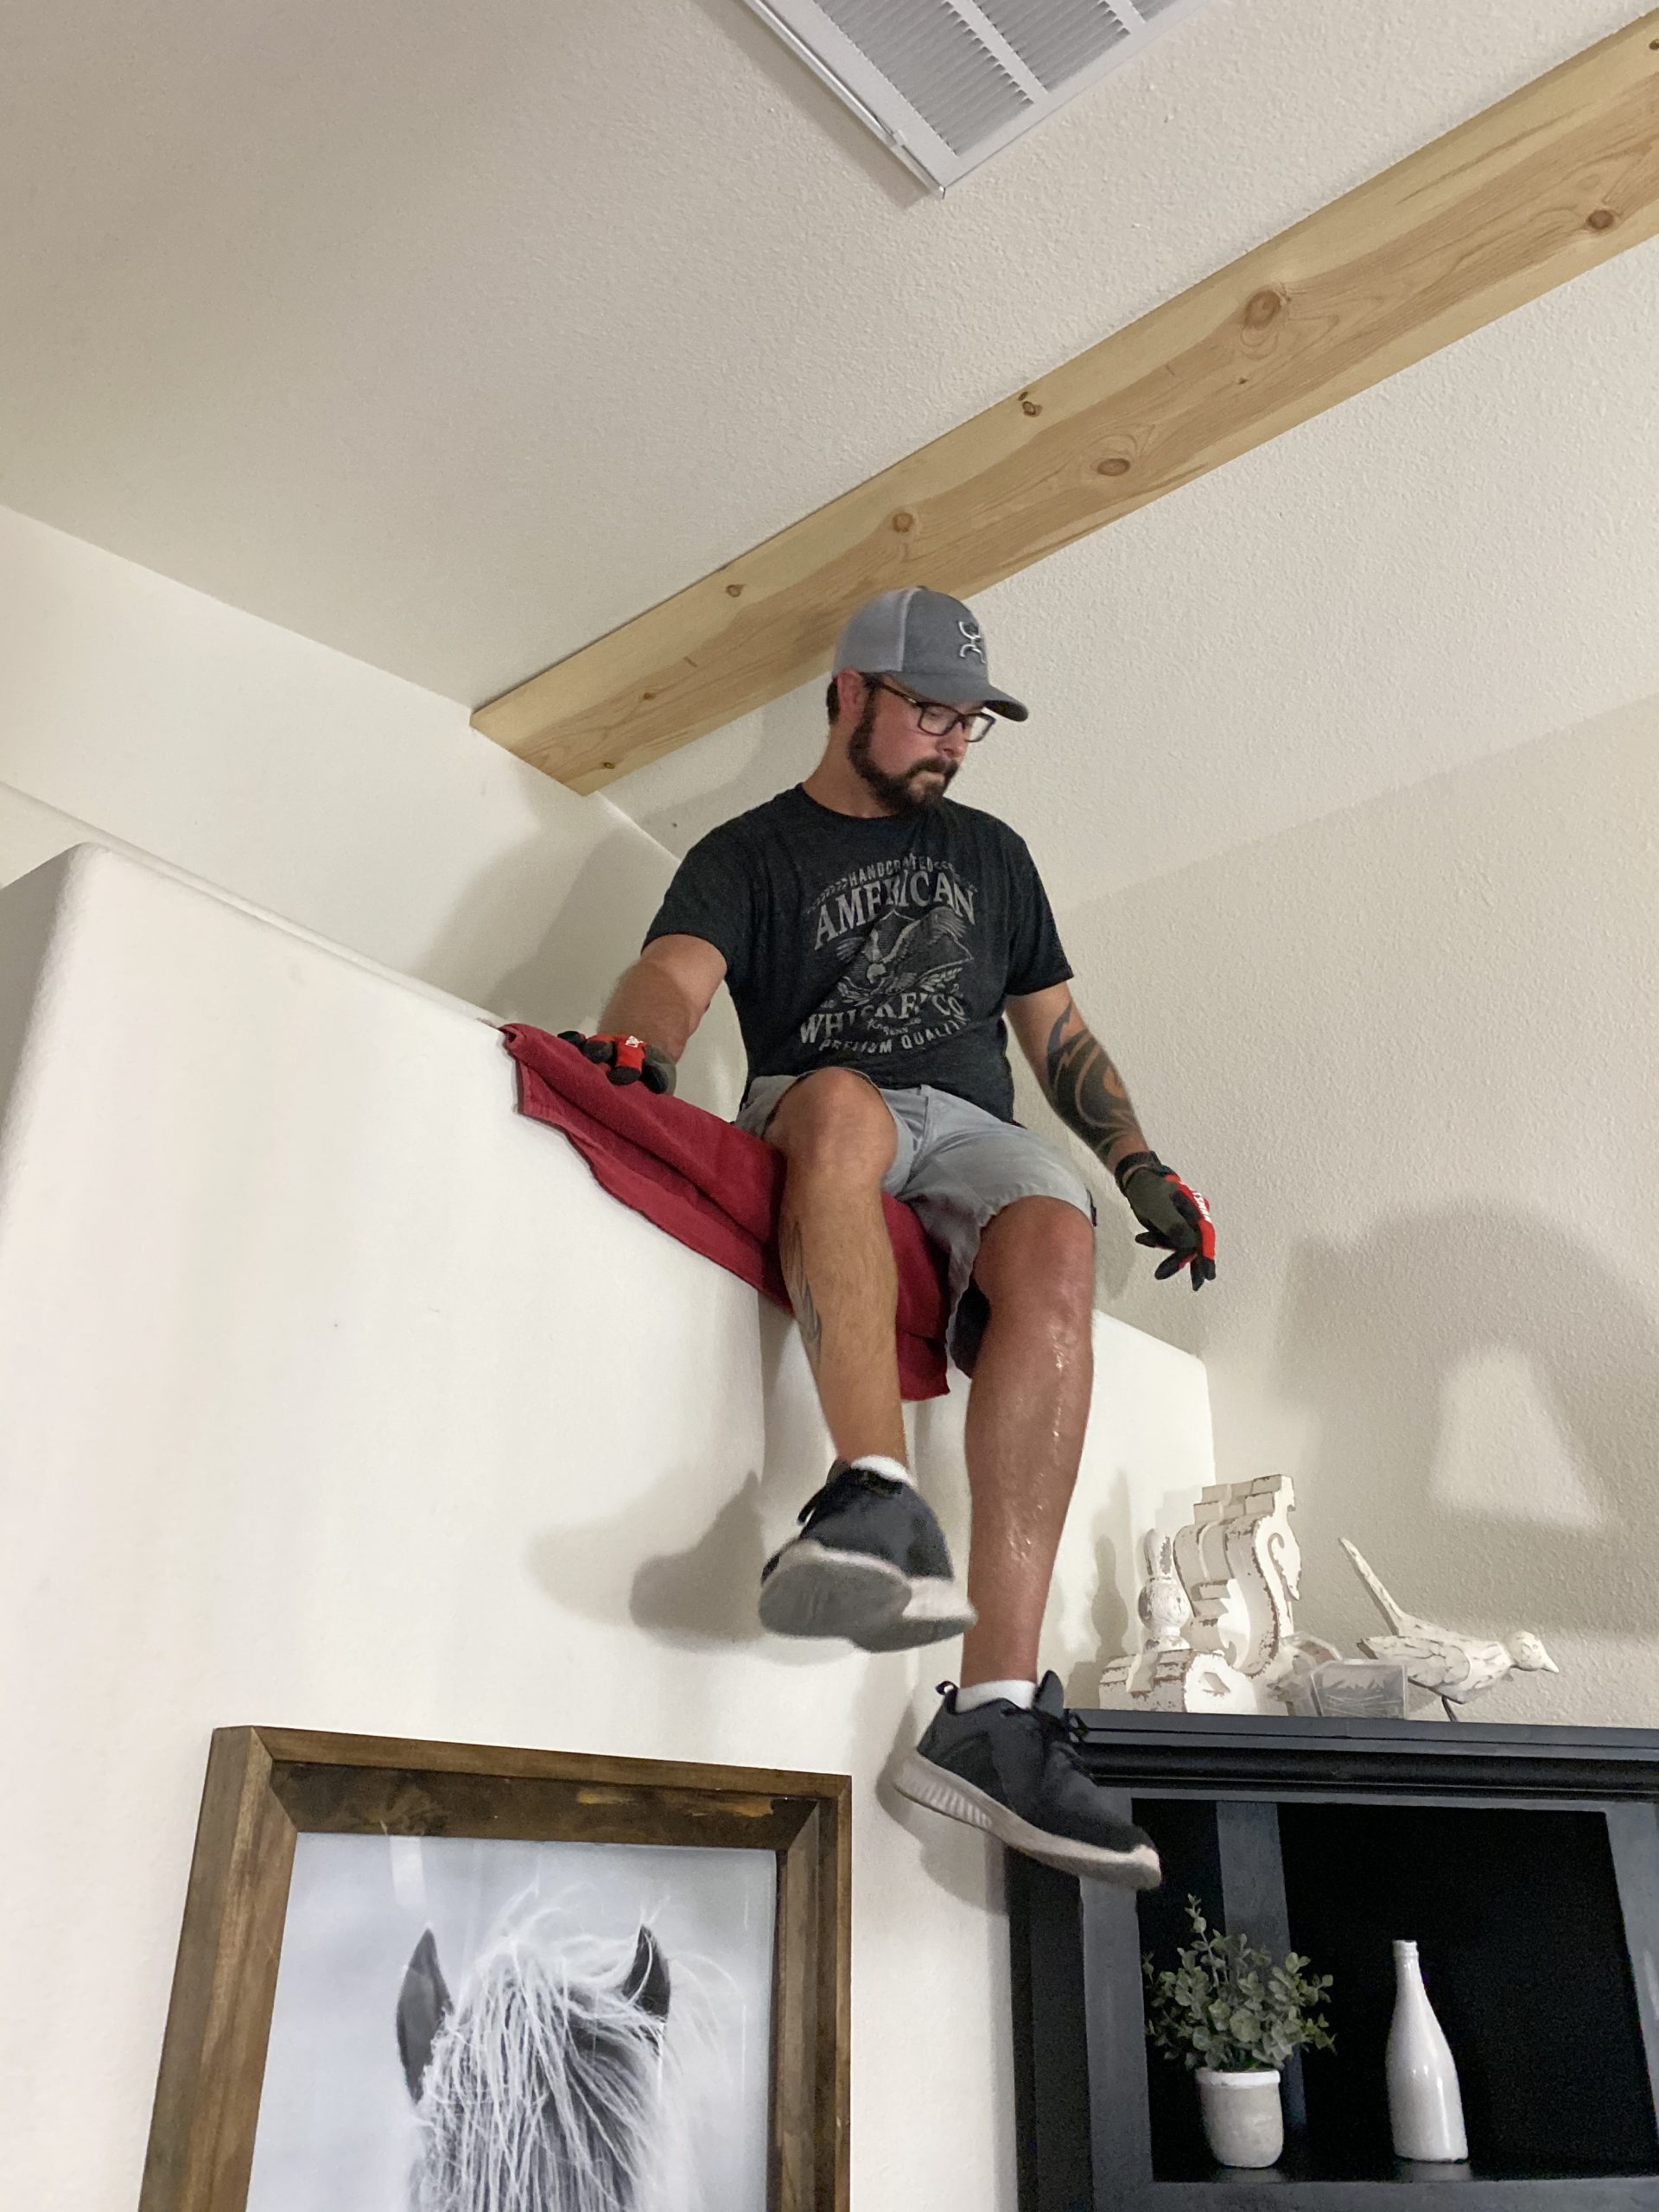
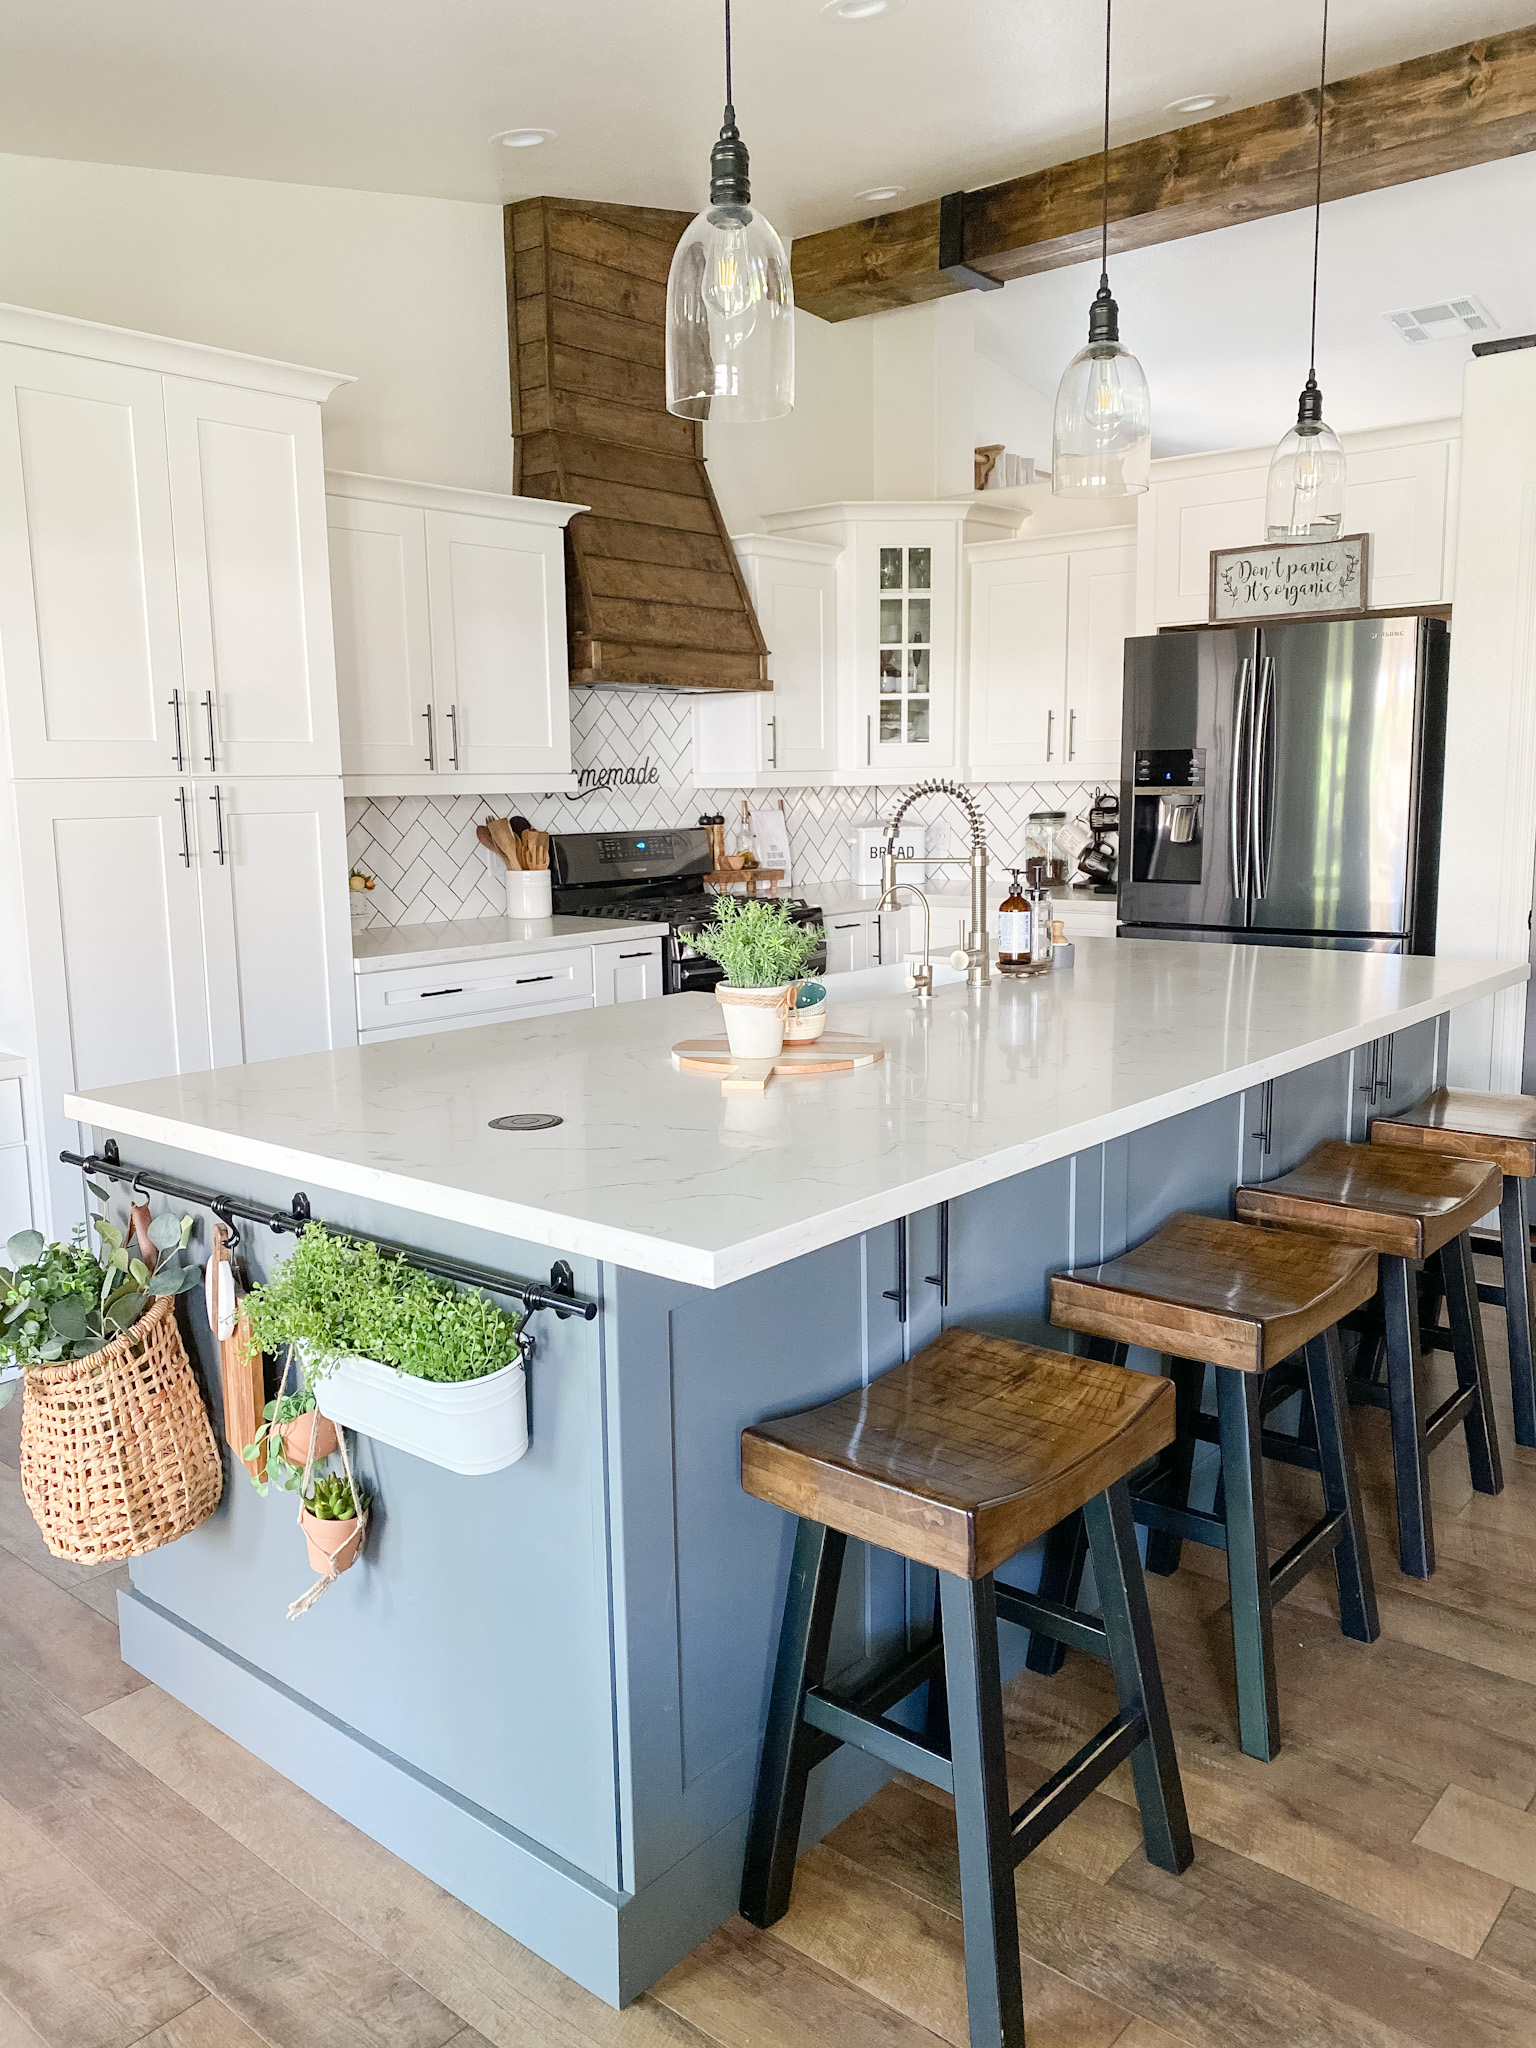
So the wood vent hood, chairs & beam are all dark walnut and tie together. This was not a complicated project but you defiantly need some muscle in order to get it hung. I think it brings so much character to the house. So glad we made this a chunky beam and not to small being that the ceiling is so high. Would love to hear your thoughts and or questions in the comments below.
Jessie Thomas
2 Comments on “How to DIY a Faux Wood Beam”
Beautiful! Worth the effort.
Thank so much Barb! I appreciate you taking the time to comment 🙂