If you haven’t already make sure you check out the first phase in this laundry room renovation. We added shiplap to our ceiling which turned out so good! You can find it here.
The first part of this process is of course shopping! My favorite. You can find me skipping down the isles pretty much every Friday to start a new project or pick up more supplies for a current one.
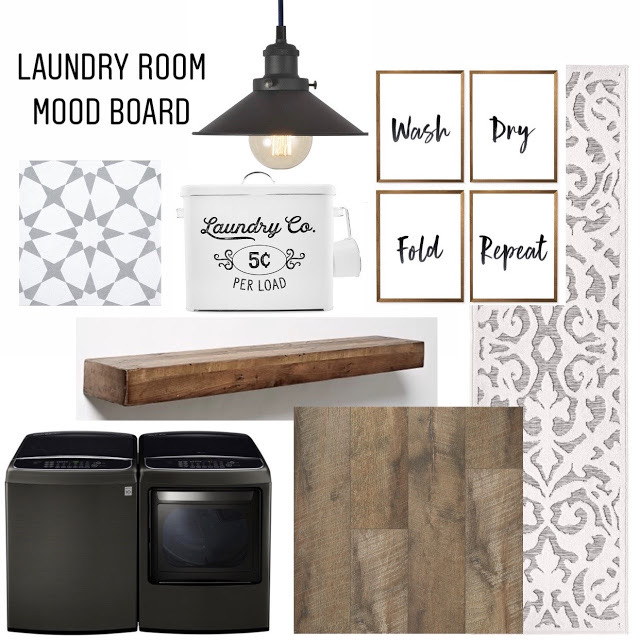
Supplies:
- 1 Top Choice Maple Plywood
- 2 Select Pine Boards
- wall cleat two 8′ boards 3/4x 1-1/2 x 96
- wood glue
- wood filler
- wood stain & conditioner (I used Dark Walnut) & sealer
Tools:
- Table Saw
- Chop Saw
- nail gun
- tape measure
- 4′ level
- drill
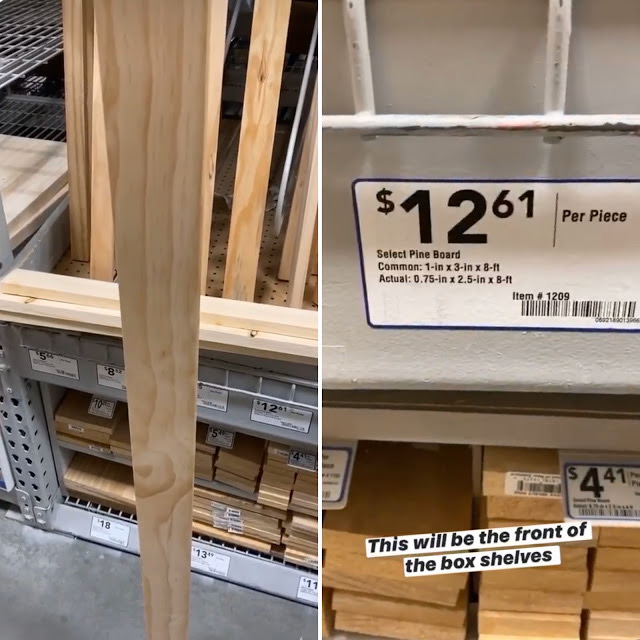
Here are some photos of the exact products I bought at lowes. I did a terrible job at taking photos for this blog post so I had to screen shot my Instagram stories so don’t mind the wording on the photos.

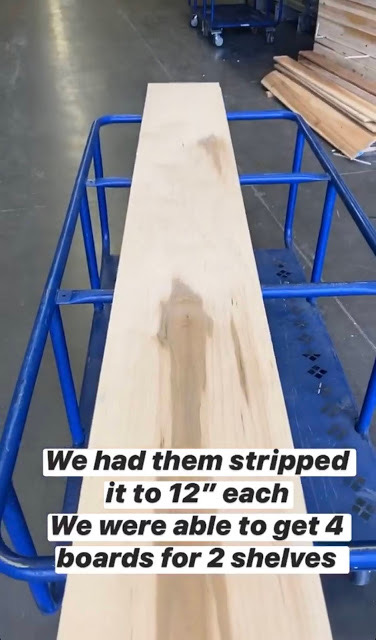
We had the ply wood stripped down to 12″ pieces.
By Bye old shelf
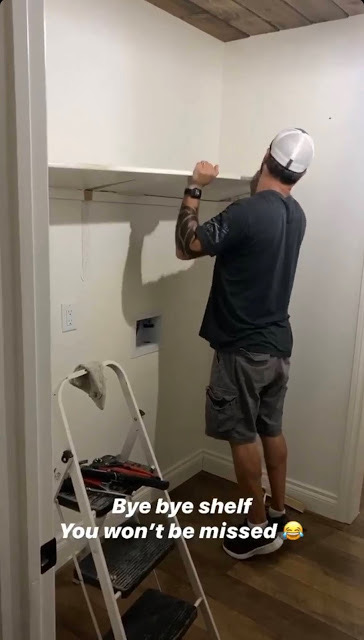
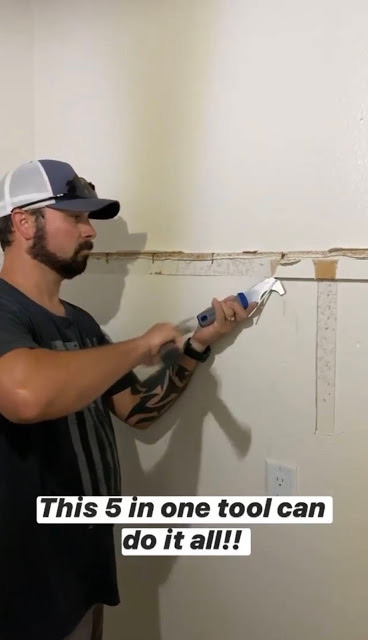
He used this tool to remove anything left hanging and remaining pieces from the shelf.
Below are the screws he used. These are a little pricey but they have a very small head on them and will be less noticeable when filling them with wood filler.

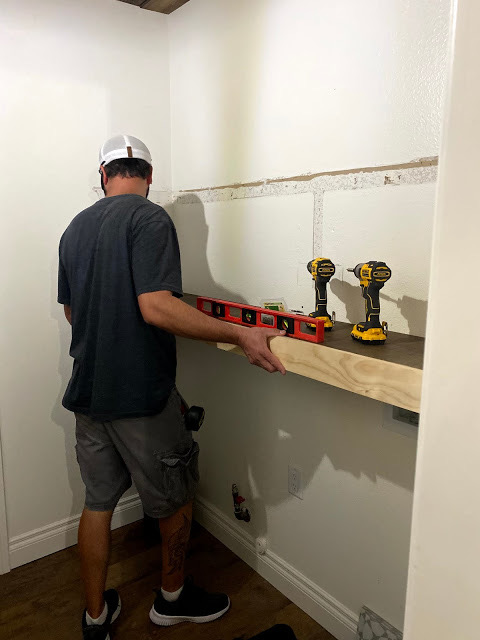
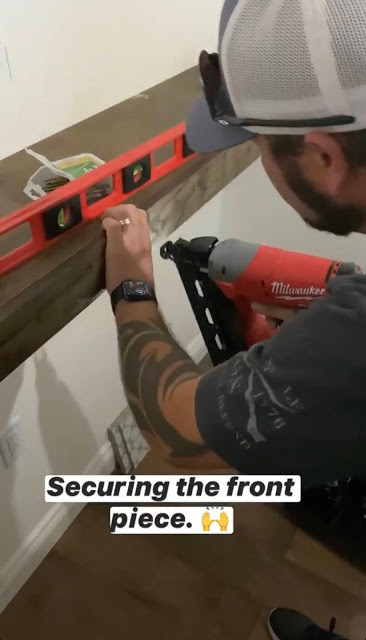
So for the shelf to sit on he attached a wall cleat. Make sure it’s level!! He just ran the cleat around the wall right above the water line so it will help hide it. Attached it to the wall using screws into the studs. Then you can screw in the top board to those cleats.
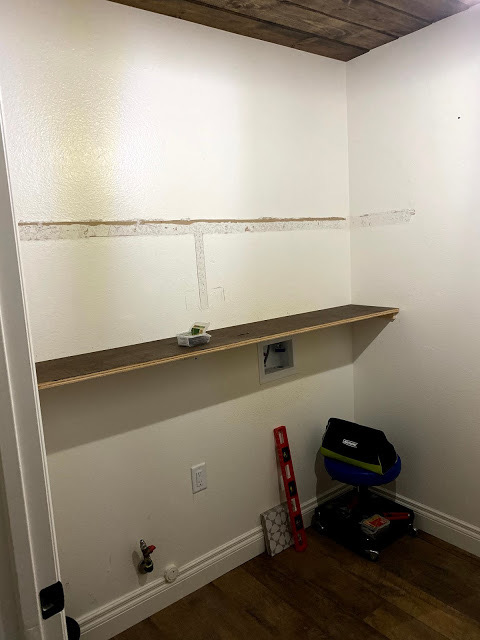
He then put a board on the bottom and screwed that in.
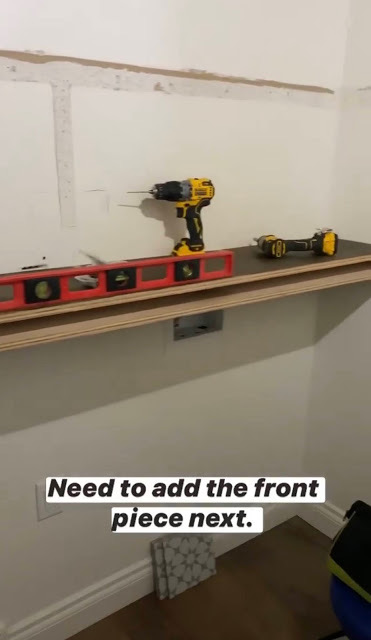
For the front he took the select pine board and cut to fit the front. This gives the shelve the allusion of floating but its secure to the wall.
He’s using his nail gun to secure it.. no need for screws.
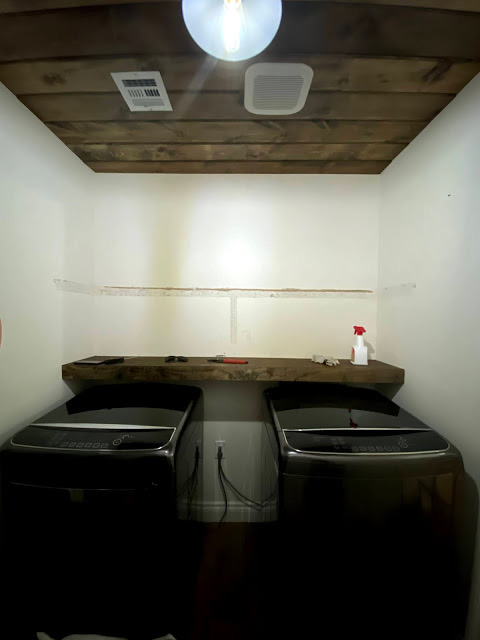
Here is an awful picture of it all done. We made a second shelf further up that you will see in phase three.
Phase 3 is adding beautiful tile by Jeffrey Court.
Jessie Thomas