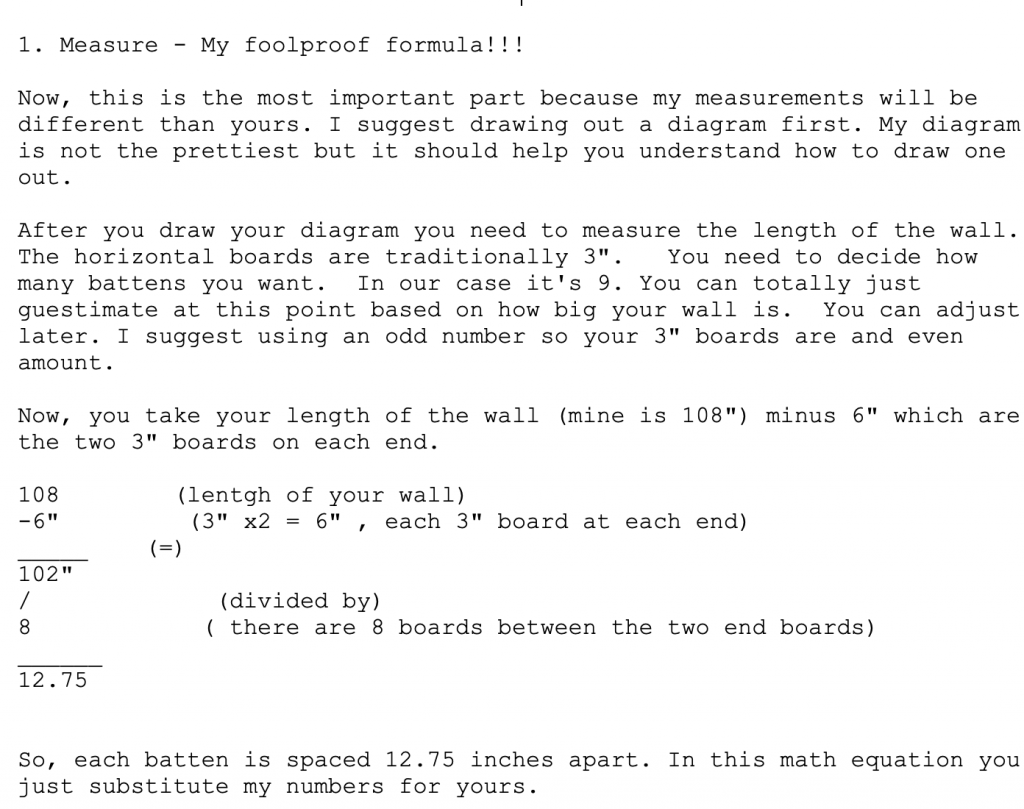
Bad at Math? Me too! I spent a lot of time looking on the internet for an easy formula to help space your boards evenly on any wall. I only found one and it was so confusing, I couldn’t make it work. So, with some help, I figured it out!
What’s nice about this project is it’s very inexpensive. The total cost including the new baseboard was $120. Make sure you read this entire tutorial before starting. I have a lot of very important steps you don’t want to skip.
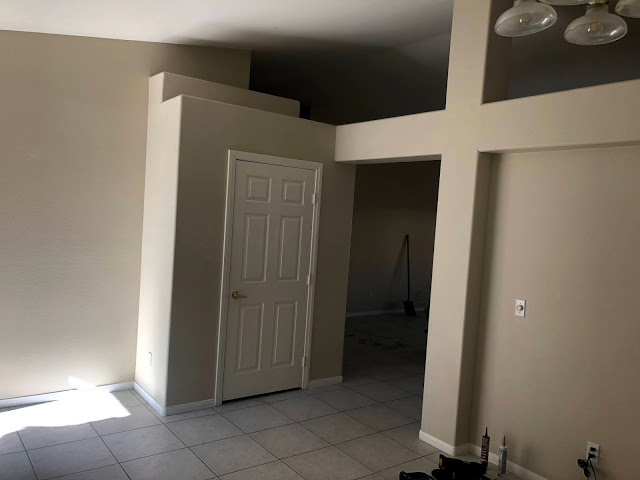
This wall (the one to the left in the photo below) has been through a lot over the past year. Before we get to the board & batten wall I wanted to show you how this wall started out. When we moved in we had this coat closet that you needed to walk around from the front door to get to the next room. We debated a lot on weather or not to remove it. I’m so glad we did! It made a huge impact on how the house flowed. We also took out that adjoining piller. So glad it’s gone!
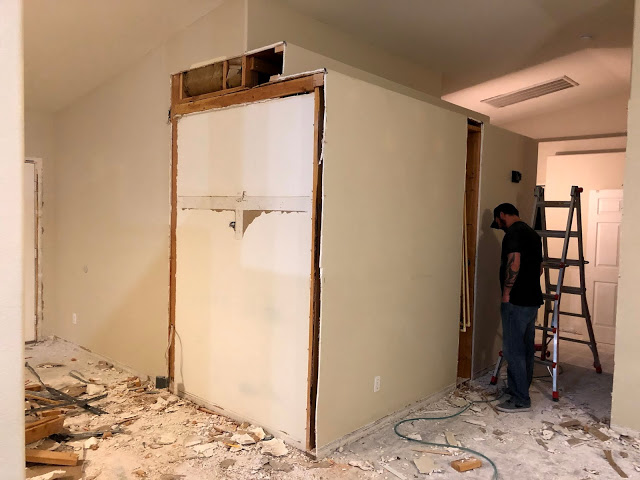
What a mess! Things have to get worse before they get better right? I’m so glad that closet is gone!
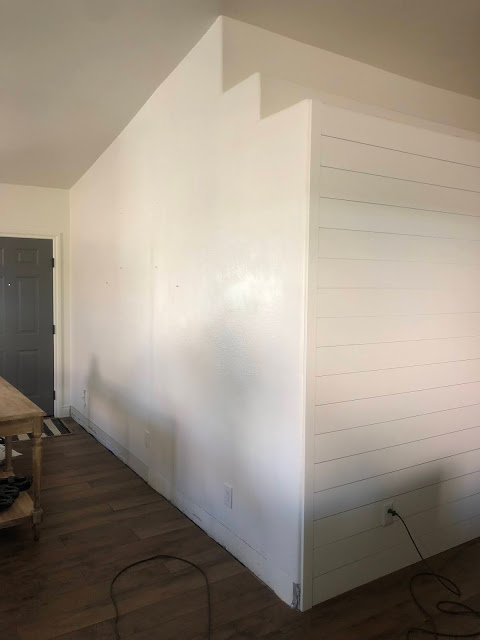
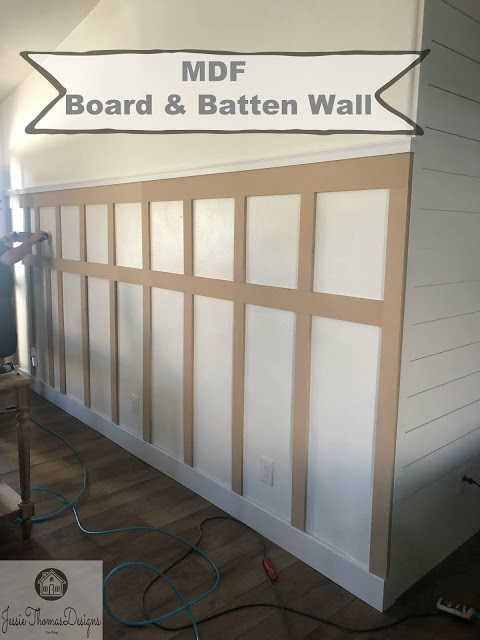
As you can tell below the wall wasn’t perfect, so the board & batten wall was a great solution to hide all the imperfections.
2. Materials
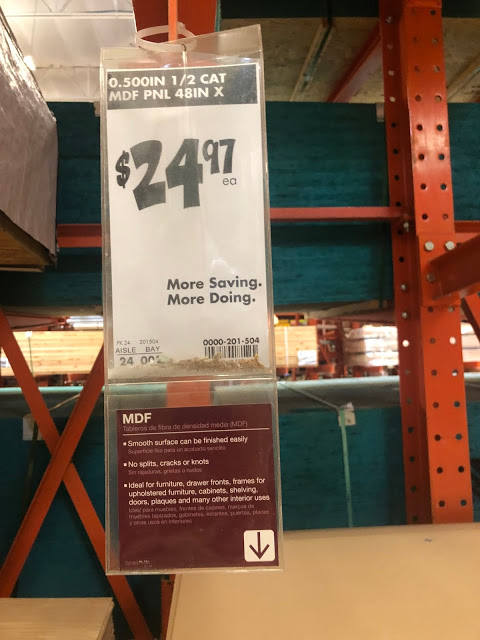
- 2 – MDF 4’x8′ boards ( $24.97 each)
- measuring tape
- air gun or finishing nails and hammer
- table saw
- wood filler
- sand block
- caulking
- paint & painting supplies
- Hooks
We had the nice guys at Home depot cut each 4’x8′ x2 board as follows:6 – 6″ horizontally6 – 4″ horizontallyremaining material – 3″ horizontally
Remember you needed two MDF boards so those number are doubled. (you will have extra material if you have a similar or smaller wall)
Side note: Before you start you need to decide if your keeping your existing baseboard or not. We decided to change ours to match the flow of the farmhouse theme. It was only $20 extra for us to do so. If you plan on keeping yours it probably doesn’t have a flat surface to lay on the 3″ boards on. There are several tips & tricks how to keep your existing baseboards on pinterest, so you can just search there.
3. The Process
You also need to decide how tall you want this project to be. You have 96″ to work with because you cut the 4’x8′ boards horizontally. 8′ is 96″. We decided to cut our 3″ boards to 60″. We also need to add 5 1/2″ to the height because of the baseboards and a additional 6″ for the board sitting on top. ( the ledge we added is just a bonus and doesn’t really matter in the tutorial) From the bottom of the baseboards to the top of the 6″ board is 71-1/2 “. This is just an example for you. You can adjust it however you like. Our wall is not that tall and goes at an angle at the top.
My husband place the 6″ top board first. This will make it easier to adjust the horizontal boards if needed (hopefully not) This would be 60″ from the bottom of the baseboard. Your first 3″ board needs to be placed at one end first. Then you measure ( in my case) 12.75″ then place the second and so on. Now, you might want to wait and cut your 3″ boards ( one at a time) till after the 6″ board is in place. Measure a second time from the bottom of the baseboard to the bottom of the 6″ board to make sure it is in fact 60″ exactly. Walls can be wonky and uneven. No ones fault.
Your 4″ boards to make square boxes will also be (in my case) 12.75 long and 12.75 high. Also, before you cut each 4″ board re-measure the length. If you so make a mistake and there is a bigger gape then you wanted you can use would filler later on to fix it or start over because you should have plenty of extra.
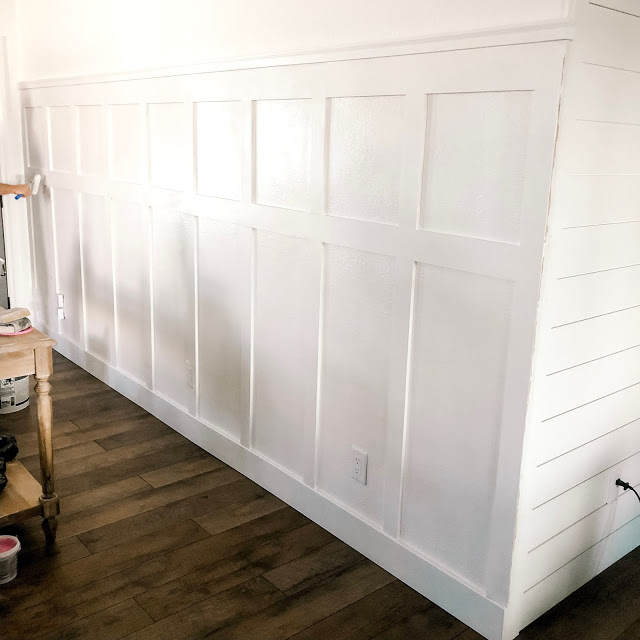
4. Fill in holes – Caulk – Sand – Paint
I won’t go into detail here because if you decided to take on this project I’m sure you already know how to do this 🙂
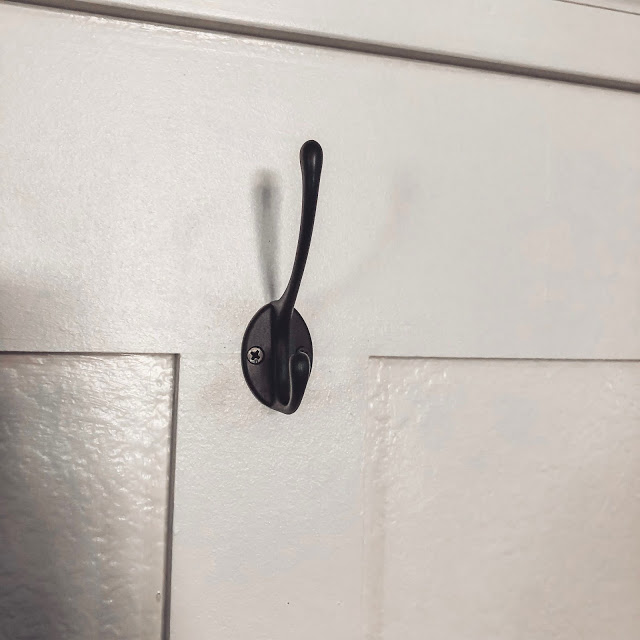
5. Hang Hooks
Traditionally, for a entry wall you hang hooks. The ones I bought are linked here.
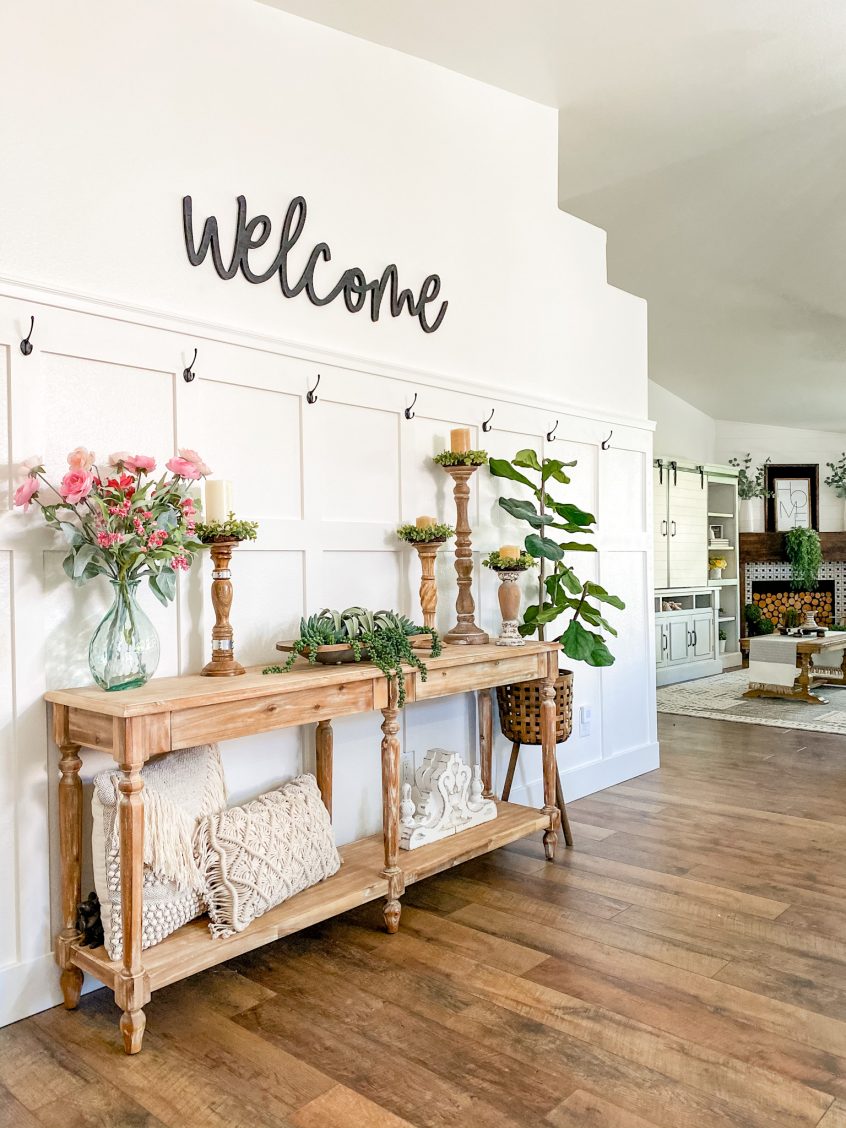
So glad we decided to take out that closet. Doesn’t it look so much better? Let me know your thought is the comments below.

Jessie Thomas
2 Comments on “The EASY formula to space your board & batten wall”
Love your wall! Where did you get your welcome size and what size is it? I’m trying to find one for above my board and batten wall.
Hi! Thanks so much! It’s from Hobby Lobby. It’s about 24″ long.