I love this DIY Riser. It’s so easy to make. By far my easiest yet most impactful DIY.

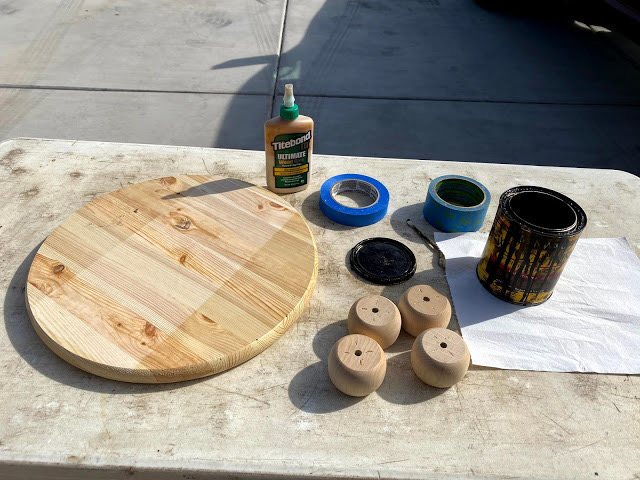
Supplies:
1. Table top
2. legs
3. stain (dark walnut)
4. wood glue
5. craft white paint
7. clear wax
If you’re planning on using a light colored stain make sure you sand your board first, so it does’t yellow. If using my same stain you don’t need too.
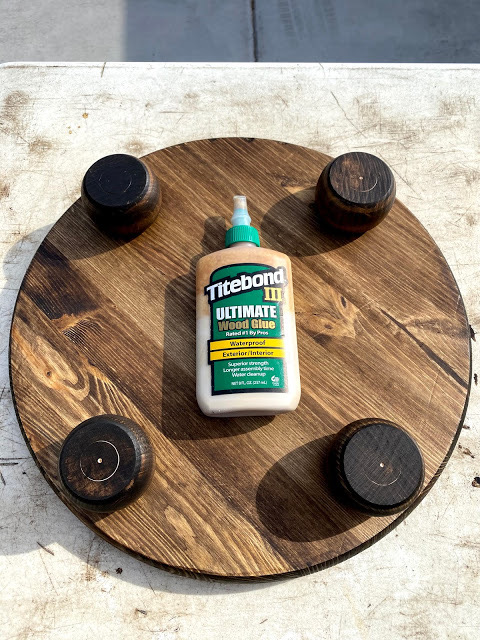
1. Stain your board & legs
2. Use your wood glue to attach the legs. My glue dried in 15 minutes. Make sure the legs are 1″ from the edge of the board. you want to be able to see them once you flip it over.
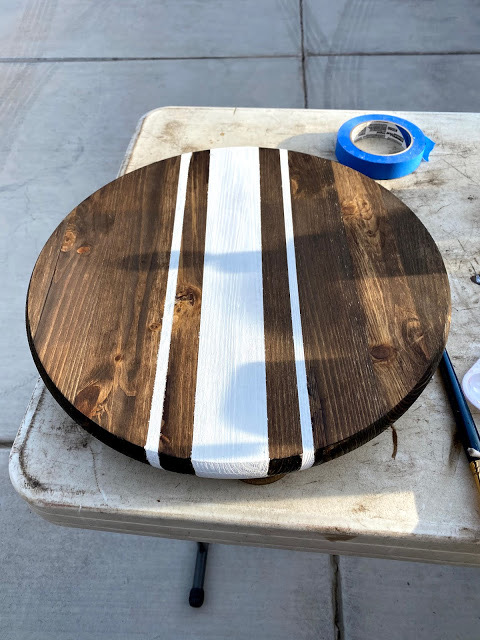
3. Use painters tape to create any design you like on the board. If you have Frogs painters tape that would be even better. Try your best to press the tape down as best as possible to prevent bleeding of the paint.
4. When painting your board use a sponge brush and put a little bit of paint on it. Do not over saturate it. Dab the paint up and down on the wood. Do not paint like you normally wood. Just dab up and down.
5. Let the paint dry and peel off the tape. Wait 24 hours and use a lint free cloth or rag to apply wax. You can’t over due it, just wipe off any access.
You can see a video tutorial here on my Instagram if you have one.


Jessie Thomas
One Comment on “DIY Wood Riser (tray)”
Pingback: My Top 5 Reader DIY Favorites in 2020 | Jessie Thomas Deigns