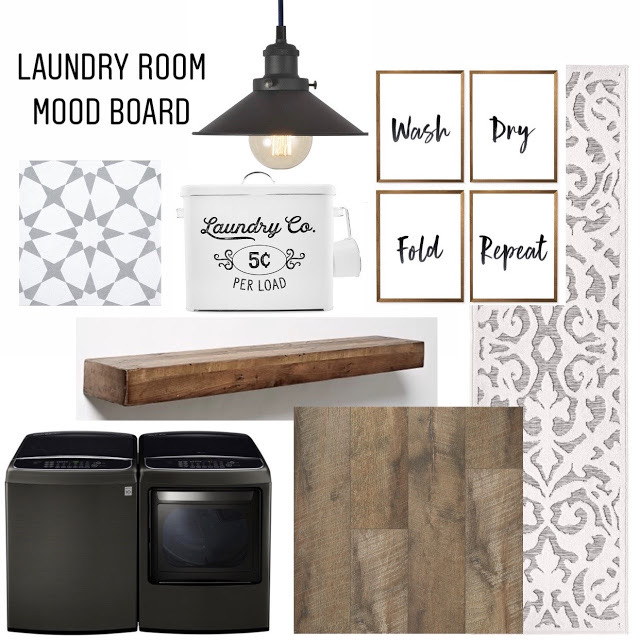
Lowes carries this amazing shiplap. Why is it amazing? It’s because it’s cheap! This ceiling only cost $70.
Supplies:
1. Pine wood shiplap from Lowes
2. Hole saw
3. Nail Gun
4. Jig saw
5. liquid nails
6. Minwax conditioner
7. Minwax Dark Walnut Stain
8. Miter saw
9. Maybe a table saw (to rip the last board down to fit)
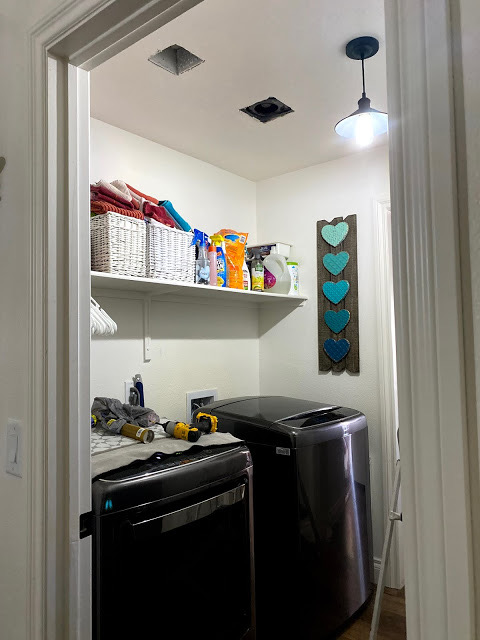
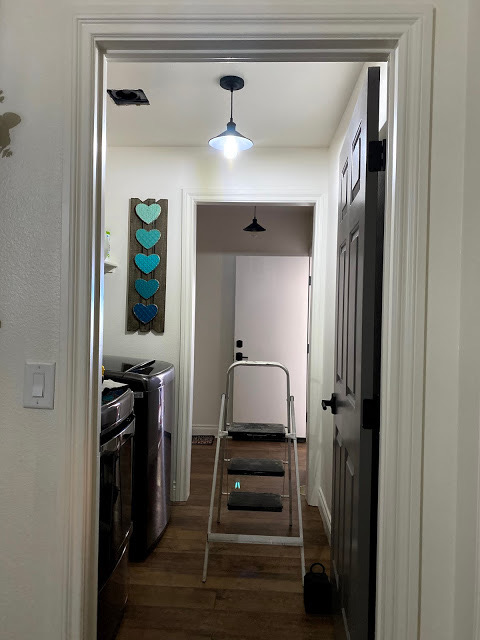
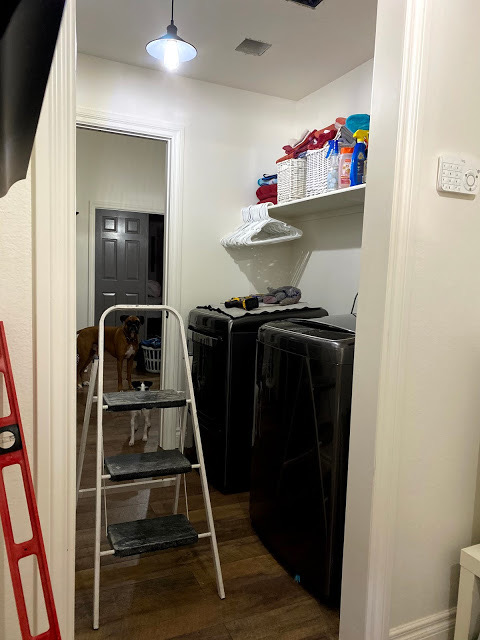
Here are the before pictures of our very small laundry room.
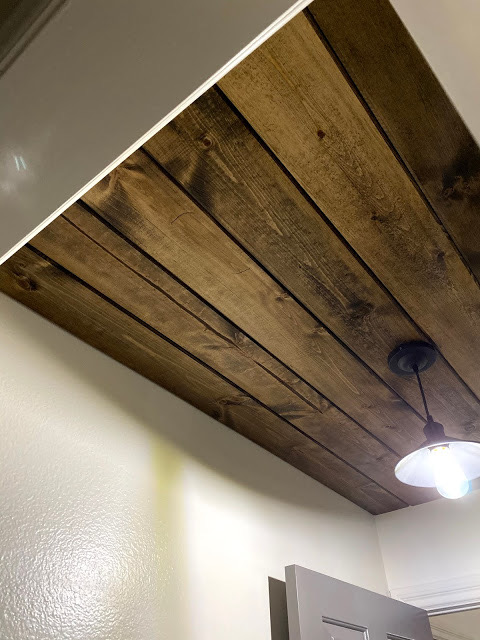
This project for our space took 11 boards. Our ceiling is 71″X 76″. Each board is 6.5″ Wide. You first need to decide which way you want your boards to run. We decided to run them the 71″ length. So I took 71 divided by 6.5 which gave me 10.92. We rounded up so 11 boards were needed.
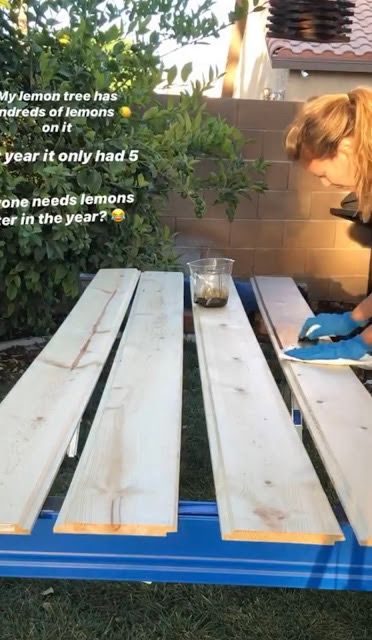
I first conditioned the boards which helps the stain apply much smoother. Then stained it with my favorite stain.
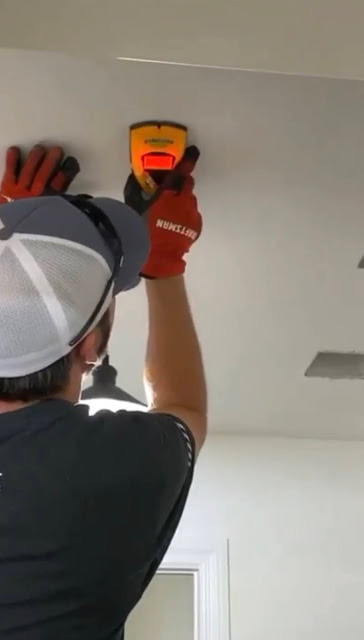
My husband marked the studs
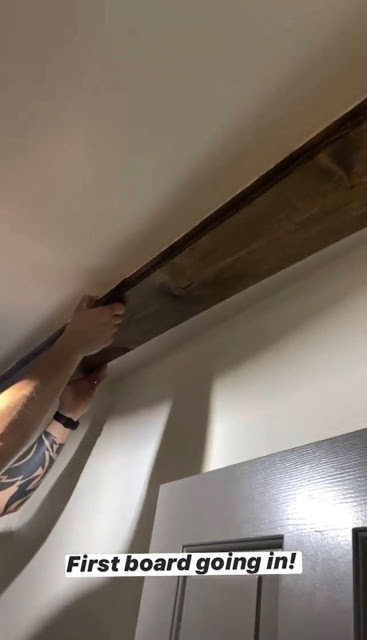
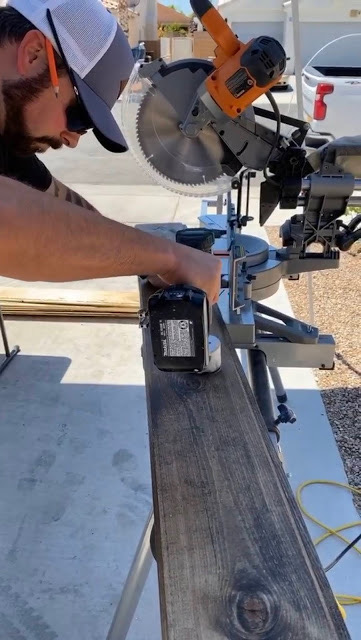
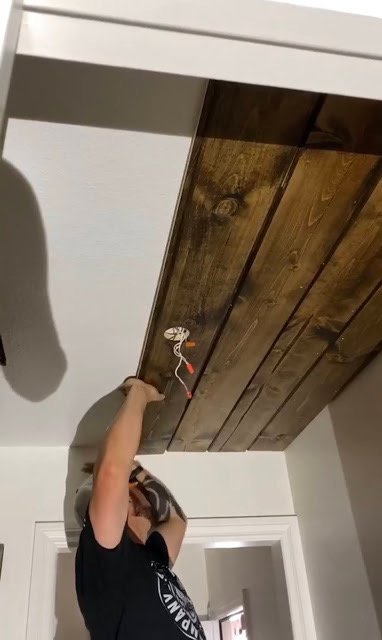
He measured each space where the boards were going so that they fit perfectly. He cut them using his miter saw. He applies liquid nails then secures the boards with his nail gun into the studs.
He used a 2″ hole saw to cut the hole for our hanging light and a jig saw to cut the holes for the vents. He used a tape measure to write an x in the middle of where the hole needs to be for the light. He used a pencil to draw the space for the vents to be cut.
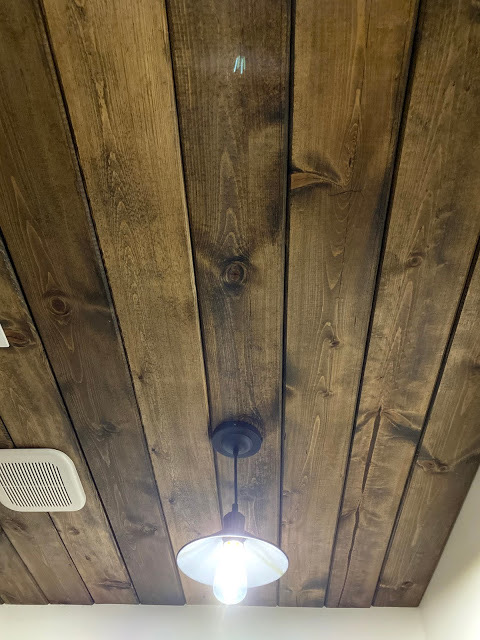
These slide together kinda like a puzzle. Make sure you measure each board before cutting to fit each length. Most builder grade homes are not perfect and each cut will be different.
TA-DA
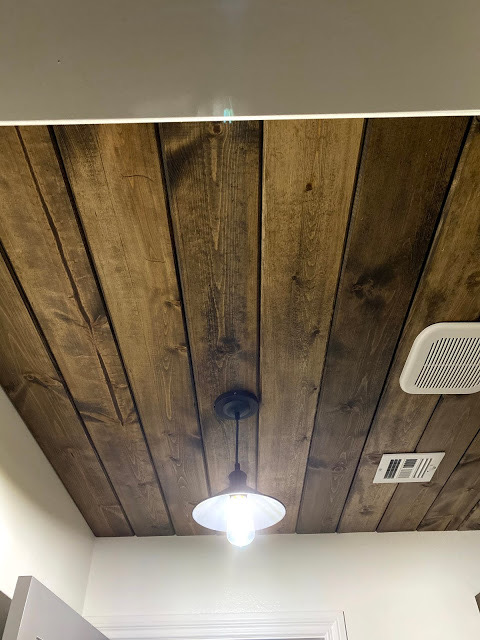
What do you think? Let me know in the comments below!
The next phase is the floating shelves!
Jessie Thomas