If you haven’t seen the first two phases of this laundry room renovation you can do so my clicking here.
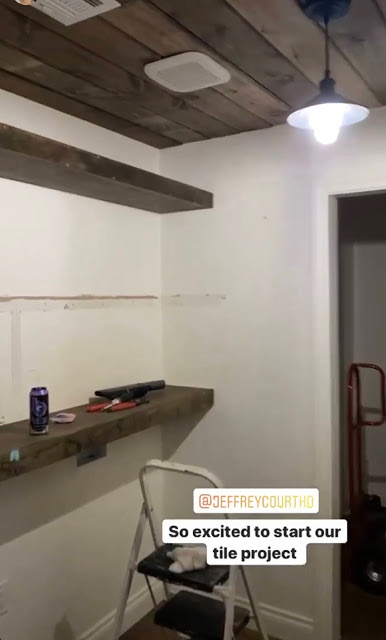
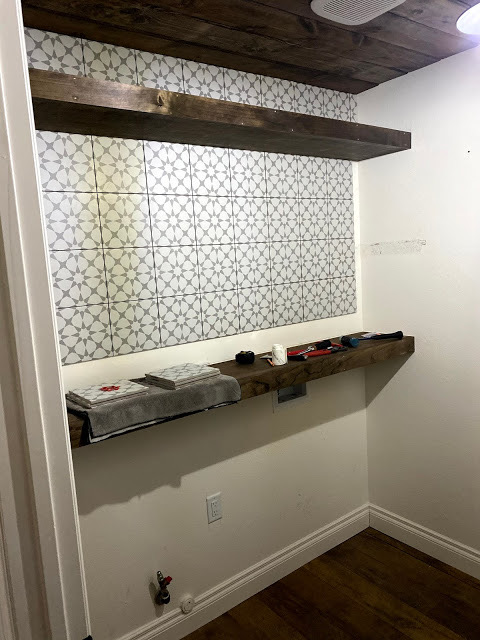
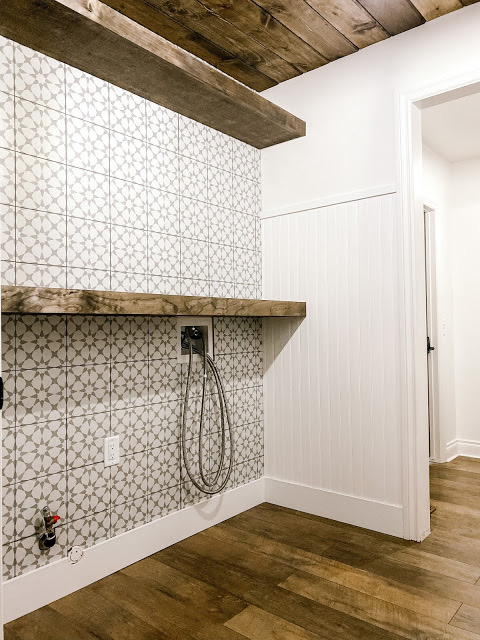
For this phase I teamed up with Jeffery Court to showcase this beautiful Castelletto tile on the back wall of our laundry room. We will be tiling around the floating shelves we built in phase two.
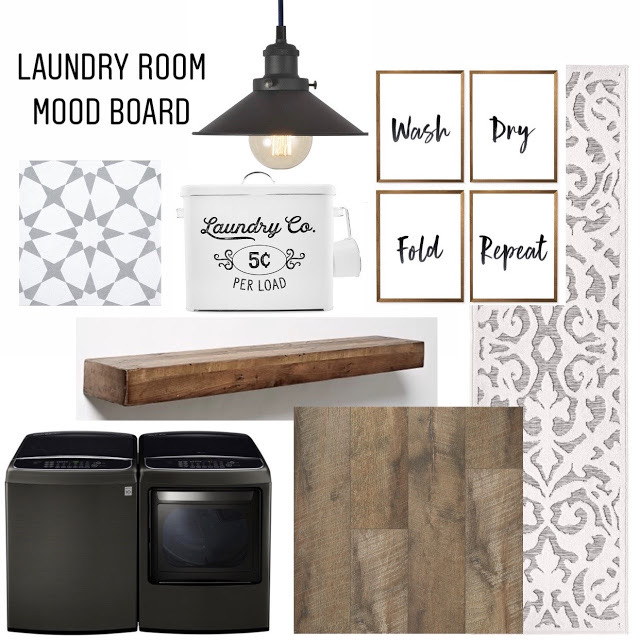
We have a lot of wood elements going on so this tile will bring in some contrast. I wanted something beautiful but not too busy. I think this tile and the wood complement each other really well.
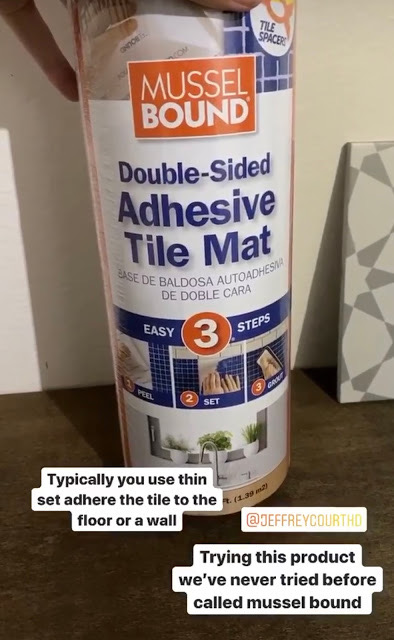
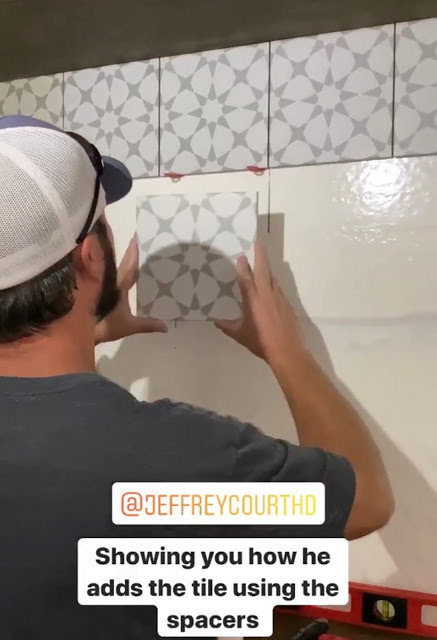
I wanted to try a new product I found. This Mussel Bound replaces using thin set mortar. Essentially, it’s like using double sided sticky tape. It does exactly what it says and works really well.
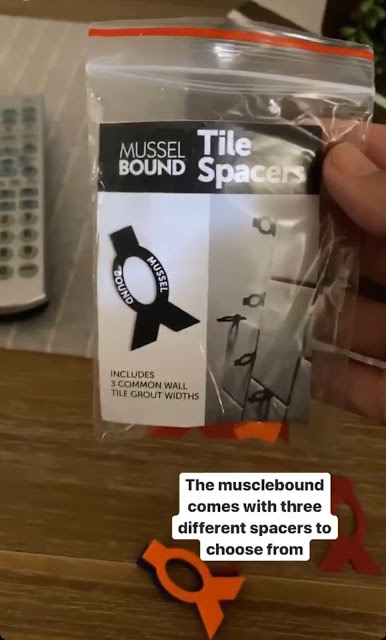
It came with these tile spacers. I actually don’t care for them. If I was to do it again I would use this Mussel Bound but with better quality spacers.
We started in the middle by measuring the wall to find center. Thats where we started the tile to work our way out so the cuts we needed to make were on the ends and the same size on both ends. You can see the line of center in the picture below.
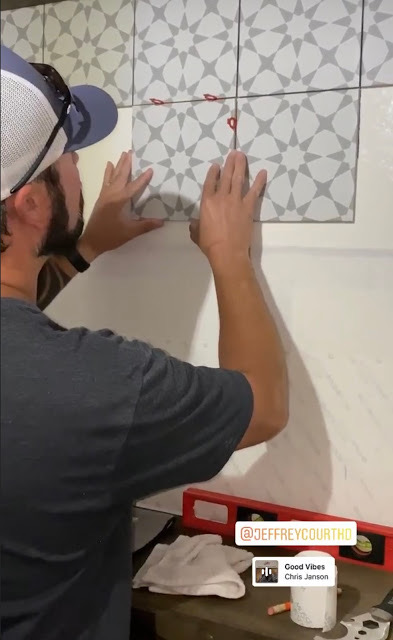
This went really quick until we got to the cuts. Most of the cuts were straight cuts on the wet saw we had out front by our hose.
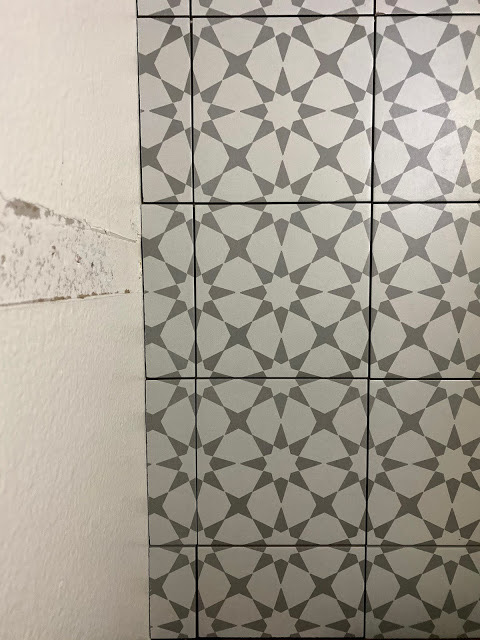
Here is a close up of the tile before it was grouted.
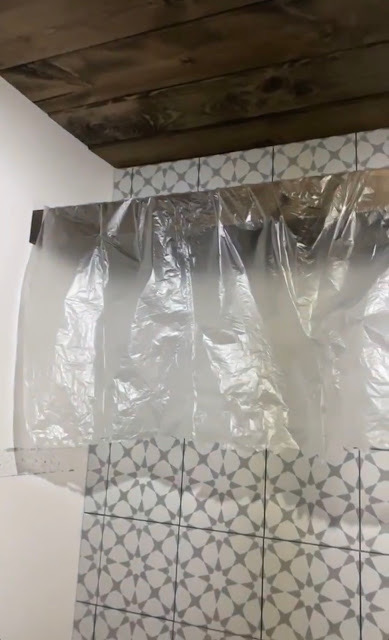
I wanted to protect the wood from the grout mess so I used painters tape to help lay down plastic over the wood.
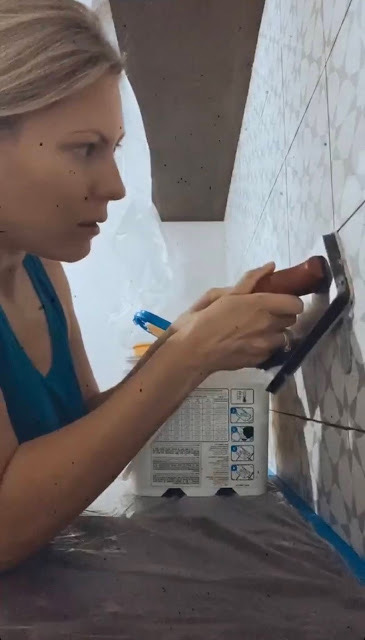
I like to buy pre-mixed grout. You need a grout float to apply the grout. You also need a bucket with clean water. My premixed grout came with a sponge that you used to wipe and smooth the grout. You’re trying to get as much grout as you can into the grooves. It’s pretty easy to do. I go into in depth detail on how I apply this grout. You can find the full video tutorial on my highlight reel on Instagram.
Isn’t this tile beautiful? What do you think? Would love to hear your thoughts in the comments below. This is also a sneak peek for next weeks phase 4 project.
Here is a sneak peak of the next phase, we added these panels on the other three remaining walls.
Sources:
Jessie Thomas