
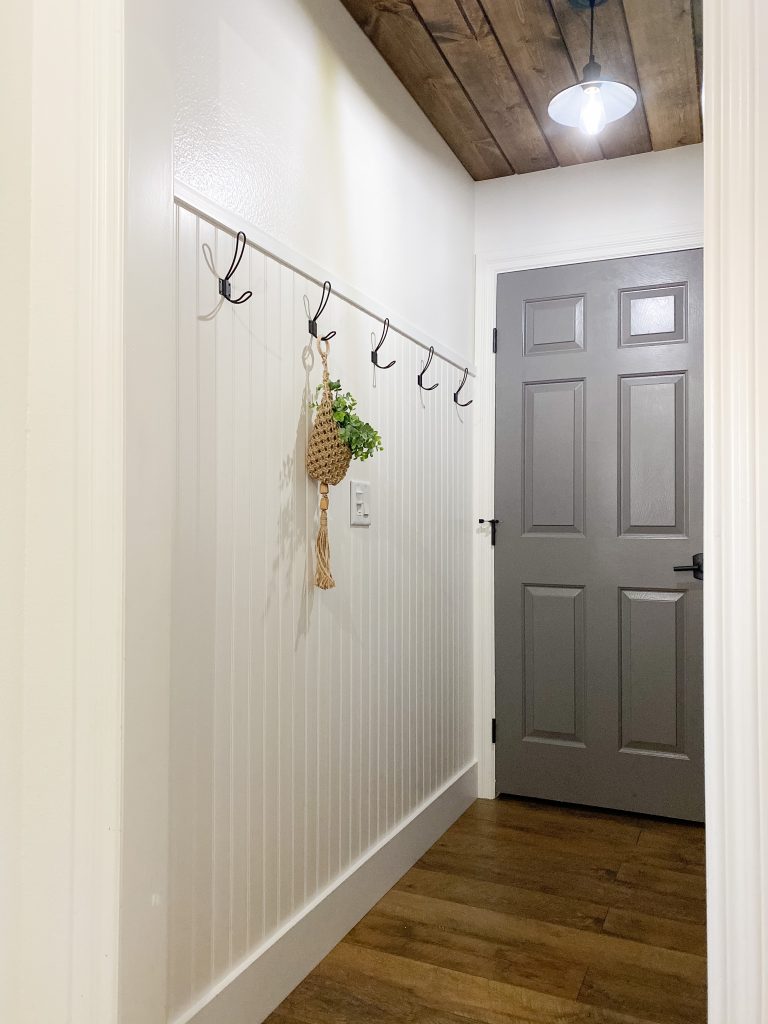
This was such an easy project. I really love these vinyl planking strips. They are double sided and you can use either side. These are great for high traffic areas and great if you have kids and/or dogs. They wipe down really easy and are low maintenance. They are pre-painted and ready to go.
Supplies:
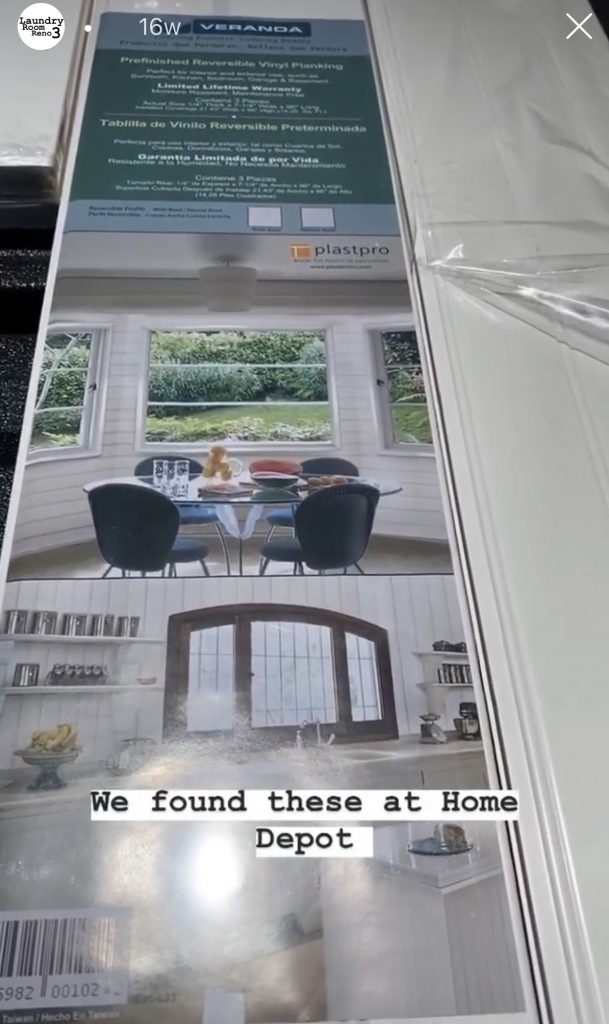
- Vinyl planking
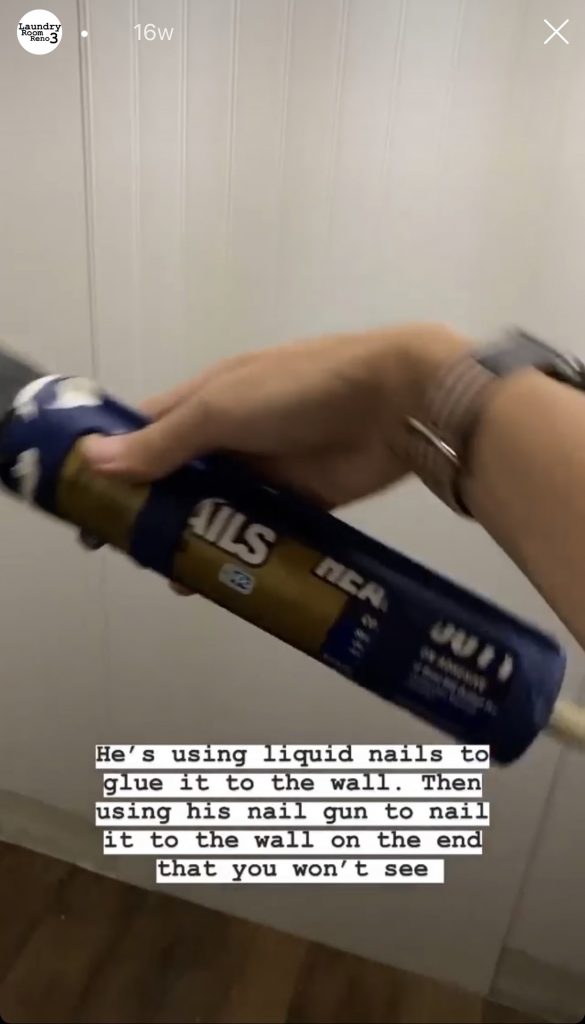
- liquid nails
- Nail gun
- Jig saw
- Vinyl trim piece
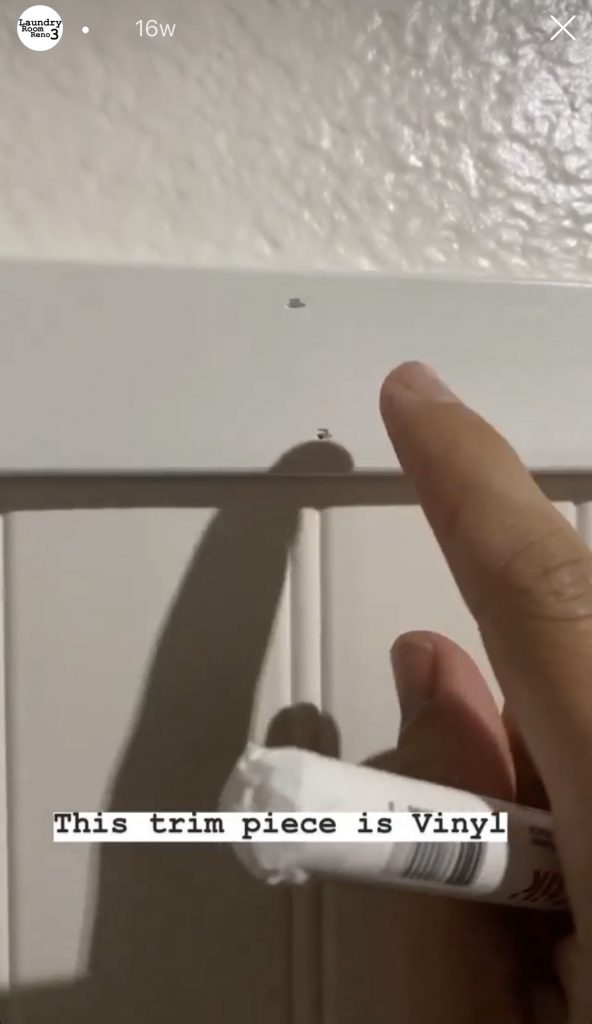
- Vinyl baseboard
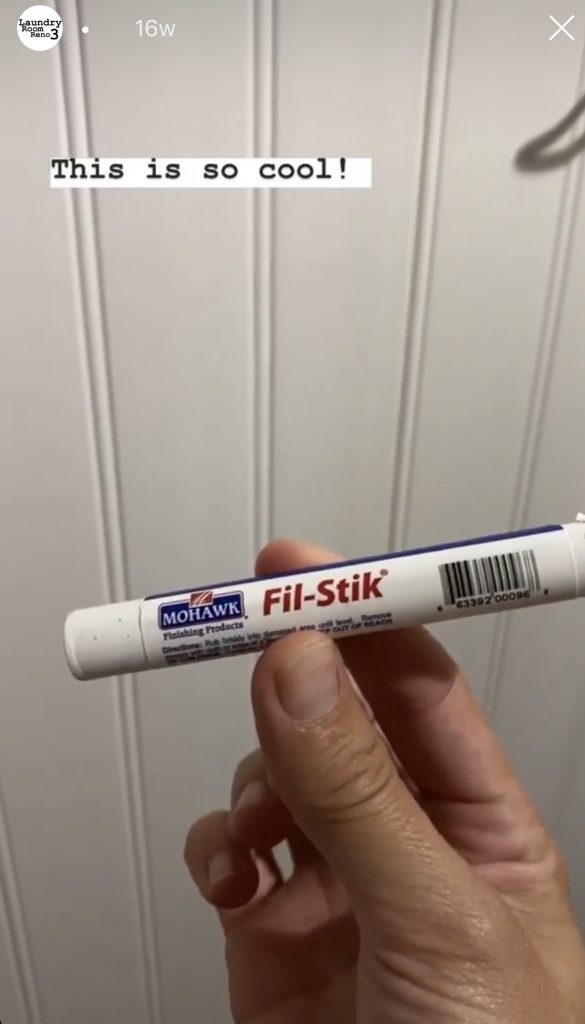
- Fil-Stik
- Level
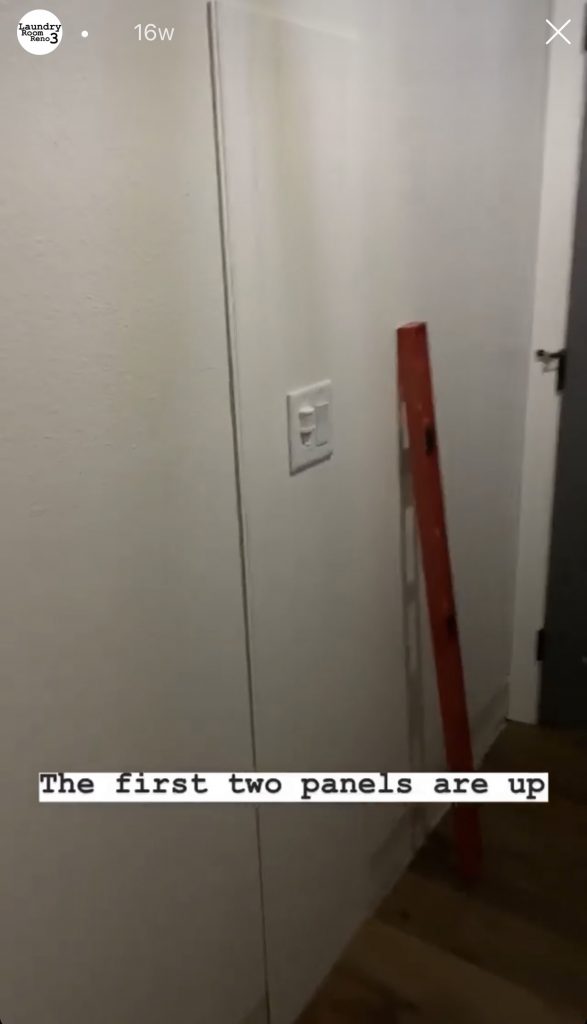
We used liquid nails and a nail gun to attach it to the wall.
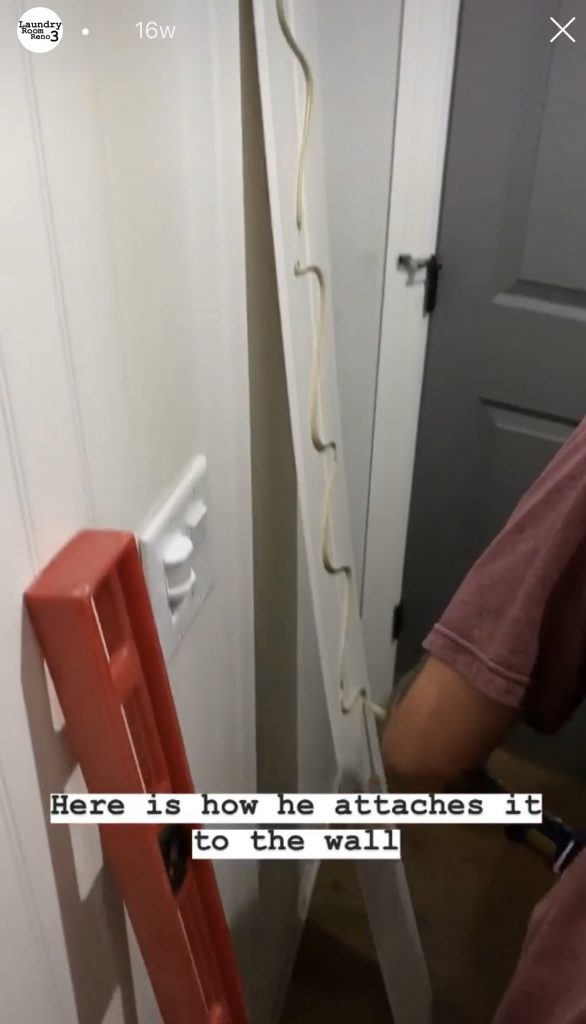
He also uses a long level to make sure they are standing up straight.
This Fit-Stik is great to fill in the holes from the nail gun.
We also purchased a 1 1/2″ by 8′ vinyl trim piece to finish the look.
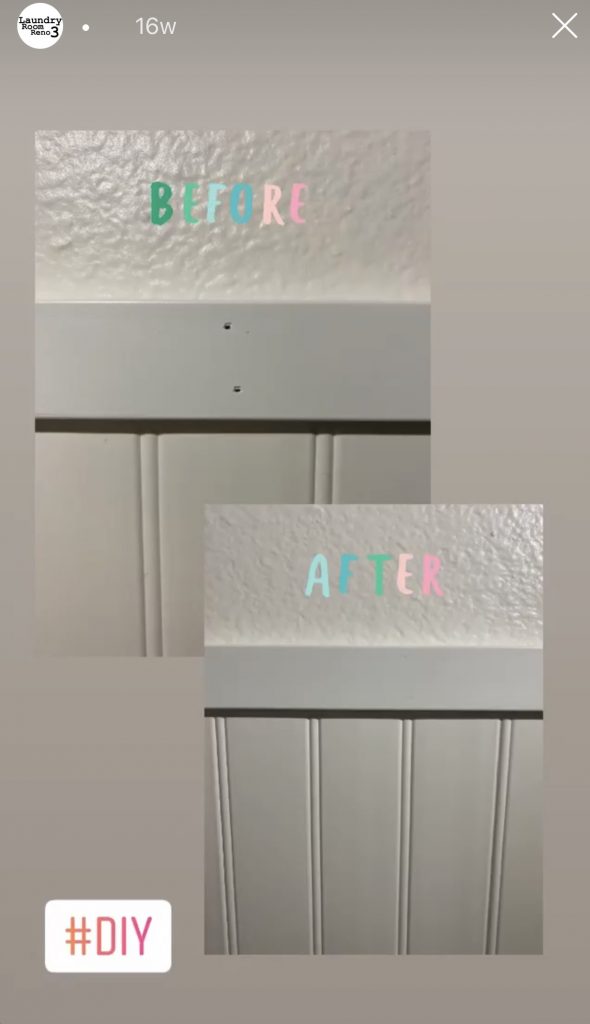
We love how this project turned out. Let me know if you have any questions.
Jessie Thomas